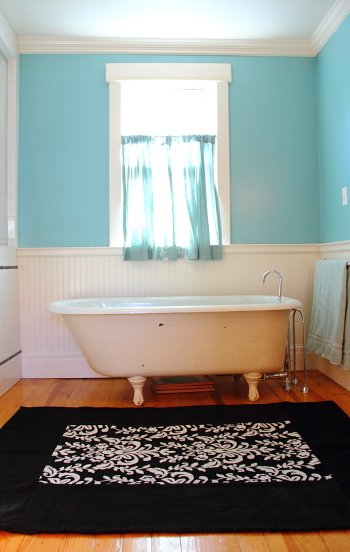
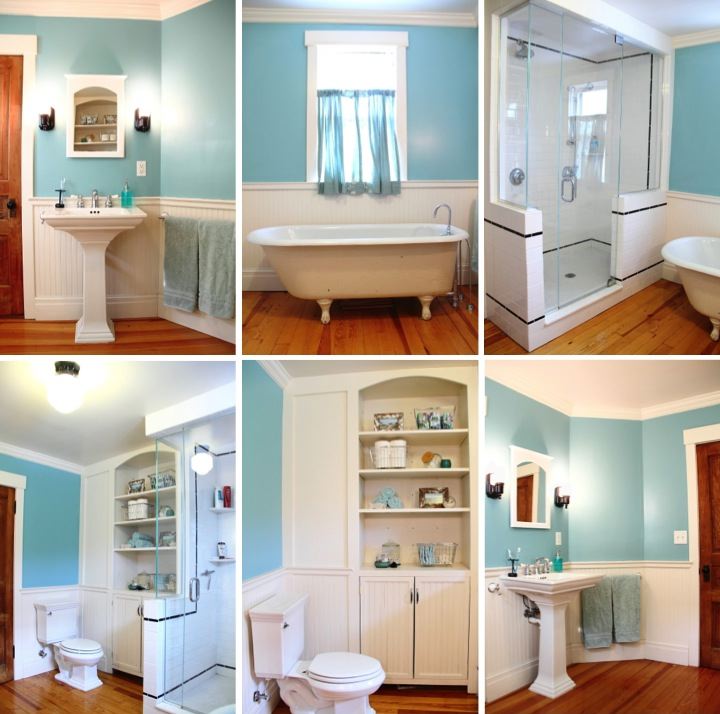
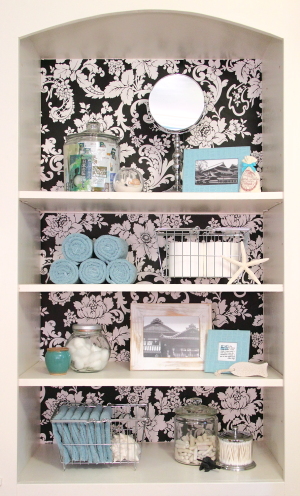
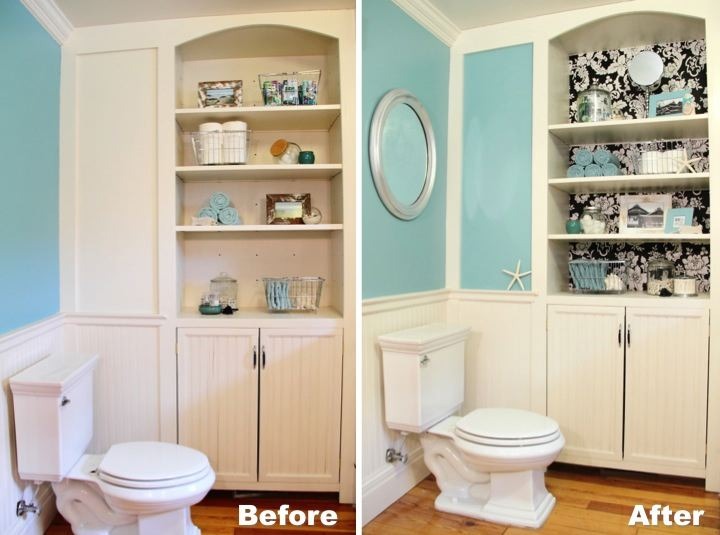
 With my many projects (hanging wallpaper and painting the built-in, adding shelves and organizing the built-in cabinet and hanging a mirror on the wall) completed there was only one thing left for me to finish up in this corner of the bathroom; organize the built-in shelves. After all of the more mundane things this was definitely the fun part for me.
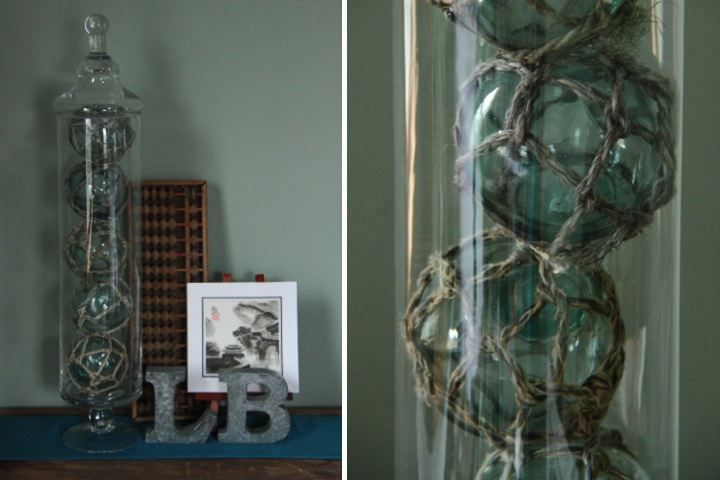
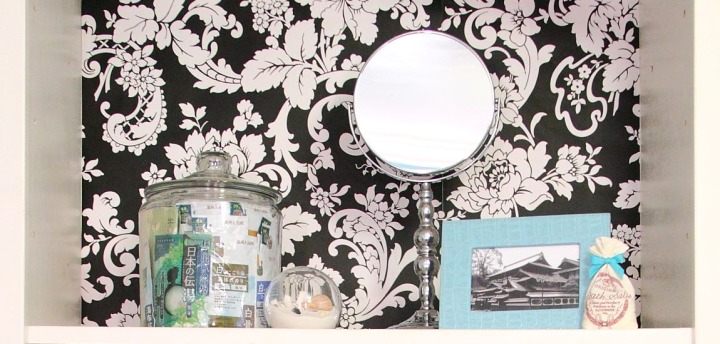
On the left side of my top shelf I have a large glass canister from Target for storing my packets of Japanese bath salts. Previously I had them in a wire basket but they kept slipping out so I got this canister instead and moved the basket to my craft room for storing fabric. Japan has a strong bathing culture and going to hot springs (onsen) for bathing is very popular. When I was living in Japan it was well known among my friends that I loved going to onsen so I got lots of bath salt packets with minerals from different famous onsen for going away presents.
Next to my bath salts I have a glass bubble filled with shells and sand that my sister gave to me for Christmas one year. On the right side I have a photo that I took of Dogo Onsen (one of the oldest hot spring baths in Japan) in a teal faux alligator frame that I picked up on sale at Papyrus years ago. Next to the frame I have a little muslin bag of bath salts that I bought in Bath, England. It originally had a royal blue ribbon on it so I swapped it out for a teal one. My last item on the top shelf is a new standing mirror at I picked up at HomeGoods this past week. I've been wanting to get a mirror like that for a while and decided that as a reward to myself for my bathroom progress I would get it.
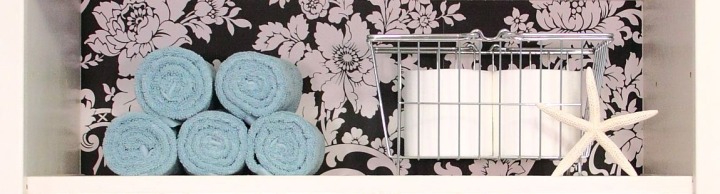
On my second from the top shelf I rolled up my extra hand towels and stacked them up on the left side. The right side has a wire basket from Target with extra rolls of toilet paper in it and a little starfish.
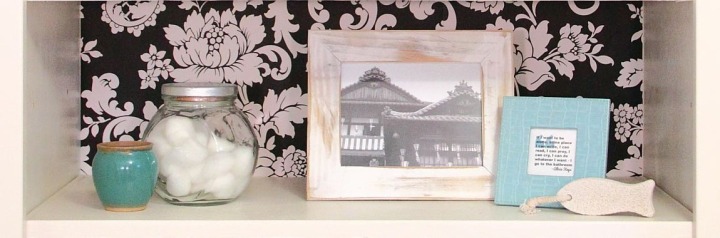
On the left side of my second from the bottom shelf I have an old glass canister whose lid I spray painted silver. I have it filled with cotton balls next to a little teal ceramic jar that was a thrift store find. On the right side I have another photo of Dogo Onsen in a white reclaimed wood frame that I picked up at an art fair on the Mornington Peninsula in Australia. I also printed out an Alicia Keys quote, "If I want to be alone, some place I can write, I can read, I can pray, I can cry, I can do whatever I want - I go to the bathroom,” that I used for a previous blog post and put it in another teal frame that I bought at the same time as the one on the top shelf. Last but not least I have a little fish shaped pumice stone.
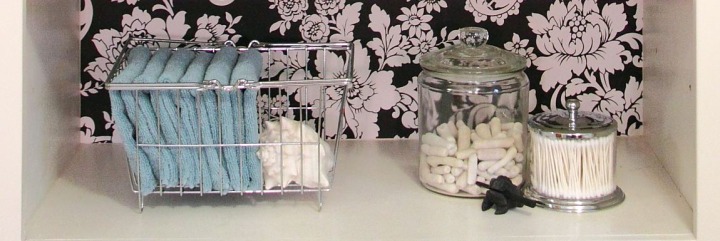
On my bottom shelf I have another wire basket from Target with my extra wash cloths folded up in it. I also tucked in a conch shell that my paternal grandfather gave me years ago when I was a little girl. On the right side I have a glass canister filled with white coral that I picked up on a beach in the USVI when visiting my sister. In a smaller glass and chrome container from HomeGoods I have my cotton swabs and for fun I have a little wooden frog I got on another one of my trips to the Caribbean with my sister.
It feels so nice to have this part of the bathroom all organized and finished now. Almost all of the items I already had and my only new purchases were the large glass container for my bath salts, the standing mirror and the little container for my cotton swabs. I love that everything on the shelves either has some functional bathroom purpose or has a special memory for me. With just a few small things that I've done, this corner of my bathroom now looks a lot more polished and finished than it did just a month ago. Now if only I could get some motivation to finish up my bathtub...
If you are interested, check out the rest of my bathroom posts here: Bathroom Blog Posts


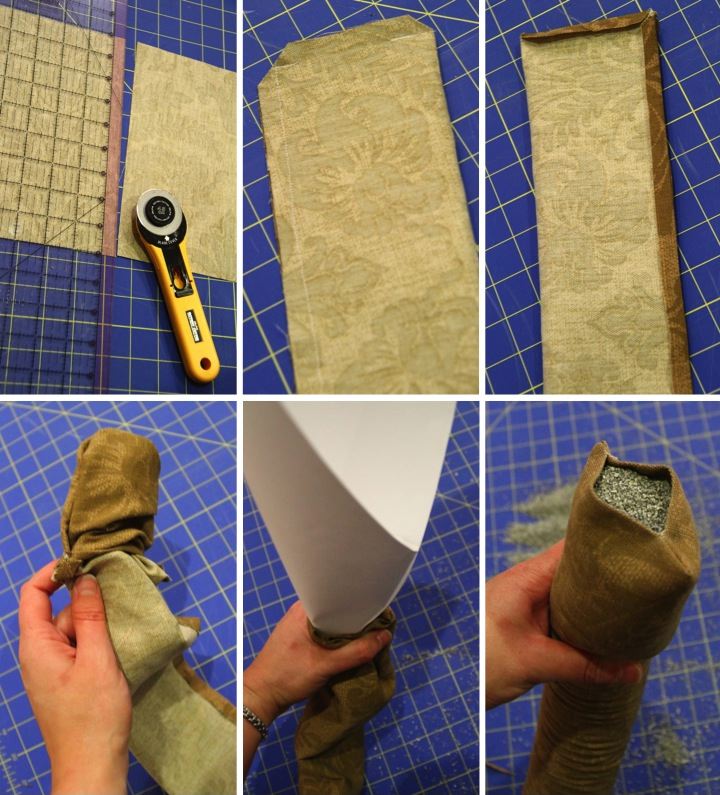
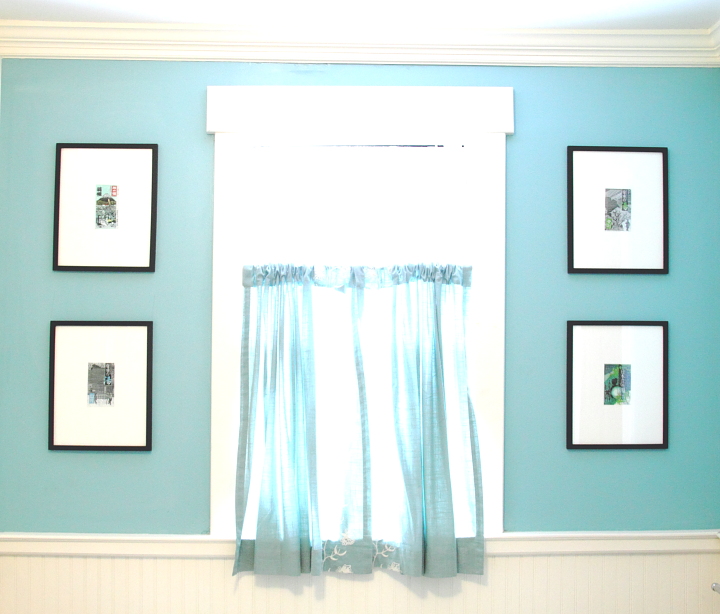
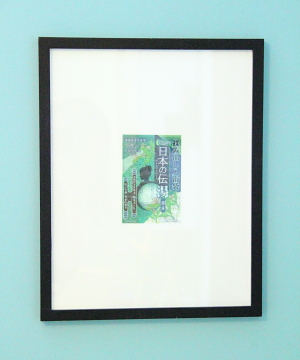 One of the things on my list to get done in my bathroom was to hang some wall art around my window. As I've mentioned before I love my Japanese bath salts and since I think the packaging designs on them are cool, I thought that framing a few of them would be fun.
 Lisa |