Welcome

My name is Lisa and I'm a crafty girl with wanderlust working as an engineer by day. My blog chronicles projects in my home as well as pictures and stories from my travels.

Search


Instagram

Blog Index
The journal that this archive was targeting has been deleted. Please update your configuration.
Navigation

Entries in Renovations (53)

Wednesday
Mar072012

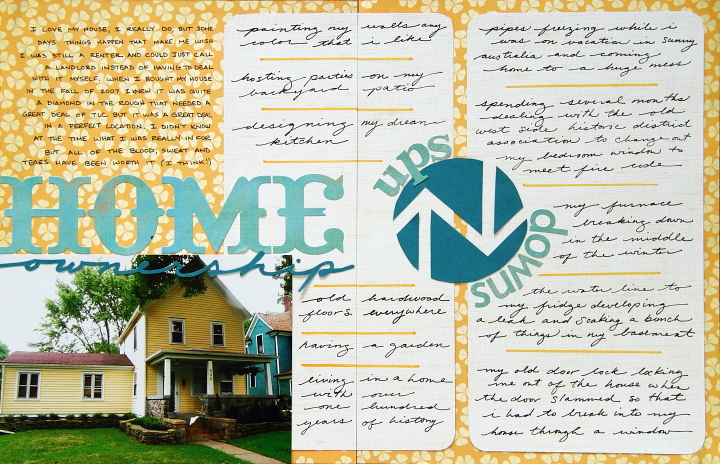
Scrapbook Layout: Home Ownership Ups & Down

My house is a source of joy most of the time but upon occasion the endless things that need to be taken care of or go wrong can frustrate me. I thought I'd make a scrapbook page about both sides of owning my home.

To make my layout I started out with yellow patterned paper for the background to match the paint color of my house. I cut two strips of white patterned paper for my ups and downs lists and rounded the corners before attaching them to the right side of the layout. I chose teal as my layout's accent color since the trim on my house is teal. I sketched and cut out a circular design combining an up and down arrow and centered it over my up and down journaling strips. I then used letter stickers to add "ups" and "downs" around the circle.

I added a picture of my house in the bottom left of the layout and positioned letters above it for the beginning of my title. For the second word in my title I traced out my writing, cut it out of teal cardstock and placed it over the top of my photo. I completed the layout by adding my journaling and my lists of ups and downs.

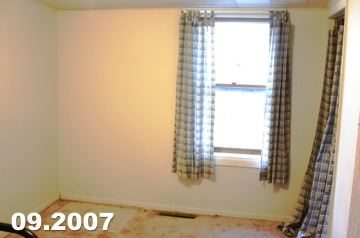
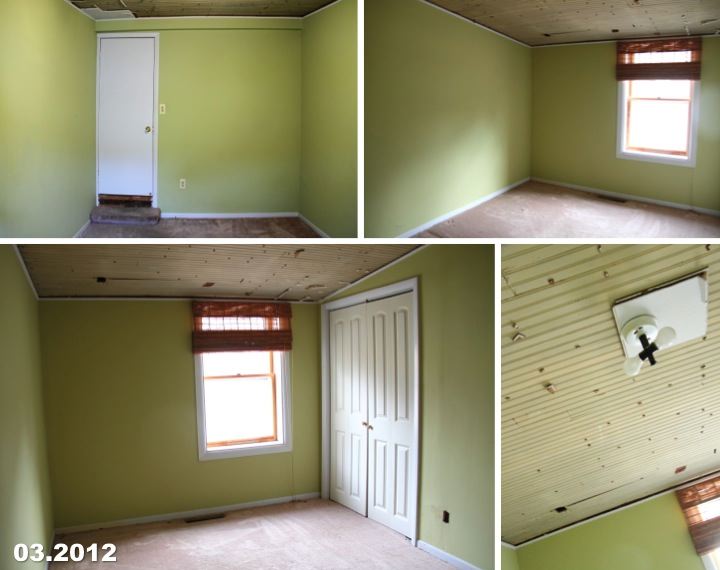
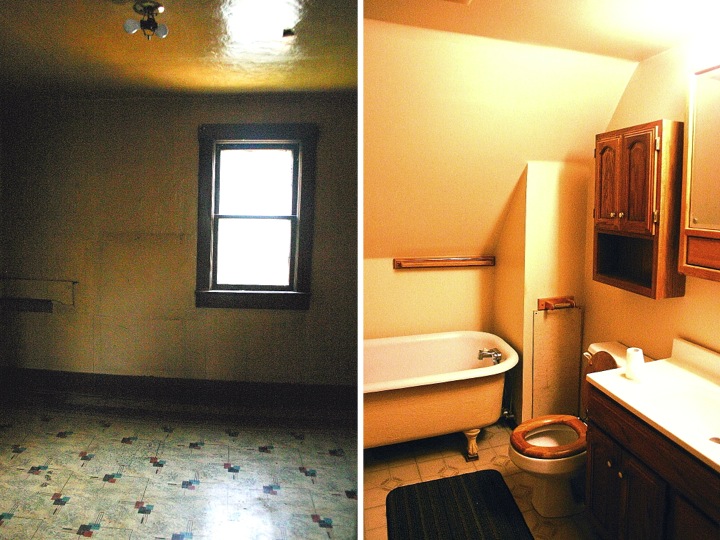
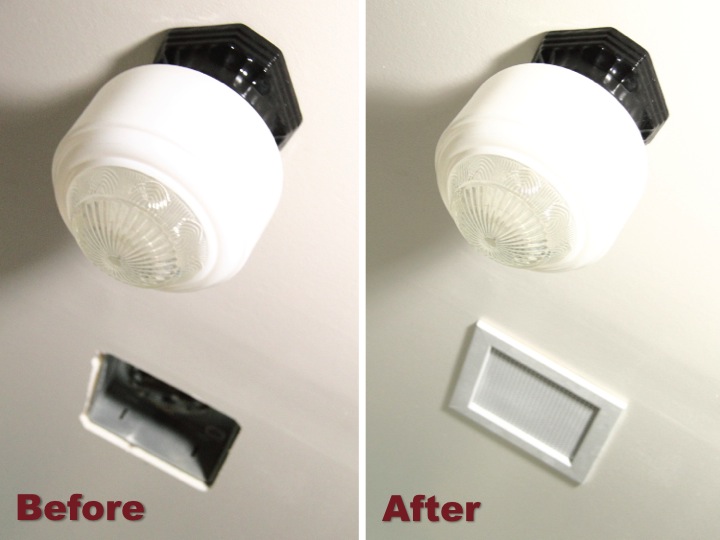
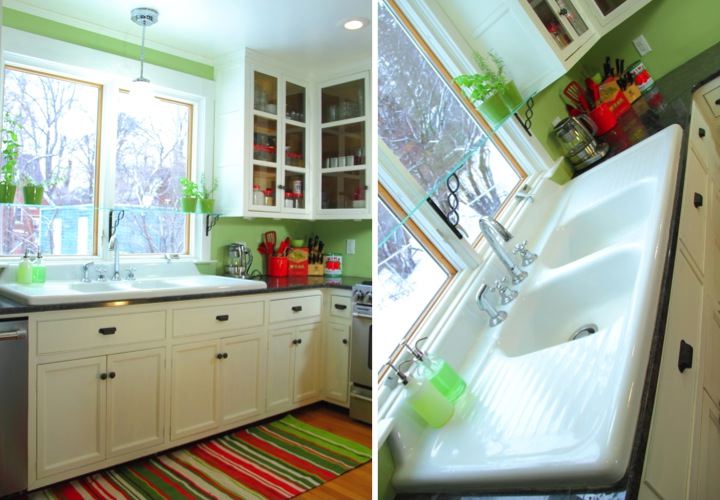
The journaling reads, "I love my house, I really do, but some days things happen that make me wish I was still a renter and could just call a landlord instead of having to deal with it myself. When I bought my house in the fall of 2007 I knew it was quite a diamond in the rough that needed a great deal of TLC but it was a great deal in the perfect location. I didn't know at the time what I was really in for but all of the blood, sweat and tears have been worth it (I think)."

My list of ups reads as follows:
- Painting my walls any color that I like
- Hosting parties on my backyard patio
- Designing my dream kitchen
- Old hardwood floors
- Having a garden
- Living in a home with over 100 years of history

My list of downs reads as follows: 
- Pipes freezing while I was on vacation in Australia and coming home to a mess
- Dealing with the historic association to change out a window to meet fire code
- My old furnace breaking in the middle of winter
- The water line to my fridge developing a leak and getting tons of things in my basement all wet and ruined
- My old door lock locking me out of the house so I had to break in through a window (yikes!)

Update: The white space of the original journaling for my ups and downs list and my typo was driving me nuts so I redid the journaling on the layout and added yellow stripes between the items on the list. The wording is a little different but the items are the same.

Monday
Mar052012

Starting Work On My Study Ceiling

Yesterday I decided to start working on my study ceiling. This is going to be quite a project to get the beadboard eventually looking decent but I am hopeful that it will turn out well when I am done.

I began by pulling down the old crown molding. It was flush with the ceiling tiles so it was sitting about half an inch below the beadboard and looked funny. It was also very narrow and I want something a little beefier so I decided to scrap it.

To remove the trim I used a thin pry bar and hammered on the end of it to get it under the molding. I then pried up each finish nail gradually widening the gap as I moved down the wall until I could pull the piece away completely.

With the molding down I moved on the cleaning up the ceiling. After the ceiling tiles had been pulled done the beadboard was full of staples and bits of the tiles still stuck in the ceiling. I used a needle nose pliers to pull all of the staples out. It was pretty tedious and I ended up doing it in two shifts because my arm was getting sore working above my head.

With the staples gone and the molding down the ceiling still doesn't look good but I am one step closer to getting it done. I still need to patch the holes and sand down the beadboard before I can paint. I love the bright aqua of my beadboard porch ceiling and I am thinking I may use a shade of blue or teal for my study ceiling. I feel like if I am going to put all this effort into fixing the beadboard I want to highlight it. What do you think? What color would you use? 

If you are interested, check out the rest of my study renovation posts: Study Blog Posts

Saturday
Mar032012

Plans for My Study

With my bathroom complete I am excited to get going on my next home project. I thought that fixing up one of the rooms in my side wing to make into a study for myself would be nice.

When I bought the house this room was by far in the best condition so I haven't done much with it. Unlike the rest of the house the walls were finished drywall so apart from patching an excessively large plumbing access hole in the wall that had been covered with a cork board (honestly, what were the previous owners thinking?) all I did to the walls was paint them pale green. With fresh paint throughout the room, a cheap temporary closet door and a bamboo blind that I bought on super sale the room was passable and I moved on to more pressing things.

Now I'd like to make this room into something usable for me. I already pulled down the pressboard ceiling tiles that the previous owners had stapled to the ceiling and found beadboard. Based on that discovery along with the ceiling slope and the fact that the room is set down two steps below the rest of the house makes me think that it was once a porch that was later enclosed. I love the beadboard so I am planning on trying to salvage it by pulling out the staples, patching the holes and refinishing it.

After the ceiling the biggest project in the room will be replacing the flooring. This is also the only room in the house where I haven't replaced or refinished the floor and I would like to add hardwood. I want to do the same for the rest of the side rooms (they currently have some cheap carpet I had put down for a short term solution in 2007) so I may wait and do all the floors at the same time.

I have a few other to do list items for the room like new trim for the door, closet and window, new doors for the closet and room (flimsy hollow core doesn't fit in with the solid wood five panel doors I have elsewhere) and crown molding. I'm also excited to make the room functional with a desk and daybed and then decorate, which is always the most fun. I can't wait to get started!

Wednesday
Feb292012

The Original State of my Master Bathroom

Since I have finally completed all the finishing touches on my bathroom I thought that I would share a little bit about where I started back when I bought the house in Fall 2007. Unfortunately, due to a hard drive crash that happened when I was in Japan I only have a few pictures from when I first bought my house and started remodeling.

The picture below on the left is of the room that I turned into my bathroom. The plaster on the walls and ceiling were crumbling and the hardwood floor was covered with a funky linoleum. I actually kind of like the pattern on the linoleum but it was cracked, dirty and in no way salvageable. There was a light fixture but no electrical outlets in the room. Judging by some remnants of plumbing sticking out of the wall and some teacup wallpaper in the adjoining closet it appeared that the room had been used as a kitchen at some point. At 10' x 10' it was a nice size room and the linoleum had kept the hardwood floor underneath in good condition.

On the right side is a picture of the old upstairs bath in my house. It was a really strange set up. In the back of the upstairs there was a 13' x 13' room and the previous owners had partitioned off 5' x 8' to make this bathroom leaving a strange L-shape space leftover that was unfinished. Very bizarre! I ended up salvaging the tub to use in the bathroom I was making in the next room over and then gutting everything else to make myself a nice sized craft room out of the whole 13' x 13' space.

It's fun to look back and see just how far my house has come. As I mentioned before when talking about my house's curb appeal, the inside of my house was downright scary. I think it would have made a really great set for a 1970s horror film. I put a lot of thought and effort into making a good floor plan and dreaming of the possibilities for the space. It feels so great to have one room in my house exactly the way I want it and all that hard work has definitely been worth it. Now I need to use this momentum to tackle another room!

If you are interested, check out the rest of my bathroom posts here: Bathroom Blog Posts

Tuesday
Feb282012

DIY Bathroom Fan Vent Cover

Today I am so excited to share that I finished up my last project in my bathroom: making a vent cover for my bathroom fan. The plastic cover that came with the fan looked cheap and flimsy and really didn't fit in with the vintage style of my bathroom. I searched around to try and find something else that would work but was unsuccessful so I decided that I needed to make something myself.  

To make the vent cover I found some wood trim 3/8" thick and about 1-1/4" wide with slightly a slightly rounded edge to make the frame. I thought about using some craft wood to make a wood lattice but when I saw this metal with perforated holes resembling a caning pattern I knew it would be perfect.

I mitered the corners of the wood trim, used wood glue to assemble it and then clamped it while it was drying. After the glue was set I cut a piece of the metal with some tin snips and then used 1/4" cut tacks to nail the metal to the back of the frame. After a coat of spray paint primer and two coats of my ceiling paint I hung the cover over my opening.

Having the gaping hole in my bathroom ceiling finally covered up makes me really happy and I am so glad that my bathroom is finally finished up. My goal was to complete everything in a month and by doing a little bit everyday I did it. After I get everything cleaned up I'll post some pictures of the whole room.

Has anyone else finished up a big project recently? Are you in the midst of doing some fun things around the house? I'd love to hear what you are up to to get me motivated for my next project.

If you are interested, check out the rest of my bathroom posts here: Bathroom Blog Posts

Monday
Feb272012

Refinishing My Bathtub

My last big task to finish in my bathroom was refinishing the outside of my old cast iron bathtub. The porcelain inside was in great condition but the outside was another matter. From afar it didn't look terrible but the paint was peeling a bit and the pale yellow color didn't match the bathroom's color scheme.

I looked up a bunch of things online about refinishing the outside of a bathtub and set to work. I covered the floor around the tub and used a stripper approved for indoor use to start removing the layers of paint. I had no idea how much paint was built up on the tub. Cream, yellow, green, peach... Just about any pastel color you could think of had graced the tub at one time or another. I kept applying stripper, waited for it to do its magic and then scrapped off yet another layer of paint. After I had most of the paint off I used my sander to get a smooth surface on the tub.

I was so excited when it was finally time to paint. After putting a coat of it on, however, I knew it was all wrong. The color was too bright and too blue to work well with my wall color. Frustrated, I headed to Lowe's with a sample of the wall color and of my original tub color choice to pick out something else. I found a color that was a bit more green hued and duskier, bought a quart in semi-gloss and returned home to try again.

Immediately I knew the second color was the perfect choice. After two coats I was really happy and eagerly pulled up the paper around the tub to clean up. Unfortunately, some of the stripper had dripped and soaked through the paper causing the finish on my floor to bubble up in a few places. I felt sick and couldn't believe that I had done this. I used a fine grit sandpaper to sand it off so you can't really see it anymore. I'm not sure if I should refinish my floor or if there is anything else I can do. If I do refinish it I'll wait until it gets warmer so I can have the windows open for ventilation. What would you do? Have you ever done anything like this? Do you have any suggestions about what I should do?

Anyway, apart from my floor mishap, I love how the tub turned out. It looks fresh and new and it ties into the rest of the bathroom so much better now. I just need to make my ceiling fan vent cover and I'll be all done with my bathroom to-do list.

If you are interested, check out the rest of my bathroom posts here: Bathroom Blog Posts

Tuesday
Feb212012

Curb Appeal: Then and Now

The mild winter this year has given me severe case of spring fever and has me thinking about what else I want to do with the front of my house. Over the few years I've had the house it has come along way but I have more plans that I would like to work on this year.

When I first bought my house in September 2007 the best thing it had going for it besides its solid foundation was its curb appeal. I'm not saying it was great (in fact it was actually a bit gloomy and foreboding) it's just that the back of the house was rotting because it hadn't been painted and the inside was a disaster of crumbling plaster infused with a strong smoky smell from two life long smokers who had lived there since the 1960s. I think that the reason I got the house for such a great deal is because it scared any other sane person away.

As soon as I got ownership of the house one of the first things that I had to do was get the rotten wood replaced and paint the house before winter came so that there wouldn't be any more deterioration to the siding and trim. With a blue house on one side of me and white house on the other I decided on painting the house a pale yellow with white trim and dark teal accents. For extra fun I painted the ceiling of my porch an aqua color. I kept the screen door and painted it but the 1960s door with the 3 staggered rectangle windows had to go in favor of an old reclaimed door with pretty glass windows. The funky front porch light was replaced with something more in keeping with the style of the house and I put up a vintage cast iron mailbox that I found on eBay. Not much was done with the landscaping at that time other than planting some bulbs, removing the half dead enormous bushes that flanked the front porch, hiding the stonework and getting rid of the stone planter in the middle of the front yard. I left for Japan at the end of February 2008 so I didn't even have a chance to see my bulbs come up that year.

After I got back from Japan at the end of April 2009 I set about doing some landscaping. I took some of the stones that had been removed from the front planter and used them to edge a bed that I made around the base of the tree in my front yard as well as a 4' x 30' vegetable and herb garden that I planted along the side of my house. I moved the hostas that were in the bed in front of the side wing to the new bed under my front tree and replaced them with impatiens.

In the fall of 2009 a local nursery was selling small Korean boxwood for 1/2 off because it was the end of the season so I scooped up a bunch and planted them all along the side wing and sides of the front porch.

During the summer of 2010 I didn't do a lot out front since I was focused on my back patio and building my patio furniture. I did however plant some annuals as well as some azaleas in the bed in front of the porch. I also hired someone to patch the concrete front steps, but once winter came the freezing and thawing made the skim coat crack off.

Unfortunately the azaleas didn't end up doing too well so in the summer of 2011 I replaced them with some larger boxwood. I like the boxwood because they are evergreens so they add some color and life during the winter. I also planted some annuals in the front including a climbing plant with pink blooms on a bamboo trellis that I made. Most of my plantings were a success except for the plants that I put in the bed on the south side of the porch that didn't take too well despite being a full sun variety. The other big thing that I did was tear out the ivy that was embedded into the stone bed in front of the porch and then rebuild the bed. That was exhausting, back breaking work.

Still to come I would like to replace the windows on the side wing with double hung windows to match the rest of the house and add some shutters if I can get approval with the historic district commission. The side windows are clearly not original and I found shutters in the crawl space as well as some shutter hardware on some of the windows so I think I have a good shot of getting my petition approved. I also need to replace the front steps and figure out what to do with the plantings on the side bed. Hopefully I'll have it looking nice this summer. 

What are you planning on working on this summer? Are you going to do any landscaping or other fun projects outdoors?

Tuesday
Feb072012

Adding Shelves to My Built-In

With the top of my built-in gussied up with wallpaper it was time to get to work on making the bottom cabinet more functional by adding shelving. Just like hanging my medicine cabinet, this project also addresses both facets of my 2012 resolutions of getting organized and finishing up projects around the house.

Adding the shelves was pretty easy to do with the only trick making sure to get everything level. I started by picking up a six foot long pine 1x8 board to use for the shelves and some shelf supports from the hardware store. I measured and cut the boards to length and then held them up inside the built-in to get a rough idea of where I wanted them.

I aligned the level where I wanted my shelf to be on the left side of the cabinet and then applied a piece of painters tape directly underneath it which gave me a level guideline. I then measured up the distance from where the board rests to where the peg is located on the supports and drilled holes at that spot 1-1/2" and 6" from the back of the built-in. I put the supports in the holes and then used my level again to check that it was level.

To get the placement for the right side I put one of my shelf boards on the supports that I had installed, put the level on top of it and then adjusted the board until I got it level. I then put another piece of painters tape underneath the board to mark the level line and measured and drilled the holes in the same way that I did for the left side. I put the supports in the holes on the right side and then repeated the whole process for the second shelf.

After priming and adding two coats of paint to the shelves I was all set to start organizing my built-in cabinet. On the top shelf in the left corner I have two cardboard bins that cost a dollar from Target. One has some basic medicines and band-aids while the other has extras of things like razors and soap. Moving across the top shelf I have a little teal dish that I already owned holding my cleaning sponges and then all my bathroom cleaning supplies.

My middle shelf is organized with metal baskets that I also found at Target. The leftmost basket has things that I don't use very often like suntan lotion, bug spray and nail polish remover. The other two baskets hold my sample sized items. Whenever I stay at hotels I always take the mini shampoos, lotions or whatever else may be offered to guests in the bathroom. They are great for packing on my travels or if I have a house guest that forgot something. Over time I had amassed a ridiculous amount of hotel toiletries so I decided to pare things down to just these two baskets with liquid items like shampoo and conditioner in the middle one and dry items like bars of soap and hair brushes in the right one. 

Finally on the bottom shelf I have my extra bath towels and toilet paper. It feels good to have everything organized and by limiting myself to the space available it forced me to go through what I had and throw out a lot of things that I just didn't need. Nail polish that changes color in the sun? Gone. Twenty hotel shower caps? Maybe keeping three is enough. Now I just need to keep everything this way!

Is anyone else out there trying to get organized? How is it going? Do you have any tips to share?

If you are interested, check out the rest of my bathroom posts here: Bathroom Blog Posts

Monday
Feb062012

Hanging My Medicine Cabinet

On Sunday afternoon I finally got around to hanging up my medicine cabinet as part of my effort to put the finishing touches on my bathroom. I had considered building my own but then I found this one for half off ($115) at the Birch Run Pottery Barn Outlet and couldn't pass it up.

I wanted to liven it up a bit so I used the same technique that I used for my built-in to add wallpaper to the back of the cabinet before hanging it. To figure out the placement, I put up some blue painters tape on the wall in the dimensions of the cabinet, adjusting it until I got it located where I liked. I then hung it according to the directions, screwing the metal cleat into the wall using wall anchors and making sure it was level. After putting the glass shelves back in I was ready to fill it up.

I don't have much in the way of toiletries so I have plenty of room to keep things neat and tidy. I found cute little black and white cardboard bins for a dollar each at Target (I love the One Spot!) to use as shelf organizers. I have my disposable contacts in one, bobby pins and hair bands in another, earrings in another and so on.

I really like how the medicine cabinet looks compared to the small mirror I had before and now I can keep the deck of my sink clear of everything but my hand soap. It also helps me toward both of my 2012 New Years resolutions of finishing projects around the house and getting organized. Not bad for a project that took me less than an hour to complete!

If you are interested, check out the rest of my bathroom posts here: Bathroom Blog Posts

Monday
Jan302012

The Story of My Kitchen Sink

My kitchen sink is one of my favorite parts about my kitchen. When I was remodeling my kitchen I wanted a big, old fashioned cast iron sink with side drainboards to sit under my new large back window. The closest new sink that I could find to what I wanted was the Clarion Farmhouse Drainboard Sink but at more than $1500 it was over ten times my budget.

With the Clarion sink completely out of the question I set about hunting for my dream sink. I made weekly stops at the Ann Arbor ReUse Center and the ReStore searching through all the old sinks. I constantly checked eBay and Craigslist in the Southeast Michigan area. After looking for months I finally found a promising listing on Craigslist for $100 and made arrangements to see it.

One look at the sink and I knew it was perfect. It was 60" wide with a double bowl and drainboards on both sides. The porcelain had some minor discolorations but was free of any chips or scratches. I was in love. Despite the fact that I was deliriously happy at having finally found a sink, I hid my excitement and calmly offered $75 for the sink. The guy who was selling it just wanted to get rid of it (he had just ripped it out of his kitchen as part of a remodel) and gladly took it.

The sink was a beast and weighed a ton. When the countertop guys tried installing it the first time they cracked the thin piece of granite in front of the sink opening and had to fabricate it again. Once installed the sink was exactly perfect for the space. It's the focal point of my kitchen and it is wonderful to have so much bowl space. I absolutely love my kitchen sink and it was definitely worth the long search.