Welcome

My name is Lisa and I'm a crafty girl with wanderlust working as an engineer by day. My blog chronicles projects in my home as well as pictures and stories from my travels.

Search


Instagram

Blog Index
The journal that this archive was targeting has been deleted. Please update your configuration.
Navigation
Thursday
Jul252013

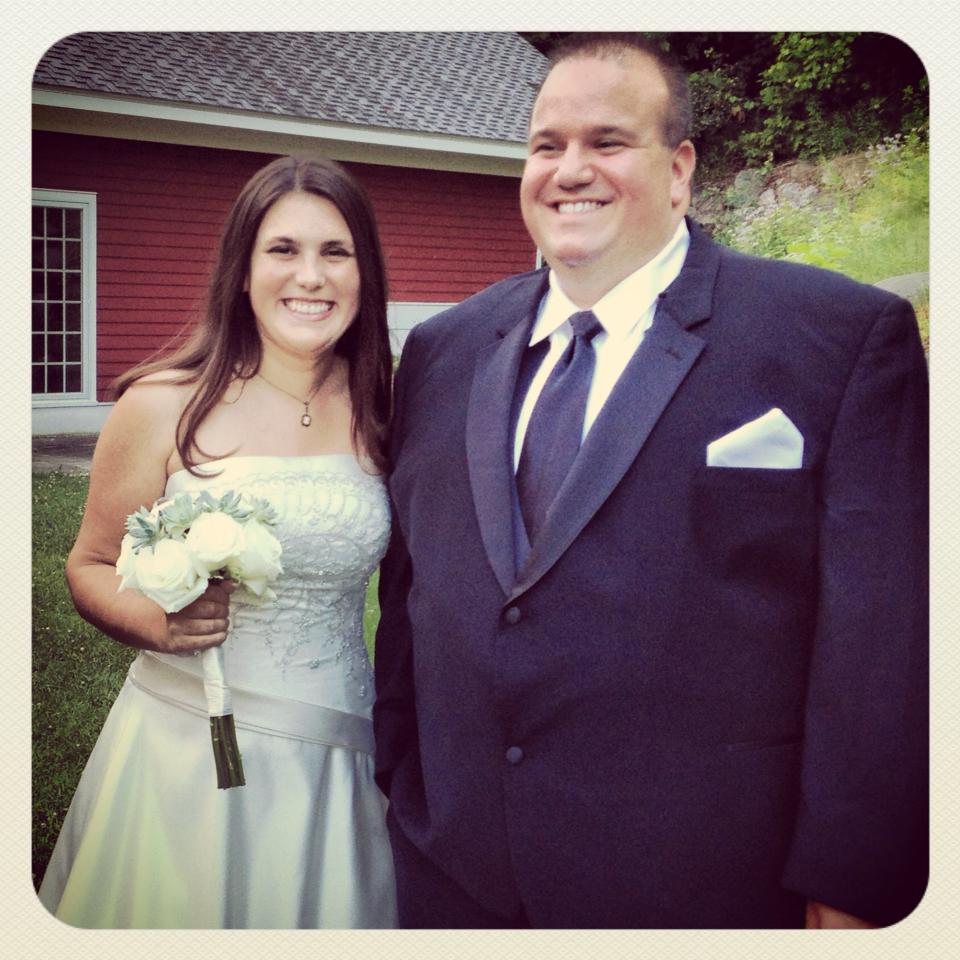
Welcome Baskets for our Wedding Guests

One of the things that I wanted to do for our wedding was to prepare welcome baskets for all of our guests. I made up a fun girl themed basket for each of Frank's (and now my) three nieces and then made grown-up baskets for the rest of the wedding guests.

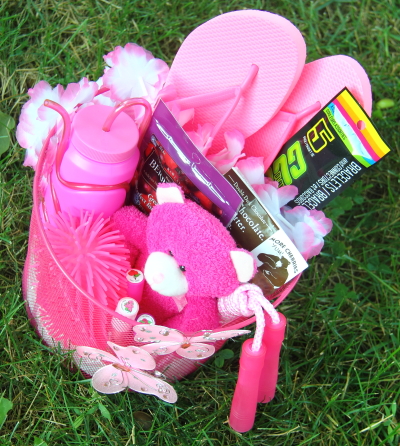
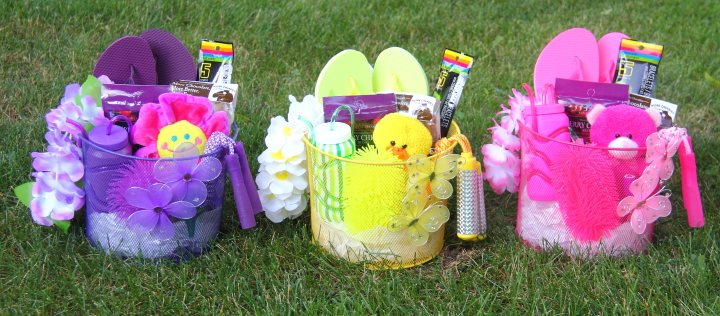
For the nieces (who Frank and I refer to as the Niecelets) I made up a basket in each girl's favorite color of purple, yellow and pink.

I had found the metal baskets at Target in the One Spot a while back. They were all hot pink so I used some spray paint to turn one purple and another one pink. When spray painting metal mesh like these baskets I have found it is important to spray it upside down, right side up and from different angles in order to get coverage over the whole mesh.

To assemble the baskets I crumpled a few sheets of white tissue paper to place in the bottom and then layered the goodies in the basket on top. I had a lot of fun shopping for the color coordinated items for the girls. Here is what each of the baskets contained:

- Flower lei
- Flip flops
- Glow in the dark bracelets
- Water bottles with twisty straws
- Dried Berry Cherry Blend from Traverse Bay Fruit Co.
Double Dark Chocolate Cherry Boomchunka Cookies from Cherry Republic
- Jump rope
- Stuffed animal
- Spiky, wiggle ball
- Three flavored lip glosses

On the front of each basket I wired some nylon flower and butterfly embellishments to dress up the baskets a bit more for fun. I thought they turned out really cute.

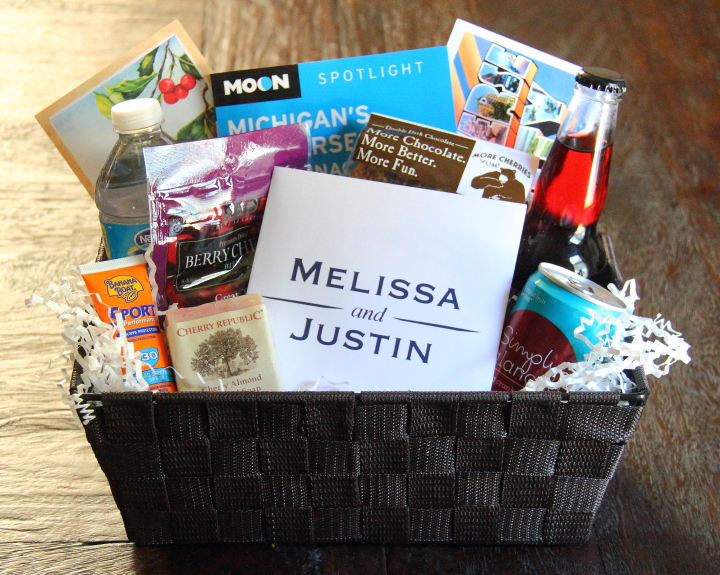
For the adults I decided to go with a cherry theme since Northern Michigan is famous for their cherries. In fact the Traverse City airport, which our out of state guests flew in to, is called the Cherry Capital Airport.

I found the baskets in the organization aisle at Meijer. They are woven onto a metal frame so I knew they would be strong enough to support the drinks that I had in the basket. Each of the baskets contained the following:

- Cherry postcard from Cherry Republic
Michigan's Traverse Bays and Mackinac Island Guide Book 
- Greetings from Traverse City postcard
- Bottle of water
- Dried Berry Cherry Blend from Traverse Bay Fruit Co.
- Double Dark Chocolate Cherry Boomchunka Cookies from Cherry Republic
- Henry Weinhard's Black Cherry Cream Soda
- Small tube of 30 SPF sunscreen
- Cherry Almond Oatmeal Soap from Cherry Republic
- Sparkling Cranberry Cherry Juice

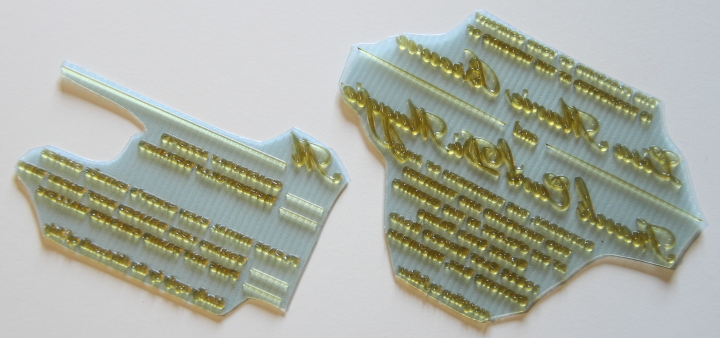
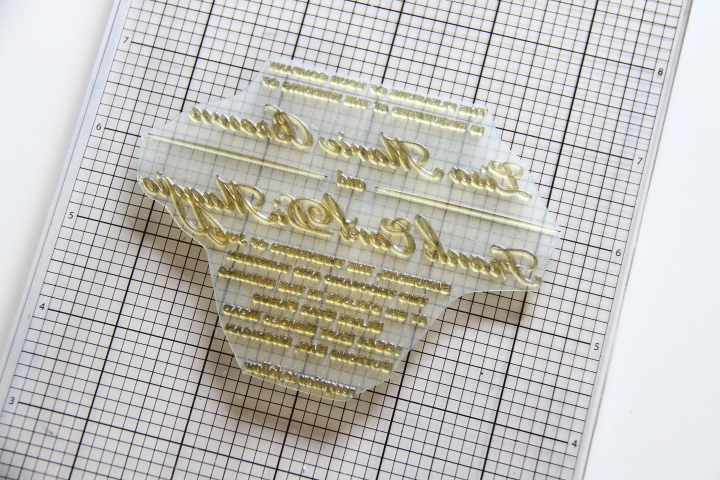
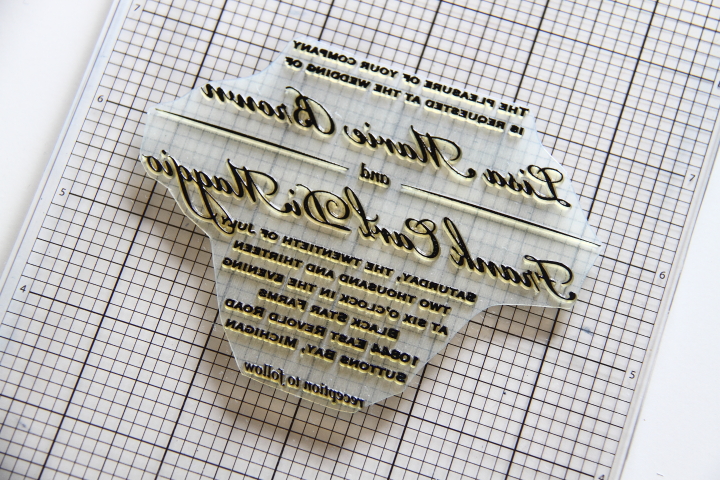
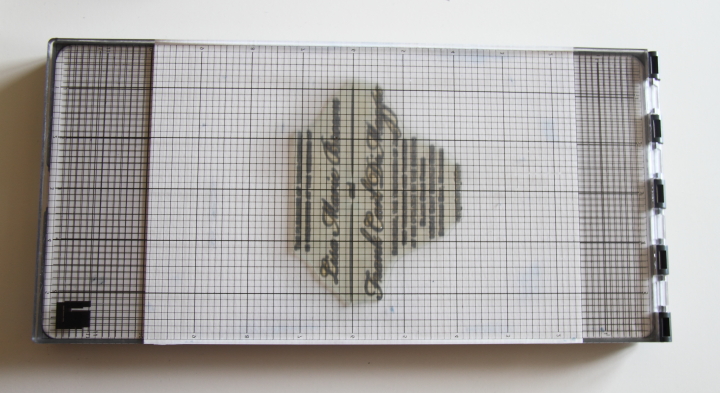
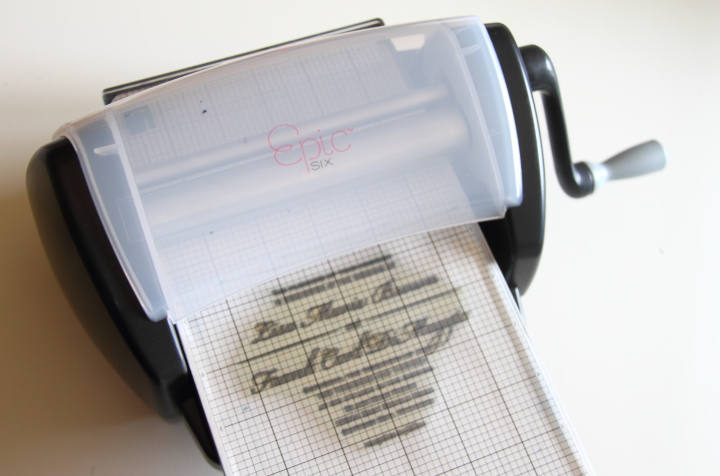
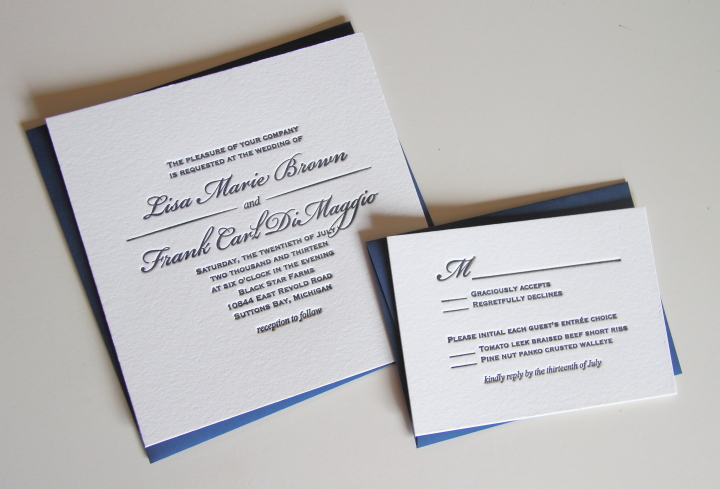
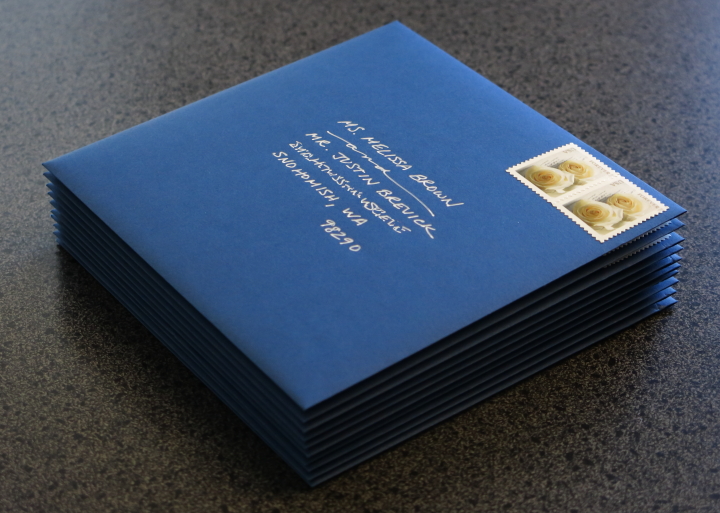
To assemble everything I put a layer of white crinkle cut paper on the bottom of the basket and then nestled all of the items inside. I wrote notes to all of our guests and put their names on the outsides of the envelopes using fonts that matched our wedding invitations.

I put together the Niecelet baskets in advance, but since the car was going to be full of wedding items I left the seven adult baskets unassembled so that I could pack everything in a way to save space. Because I did a dry run at home to see how I would put everything together it only took about ten minutes to assemble the baskets once we got to the Inn. I was really happy with how the baskets turned out and all of our guests loved them.

Thursday
Jul252013

Picture of the Day: School Girls Playing Instruments in Toyota City


Toyota City, Japan
11.2010 

Wednesday
Jul242013

Hello From Santo Domingo! 

Frank and I are in the Domincan Republic for our honeymoon and our first stop is in Santo Domingo for a few days.

Santo Domingo was founded in 1496 by Christopher Columbus's younger brother, Bartholomew, and served as the first seat of Spanish colonial rule in the New World. As the oldest continuously inhabited European city in the Americas, the Zona Colonial in Santo Domingo is full of amazing old buildings dating back four and five hundred years.

In our short time here so far we have had a chance to visit the oldest cathedral in the Americas, Cathedral of Santa María la Menor, which was constructed from 1512 to 1540, as well as the oldest still standing stone building in the New World, Casa del Cordon (1502), which now houses a bank.

In addition to the beautiful historic sights we have been impressed with how genuinely friendly everyone is here. As an example, while we were taking pictures in front of Cathedral of Santa María la Menor several people stopped to let us know that the entrance was down the street behind the building before heading along their way.

We've also had some delicious meals here from fantastic ceviche at La Taberna Vasca to sandwiches stuffed with ham, pulled pork, two types of cheese and green tomatoes at Barra Payan.

It has been a great two days so far and I am looking forward to exploring Santo Domingo more!

Wednesday
Jul242013

Picture of the Day: Port at Gustavia in Saint Barthélemy

Gustavia, Saint Barthélemy
5.30.2010

Tuesday
Jul232013

We're Married!

Frank and I got married on Saturday! We had a tiny wedding (only 16 people including ourselves) and everything turned out wonderfully. The wedding was at Black Star Farms in Suttons Bay and it was the perfect venue for us. We not only had the wedding and reception there but we and all of our guests also stayed at the Inn. It was really great because we all got to spend a lot of time together and have a relaxing, fun weekend.

Everyone arrived at different times on Friday and several of us walked up to the tasting room for wine tasting, which is complimentary for guests at the Inn. Frank and I ended up later buying a bottle of the pear and the apple brandy as mementos of our wedding.

From 5:30 to 6:30 we enjoyed a wine and cheese reception at the Inn and then we all headed to Traverse City for an 8:00 dinner at the Towne Plaza. The food was fantastic and everyone had a great time chatting and getting to know other guests that they hadn't met before. After dinner we ended up hanging outside on the verandah behind the Inn chatting until late before calling it a night. 

On Saturday we had a wonderful breakfast at the Inn and then while the guys went off on a fishing charter for the day the ladies headed for a little sightseeing at Sleeping Bear Dunes National Lakeshore followed by lunch in Glen Arbor.

At 4:30 my girlfriends and sister did my hair and makeup and we had fun getting ready together. At 6:00 we had our ceremony in a pretty grassy little area behind the inn. It was short, but meaningful to us and it couldn't have been more perfect. We took pictures while we had cocktails and appetizers and then had dinner at 7:30. We all sat at one long table and it was so much fun to be able to have conversations going that involved all of our guests. We had to leave the reception room at 10:00 but then we all changed and headed to the lounge/bar area of the Inn and hung out for a few more hours.

On Sunday morning we had breakfast at the Inn and then said our goodbyes as everyone left for the airport or packed up into cars to drive home. It was really a fantastic weekend for us and just what Frank and I had envisioned for our wedding celebration. I'm not one to be very lovey-dovey in public but I will say that Frank is pretty much the most super awesome person on the planet and I feel like the luckiest lady alive to get to spend my life with him. Now I'm ready for our honeymoon!

Tuesday
Jul232013

Picture of the Day: Blue Doorway in Flores


Flores, Guatemala
7.02.2010 

Thursday
Jul112013

DIY Letterpress Wedding Invitations 

I love how letterpress looks so I really wanted to try making my own letterpress wedding invitations. I looked at my local paper/bookbinding shop to try to do a traditional class where you set your own type, but nothing was available in the time frame I needed. I did a little searching around on the internet and came across an at home option with the Lifestyle Crafts Letterpress Combo Kit. At first I was a little discouraged since the reviews weren't so great, but I found that some people had success using modifications with a tutorial from Boxcar Press.

With renewed enthusiasm, I decided to go for it and ordered a custom letterpress plate from Boxcar Press. My first step was to create a design for my invitation and reply card on Adobe Illustrator. For fonts I used Bickham Script Pro for our names, Times New Roman in italic for "and" and "reception to follow" and Copperplate for the rest of the wording. 

Since you pay for the total area of the design and there is a minimum size I decided to fill up the blank spaces with other words like "Happy Birthday" and "Thank you" as well as some cute icons for later use in card making. Honestly, I realized after getting my plate I could have packed things together a little more tightly than I did. Ordering the plate was super easy. I simply created a log-in and uploaded my Adobe Illustrator file. They also take PDF and EPS files as well. Below is a portion of the plate that I received with my invitation on the top right and the reply card on the bottom right.

I used a regular scissors to cut apart the elements from each other. The reply card is on the left and my invite is on the right.

Next, I pulled the blue film off the plate to expose the sticky backing on my invitation plate. I saved the blue film to reapply after I was done. The letterpress kit is basically two hinged acrylic boards that you crank through a die cut machine. I aligned my plate on the top board using the grid lines.

Next I inked my plate. This was a bit tricky. I choose to order deep navy blue rubber ink from Boxcar Press.  Honestly, it was expensive but now I have a lifetime of navy ink since it comes in a two pound can. I also liked the fact that rubber ink was slow drying to make clean up and printing easier.

When printing you need to use a very, very small amount of ink so you should have two acrylic pieces, one to work some ink until it is soft with an ink knife and the other to roll out with your brayer. I had the one that came with my kit and then I used the back of one of my quilting templates for the other one. Honestly, the piece of acrylic that came with my kit was ridiculously small and I would have saved myself some headaches if I had used something larger since I barely had any room to hold it. The brayer that comes with the kit is also so small that is it absurd. I got a 6in soft rubber brayer and was very glad that I did. 

I took a small amount of ink from my can, mixed it until it was smooth on my first acrylic piece with my ink knife and then transferred a very small amount onto the second acrylic piece. I then rolled it out with my brayer until I had a very, very light coating of ink on the brayer.

With my brayer loaded with ink, I very lightly rolled it over my letterpress plate. I used some of the polymer plate strips that came with my plate for roller bearers as the Boxcar Press tutorial suggested, but honestly I found that I got better results by hand inking it.

It definitely took some time to get the hang of exactly how much ink I needed to get a nice impression. The picture below is with my plate inked with a bit too much ink, but unfortunately I didn't take a picture with it inked the right amount. To make sure that I got good impressions, after each print I wiped the plate clean with a dry cotton rag before reinking.

After the plate was inked I put my paper on the bottom board of the letterpress bed.  I splurged and bought Crane's Lettra Pearl White 220lb Cover. It is hard to show in pictures but it is amazingly thick and beautiful and I felt it was definitely worth it. Instead of using gage pins to align my paper on the letterpress bed I just aligned it with the sides (since the paper was the full width of the bed) and the trimmed down the top and bottom afterward. I was only making ten invitations so that method seemed easier for me, but if you were making a large quantity you may want to do something different.

With the paper in place I carefully flipped the top of the letterpress over the bed.

I then put the letterpress bed into the Epic Six and turned the crank which pushed the letterpress bed through the machine.

After trimming it down to size my invitation was complete. I then used the same process to print my reply cards.

To finish things up I bought 6" x 6" Navy Square Invitation Envelopes for the invitations and 3-5/8" x 5-1/8" Navy Invitation Envelopes for the reply cards. I kept things simple and used a white gel pen to address the envelopes before popping them in the mail.

I really love how my invitations turned out and to me it was worth the time and effort. Honestly speaking, figuring out how much ink gave a good print was a bit fussy and time consuming but once I had that down it was fairly quick to crank them out. It is definitely something that I would try again for a special occasion.

Tuesday
Jul092013

Picture of the Day: Banaue Village Among the Rice Terraces


Banaue, Philippines
1.2009 

Monday
Jul082013

The Pergola is Up!

The pergola is finally up! The guy that we hired was back logged with work so he wasn't able to come out until last week. I was out of town so Frank snapped this picture for me when he first got the posts up.

Here is what it looks like as of today.

I really love it! A few more things need to be done, like placing the removed bricks back in place and reseeding the lawn where it was regraded for the patio. I also plan on staining the pergola an opaque white, but the treated wood needs some time to dry out before I can do that. I'm so excited to see the backyard coming together. For reference, here is what it looked like less than two month ago.

I can't wait to get this all done!

Monday
Jul082013

Picture of the Day: Boats on Halong Bay

Halong Bay, Vietnam
8.13.2011