 I love how letterpress looks so I really wanted to try making my own letterpress wedding invitations. I looked at my local paper/bookbinding shop to try to do a traditional class where you set your own type, but nothing was available in the time frame I needed. I did a little searching around on the internet and came across an at home option with the Lifestyle Crafts Letterpress Combo Kit. At first I was a little discouraged since the reviews weren't so great, but I found that some people had success using modifications with a tutorial from Boxcar Press.
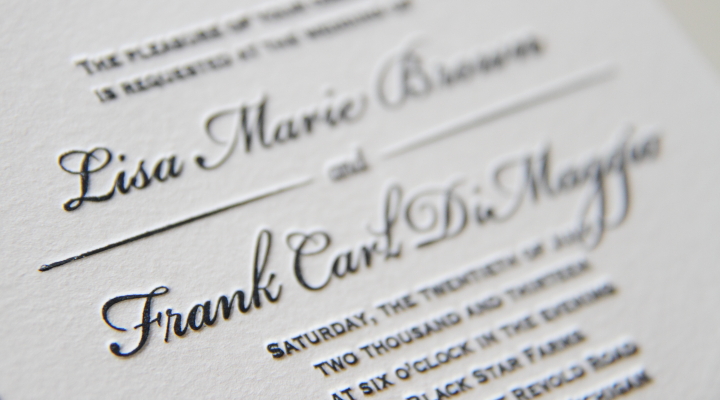
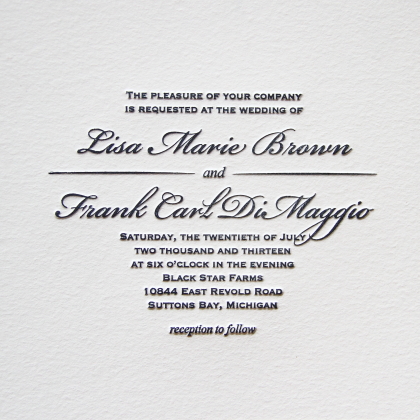
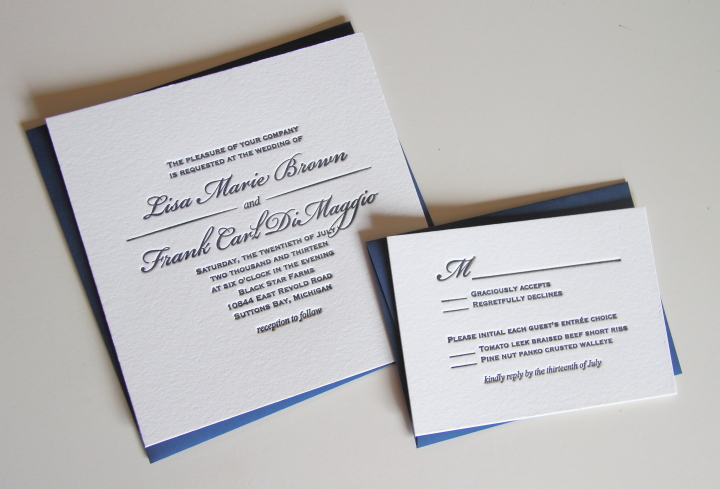
With renewed enthusiasm, I decided to go for it and ordered a custom letterpress plate from Boxcar Press. My first step was to create a design for my invitation and reply card on Adobe Illustrator. For fonts I used Bickham Script Pro for our names, Times New Roman in italic for "and" and "reception to follow" and Copperplate for the rest of the wording.
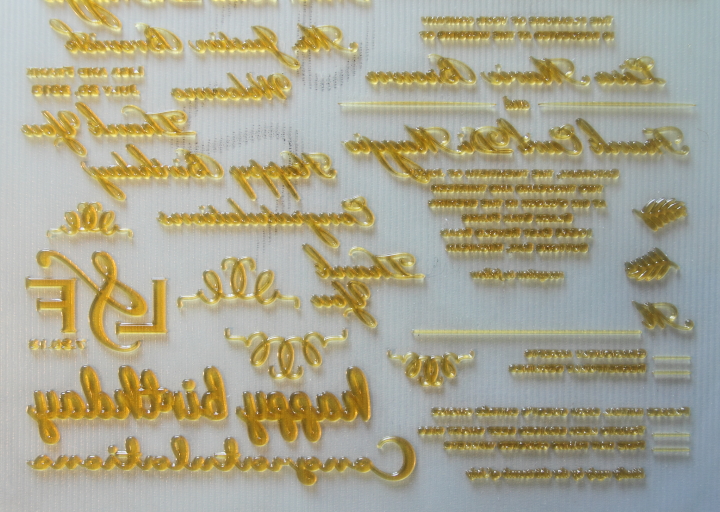
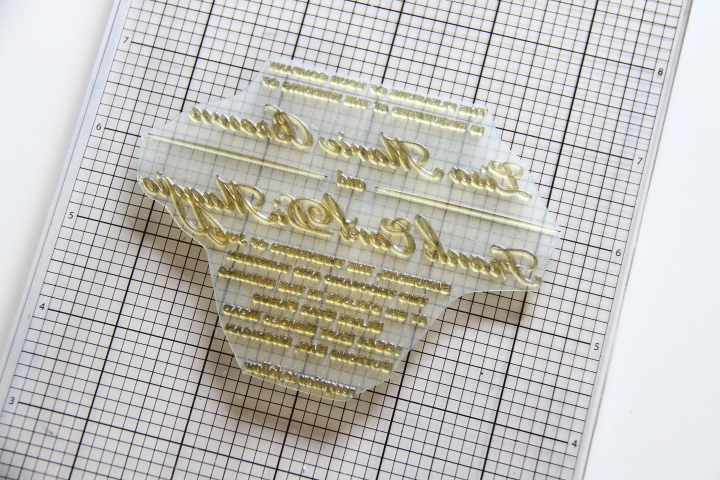
Since you pay for the total area of the design and there is a minimum size I decided to fill up the blank spaces with other words like "Happy Birthday" and "Thank you" as well as some cute icons for later use in card making. Honestly, I realized after getting my plate I could have packed things together a little more tightly than I did. Ordering the plate was super easy. I simply created a log-in and uploaded my Adobe Illustrator file. They also take PDF and EPS files as well. Below is a portion of the plate that I received with my invitation on the top right and the reply card on the bottom right.
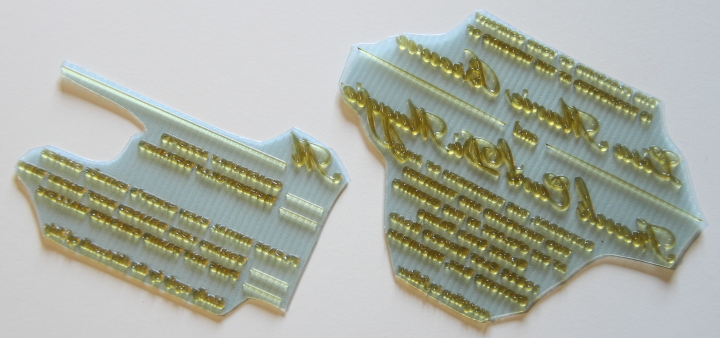
I used a regular scissors to cut apart the elements from each other. The reply card is on the left and my invite is on the right.
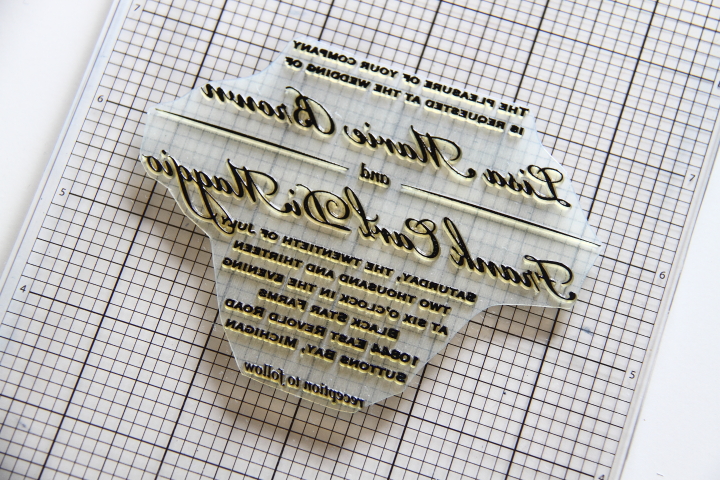
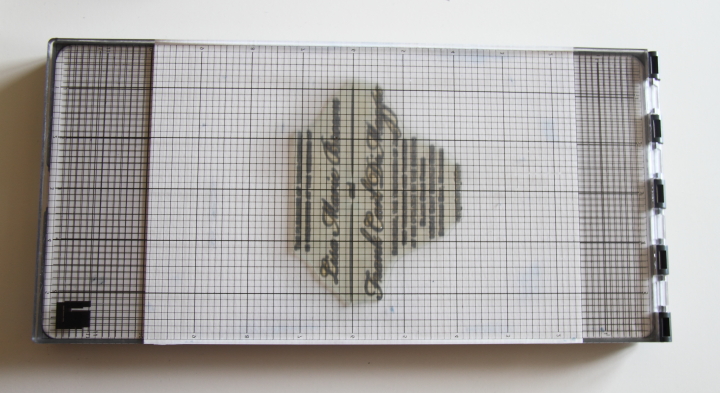
Next, I pulled the blue film off the plate to expose the sticky backing on my invitation plate. I saved the blue film to reapply after I was done. The letterpress kit is basically two hinged acrylic boards that you crank through a die cut machine. I aligned my plate on the top board using the grid lines.
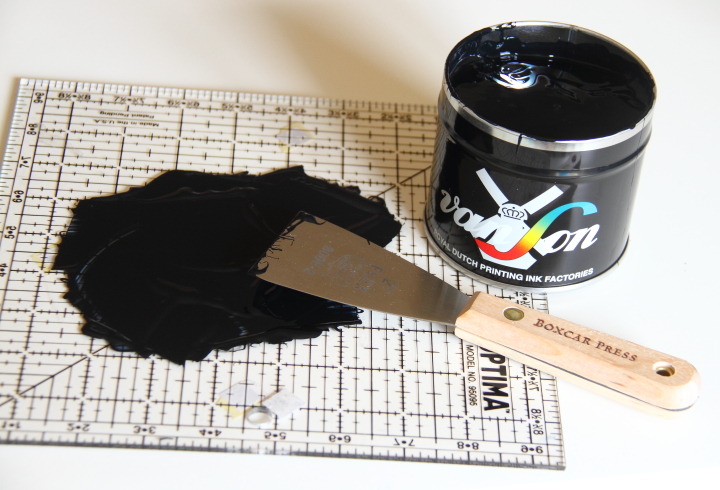
Next I inked my plate. This was a bit tricky. I choose to order deep navy blue rubber ink from Boxcar Press. Honestly, it was expensive but now I have a lifetime of navy ink since it comes in a two pound can. I also liked the fact that rubber ink was slow drying to make clean up and printing easier.
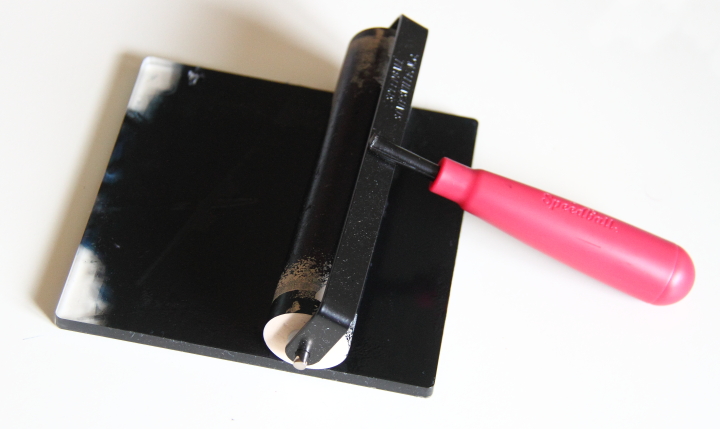
When printing you need to use a very, very small amount of ink so you should have two acrylic pieces, one to work some ink until it is soft with an ink knife and the other to roll out with your brayer. I had the one that came with my kit and then I used the back of one of my quilting templates for the other one. Honestly, the piece of acrylic that came with my kit was ridiculously small and I would have saved myself some headaches if I had used something larger since I barely had any room to hold it. The brayer that comes with the kit is also so small that is it absurd. I got a 6in soft rubber brayer and was very glad that I did.
I took a small amount of ink from my can, mixed it until it was smooth on my first acrylic piece with my ink knife and then transferred a very small amount onto the second acrylic piece. I then rolled it out with my brayer until I had a very, very light coating of ink on the brayer.
With my brayer loaded with ink, I very lightly rolled it over my letterpress plate. I used some of the polymer plate strips that came with my plate for roller bearers as the Boxcar Press tutorial suggested, but honestly I found that I got better results by hand inking it.
It definitely took some time to get the hang of exactly how much ink I needed to get a nice impression. The picture below is with my plate inked with a bit too much ink, but unfortunately I didn't take a picture with it inked the right amount. To make sure that I got good impressions, after each print I wiped the plate clean with a dry cotton rag before reinking.
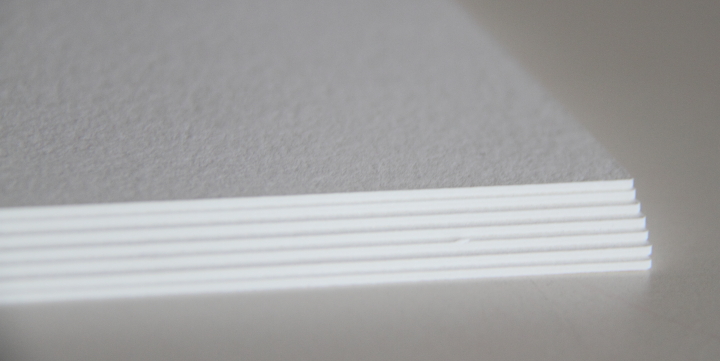
After the plate was inked I put my paper on the bottom board of the letterpress bed. I splurged and bought Crane's Lettra Pearl White 220lb Cover. It is hard to show in pictures but it is amazingly thick and beautiful and I felt it was definitely worth it. Instead of using gage pins to align my paper on the letterpress bed I just aligned it with the sides (since the paper was the full width of the bed) and the trimmed down the top and bottom afterward. I was only making ten invitations so that method seemed easier for me, but if you were making a large quantity you may want to do something different.
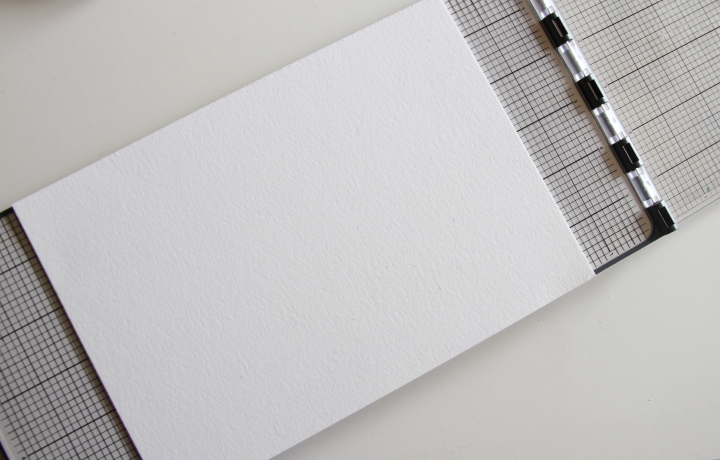
With the paper in place I carefully flipped the top of the letterpress over the bed.
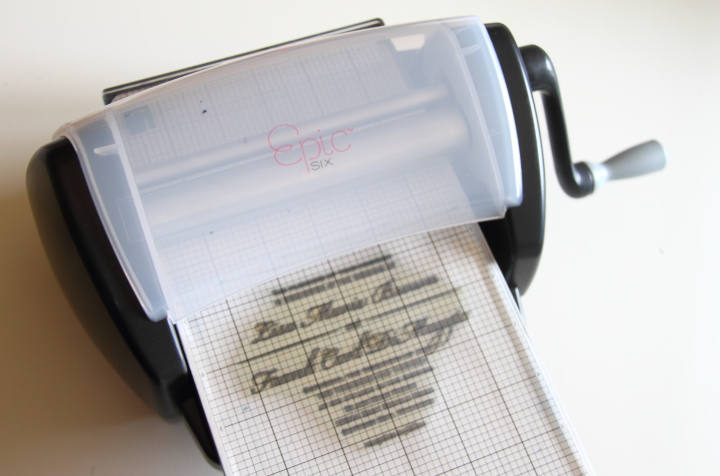
I then put the letterpress bed into the Epic Six and turned the crank which pushed the letterpress bed through the machine.
After trimming it down to size my invitation was complete. I then used the same process to print my reply cards.
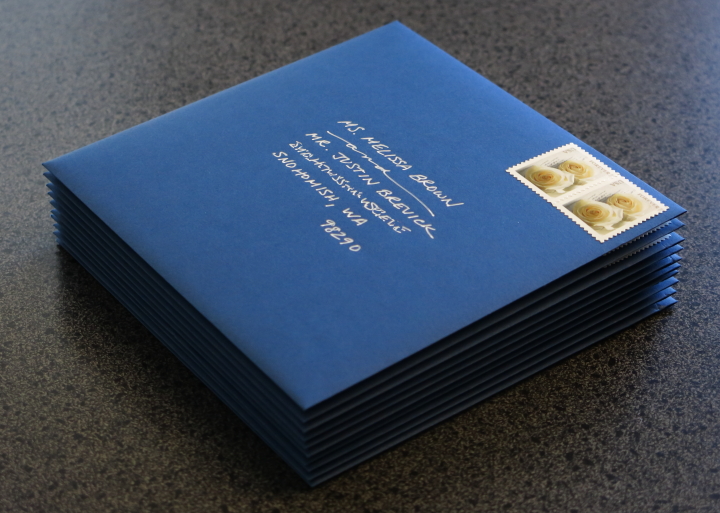
To finish things up I bought 6" x 6" Navy Square Invitation Envelopes for the invitations and 3-5/8" x 5-1/8" Navy Invitation Envelopes for the reply cards.
I kept things simple and used a white gel pen to address the envelopes before popping them in the mail.
I really love how my invitations turned out and to me it was worth the time and effort. Honestly speaking, figuring out how much ink gave a good print was a bit fussy and time consuming but once I had that down it was fairly quick to crank them out. It is definitely something that I would try again for a special occasion.