Still Tiling...
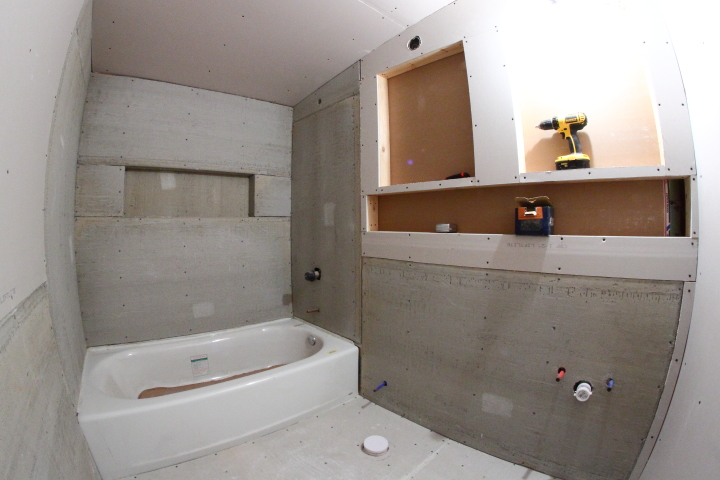
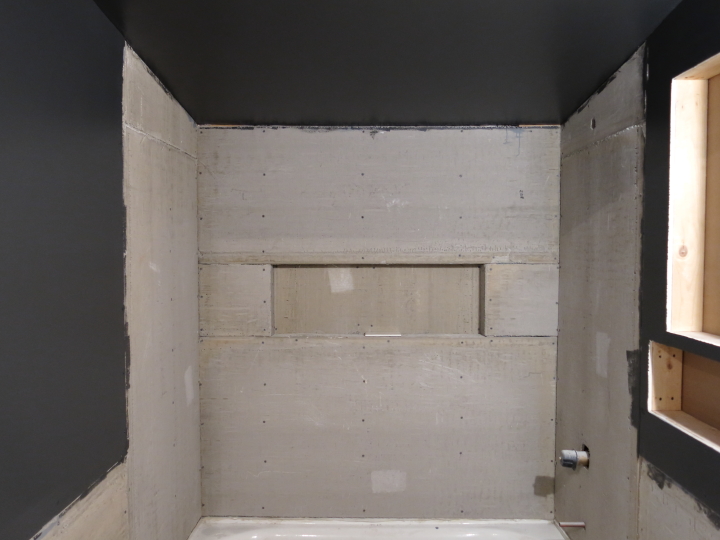
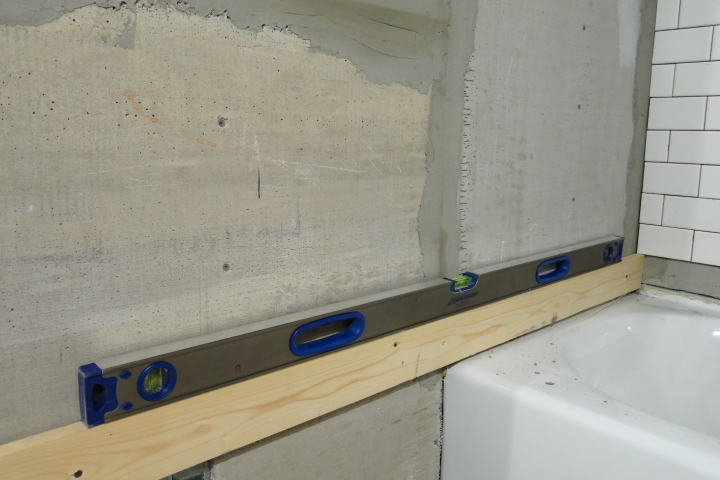
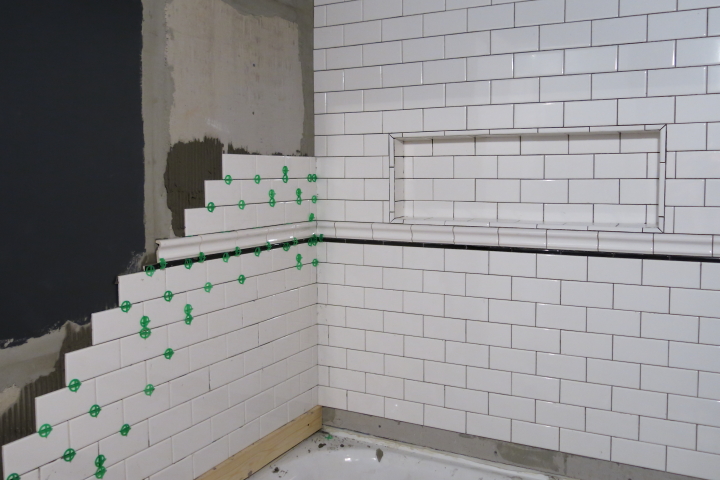
When I last left off with sharing my bathroom tiling exploits I had finished the back wall of the shower enclosure along with the shampoo/soap nook. From there I proceeded to start working along one of the walls. I lined up my ledger board snugly under the bottom tile on the back wall, placed a level on top, adjusted the ledger board until it was level and then screwed it into the wall.
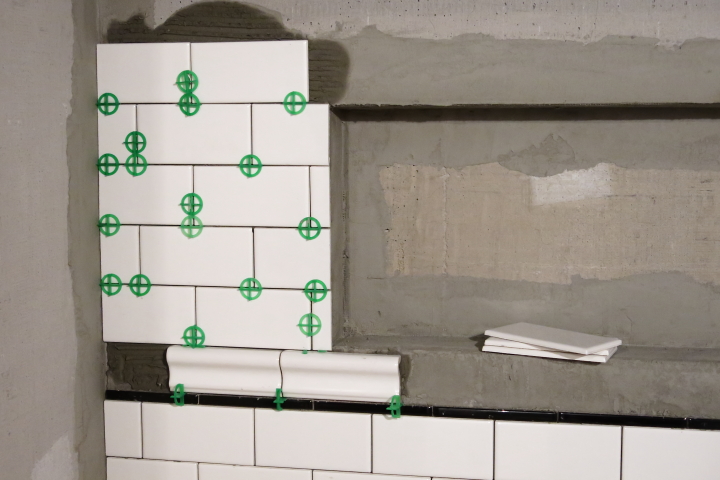
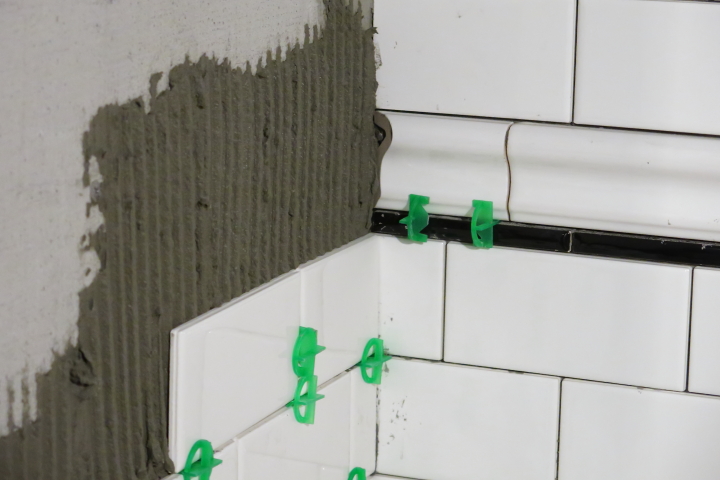
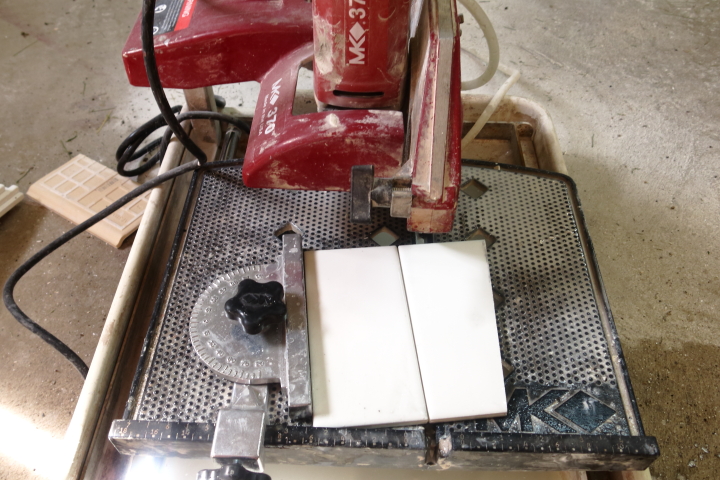
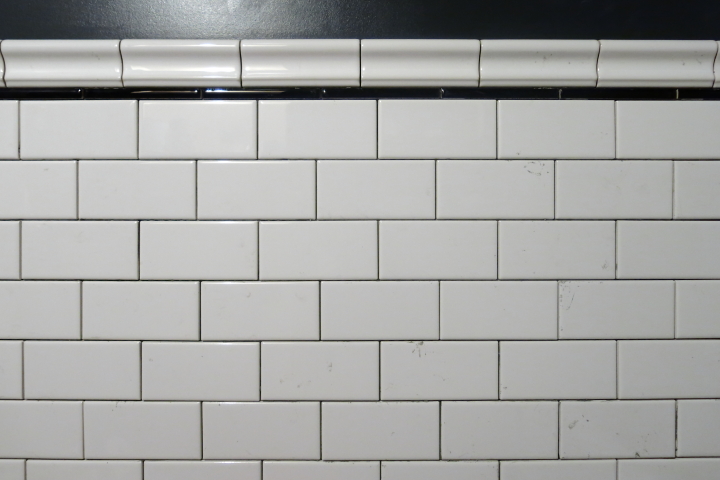
From there I set about tiling up the side wall just as I had the back wall. Once I got to the chair rail I used my 45 degree miter attachment (which came with my saw when I bought it used) on my tile saw to cut the miter for the corner on both pieces and set them in place.
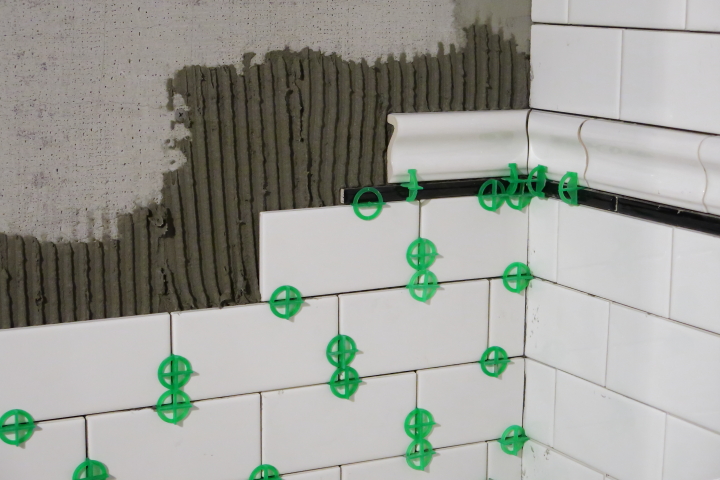
Tiling the field tile with no special cuts actually proceeded fairly quickly.
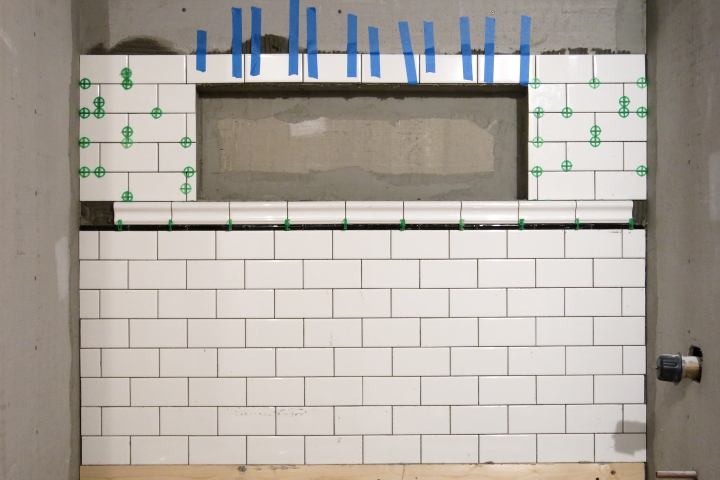
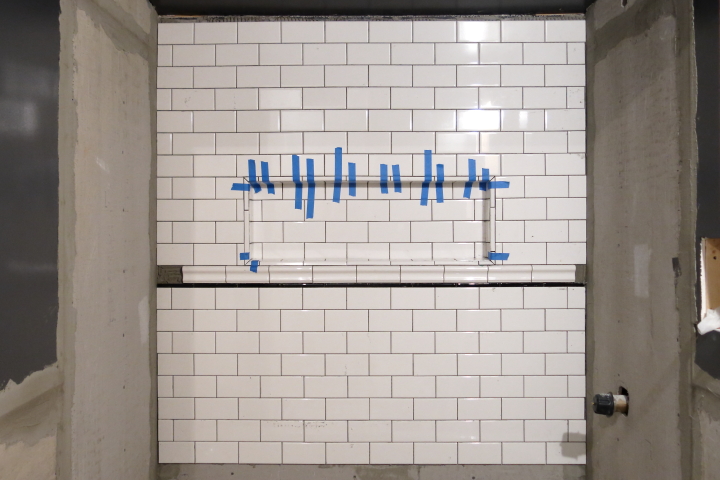
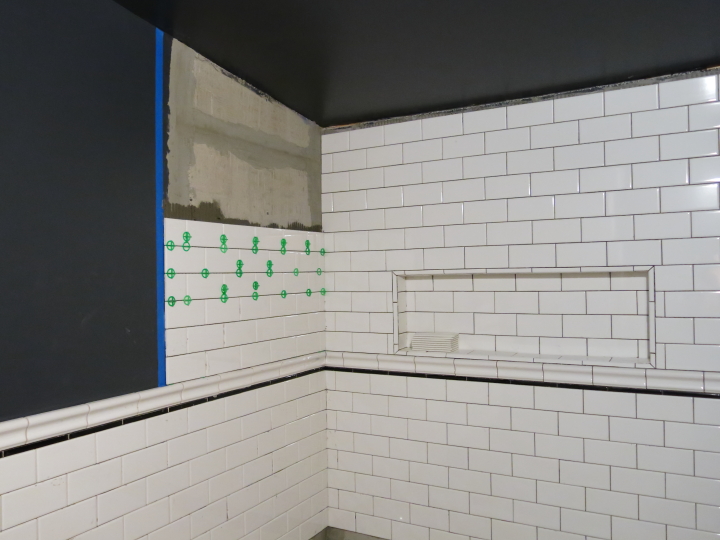
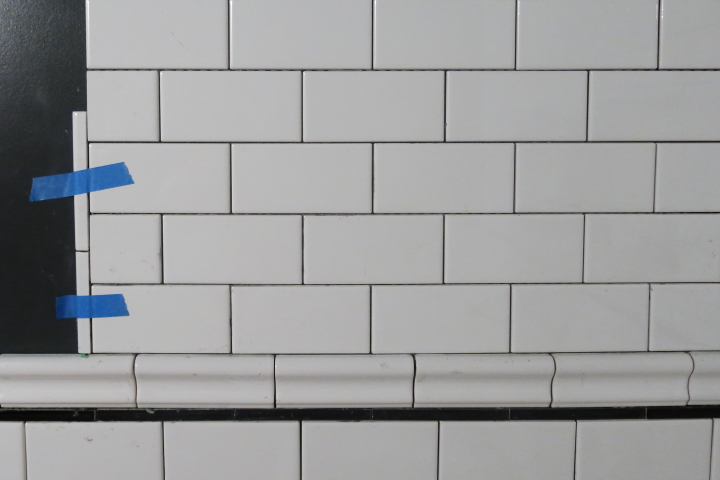
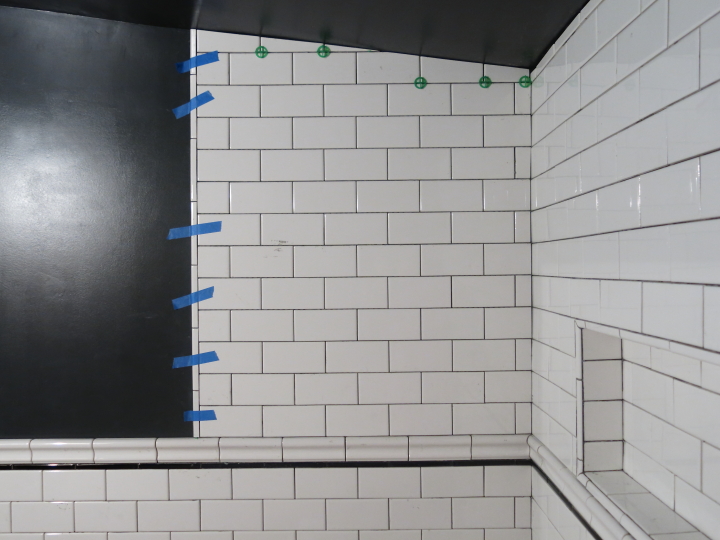
My intention was to tile the shower enclosure up to the ceiling and stop the tile around the rest of the room at the chair rail. To make sure that my line was straight at the end of the shower enclosure I used a level to align a piece of painters tape plumb along the wall. I then used this as my guideline for the tiling.
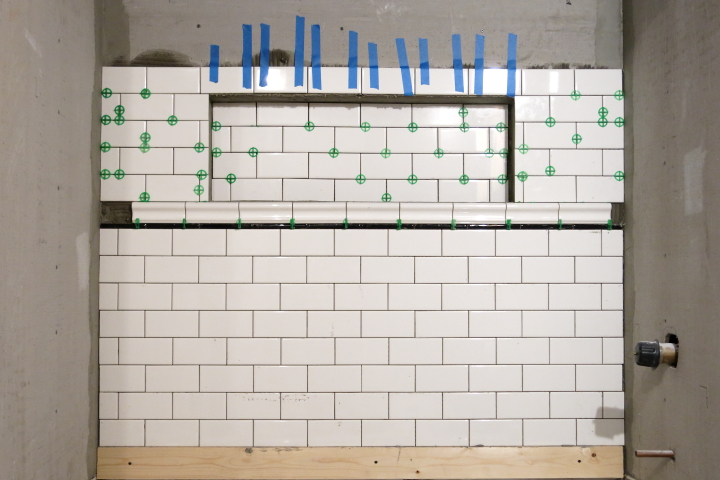
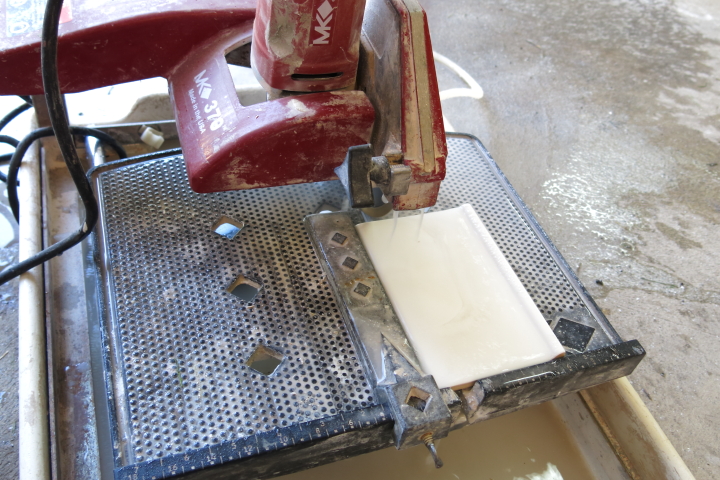
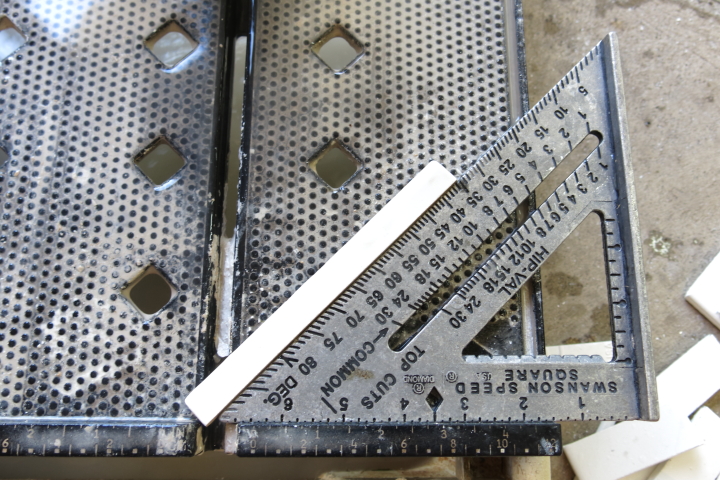
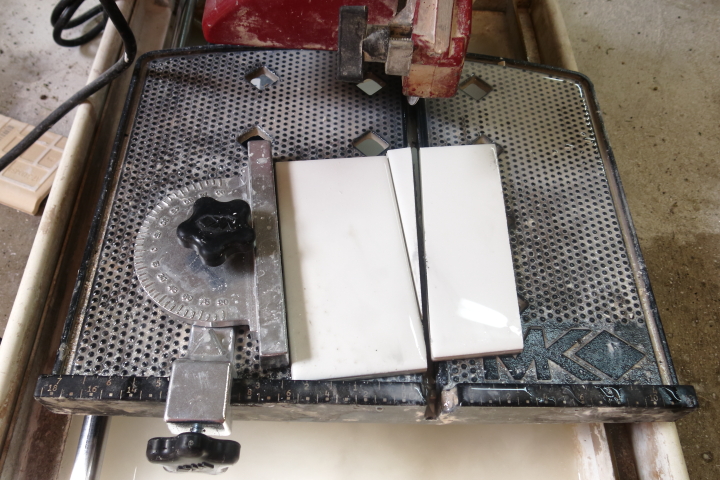
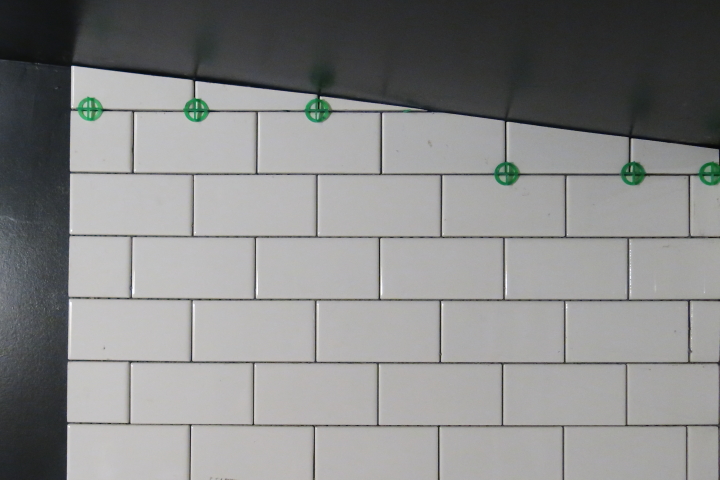
With the slanted ceiling I had to make some tricky cuts so I bought a new attachment for my wet saw, a 90 degree protractor. I am sure that a professional might have a better way of setting it but I simple held it face back to the wall snugly up to the ceiling and the adjusted the arm until it was parallel with the top row of the tile I had laid. This seemed to do the trick and I was able to use the protractor to cut the correct angle on the top of the tiles.
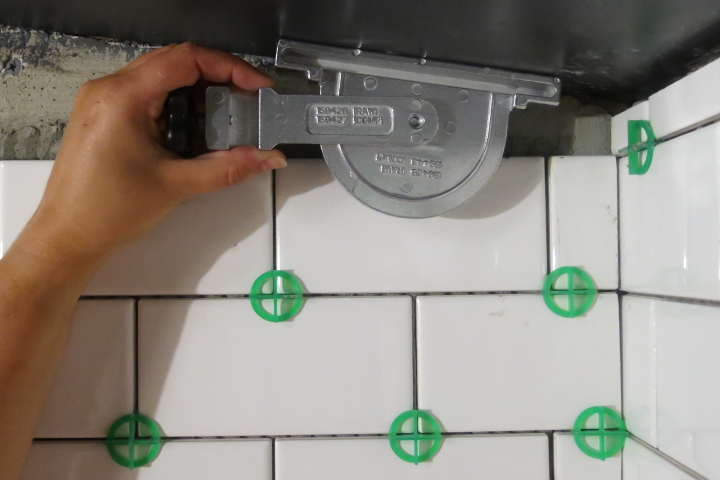
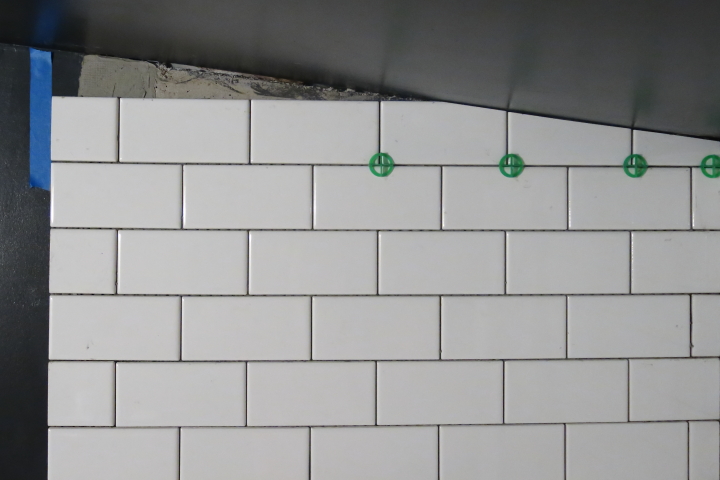
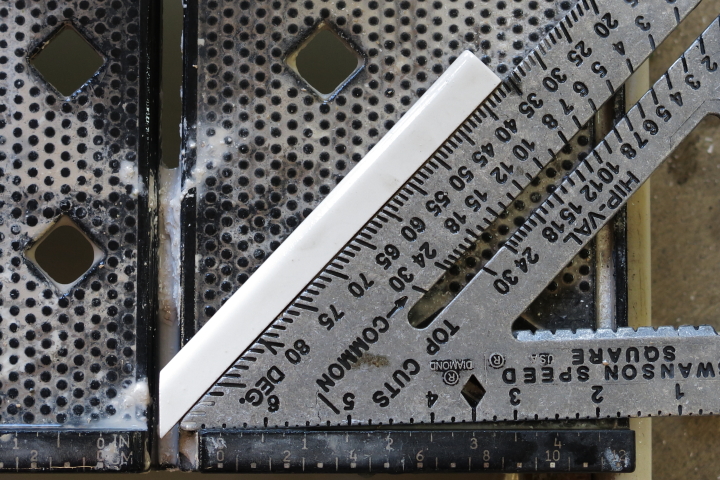
On the second row of tiles that needed to have the angle cut I had a slice of a tile that was smaller than a full tile. In order to cut that tile I used a scrap tile against the protractor followed by the tile I was intending to cut. By doing this I was able to get a clean cut on the small tile slice. If I had just lined it up against the protractor the blade of the saw would have hit the metal of the protractor instead of continuing through the scrap tile.
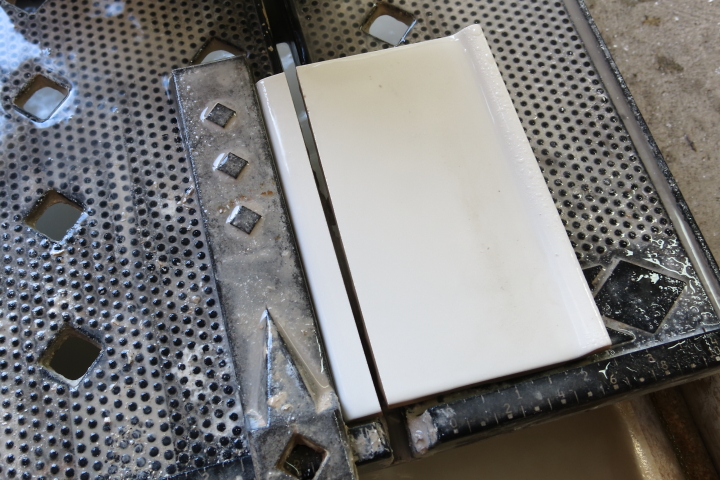
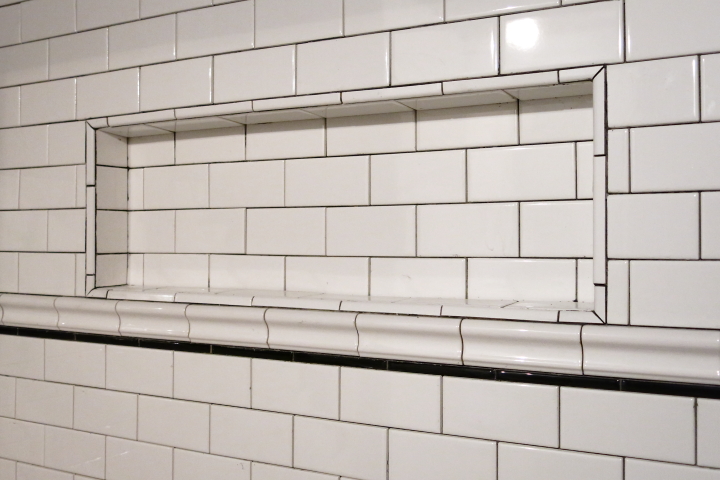
Next, I needed to provide a finished edge to the shower surround. Since the regular bullnose tile was a little too wide for my tastes, I used bullnose tile that I trimmed down to the width of the liner bar (the same way that I did for the border of the nook) to create a clean edge. In order to keep the slender pieces in place I used painters tape to hold them in place until the thinset cured.
With one side wall completed I can start to see how the bathroom is going to shape up. It is a very laborious process with about 500 tiles laid on the walls so far, but I think it is going to look fantastic when it is done. I just need some more free time to devote to it!

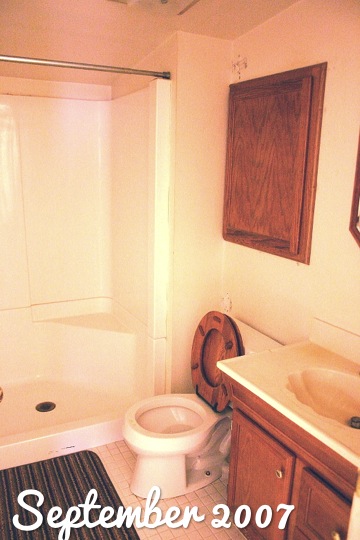
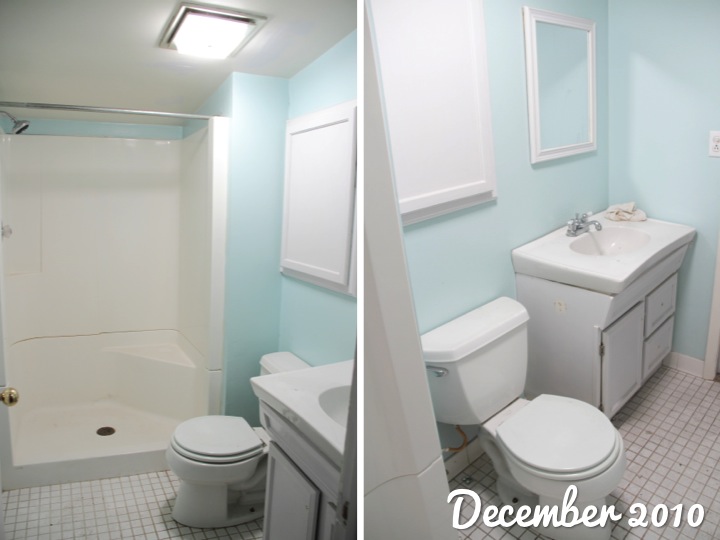
For other related posts about this bathroom renovation check out the history of my downstairs bathroom, fixtures for my bathroom renovation, plumbing in the downstairs bathroom, installing the floor tile underlayment, insulating the ceiling, installing the vapor barrier for the shower, installing drywall and cement board, tiling a vintage mosaic border, mudding, taping, sanding and painting, taping the cement board joints and tiling part 1. If you are interested in my completed master bathroom renovation check out master bathroom renovation recap.
 Lisa | 3 Comments | Share Article | Email Article | Print Article