Mudding, Taping, Sanding and Painting!
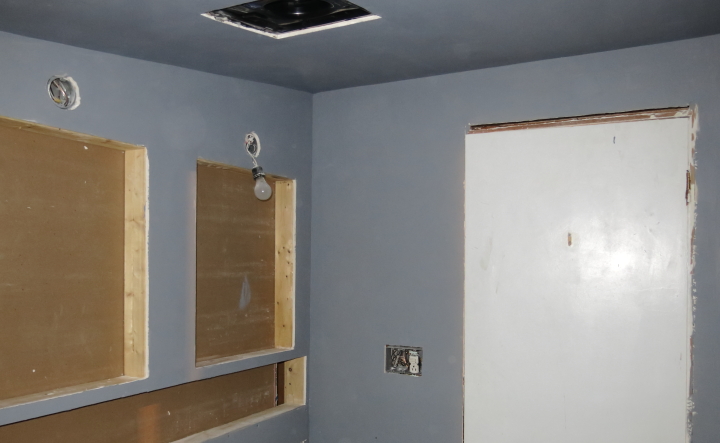
Of all the basic remodeling jobs, finishing drywall is my least favorite. Covering screws and flat seams aren't so bad, but corners are the worst for me and unfortunately, even though my bathroom is small it has a lot of them at strange angles because of the sloped ceiling.
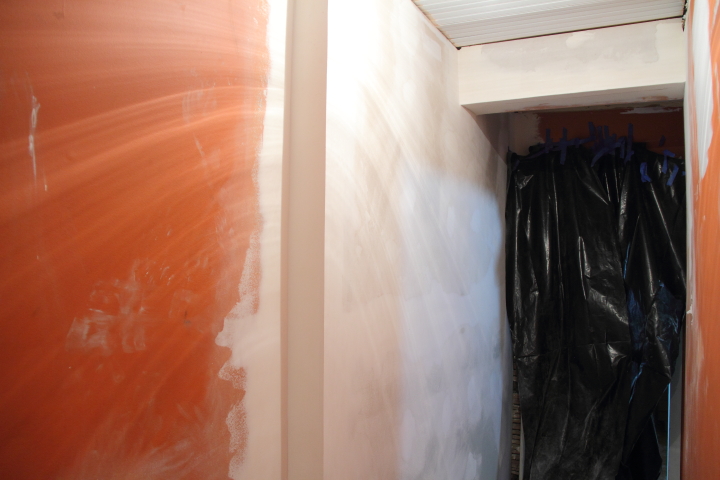
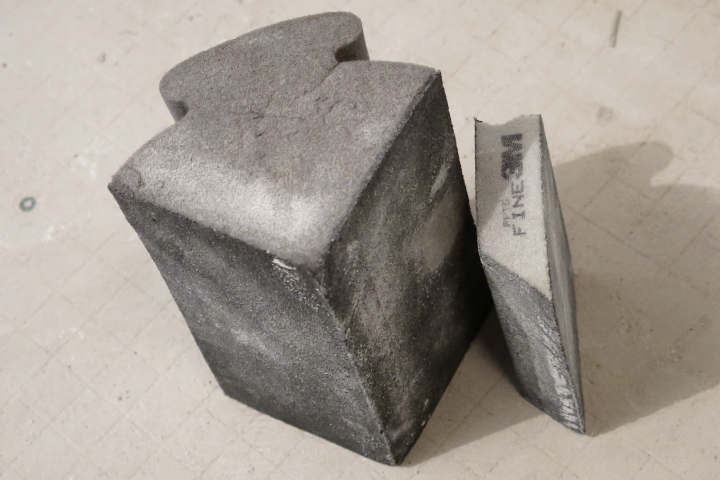
I had done my initial mudding and taping a while back but had been procrastinating about finishing everything up. Since I had a four day weekend from work I used two of the days to mud, sand and repeat. Because the spot where the sloped ceiling meets wall with the door is less than 90 degrees, my small angled sanding sponge came in handy to get in the tight spot for a nice finish.
After several rounds of mudding and sanding I finally had things smooth and to the point where I could finally move on.
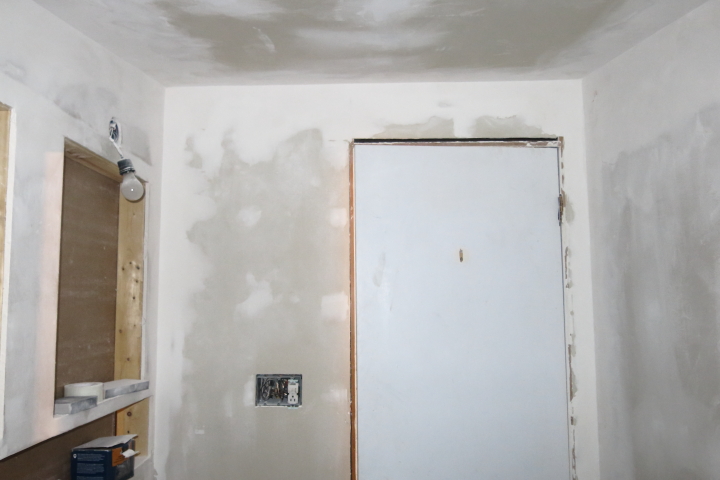
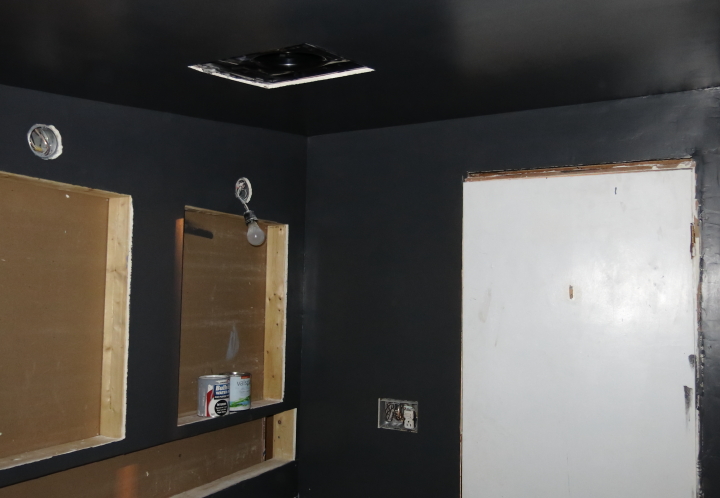
I used my shop vac to clean up all the sanding dust and wiped down the walls and ceiling before putting on a coat of tinted primer.
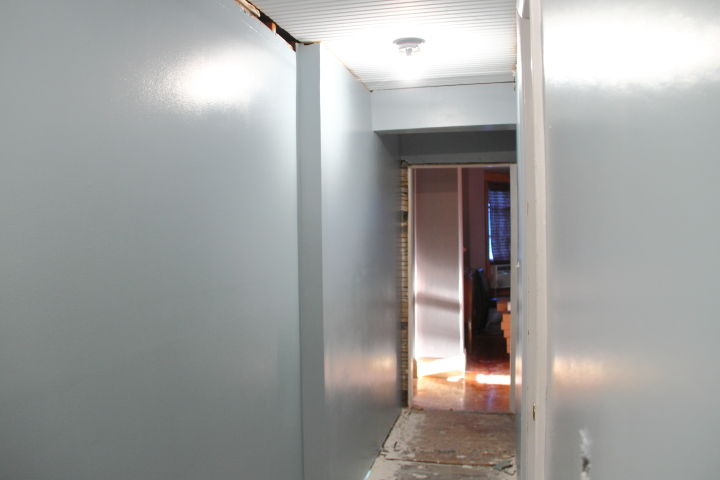
Two coats of paint later and the ceiling and walls were all a nice dark charcoal grey (Valspar's Mark Twain Gray Brick). To help disguise the low ceilings I painted the ceiling and walls the same color and I thought the almost black color would be nice to balance out all of the white tile and woodwork that will eventually be in the room.
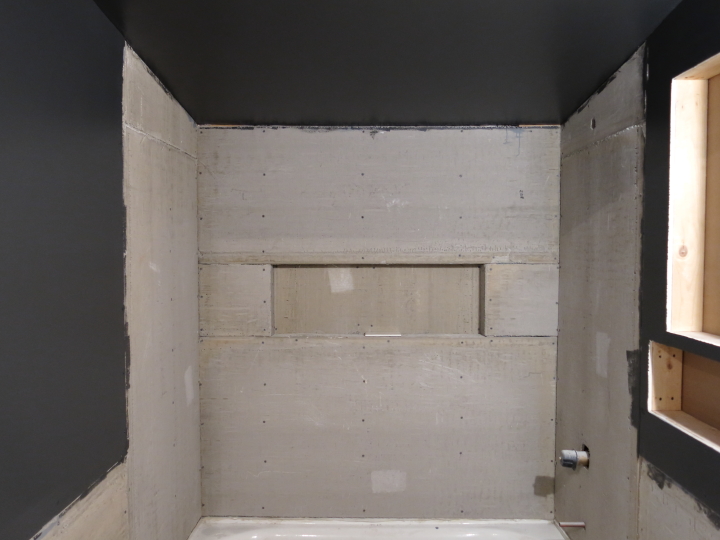
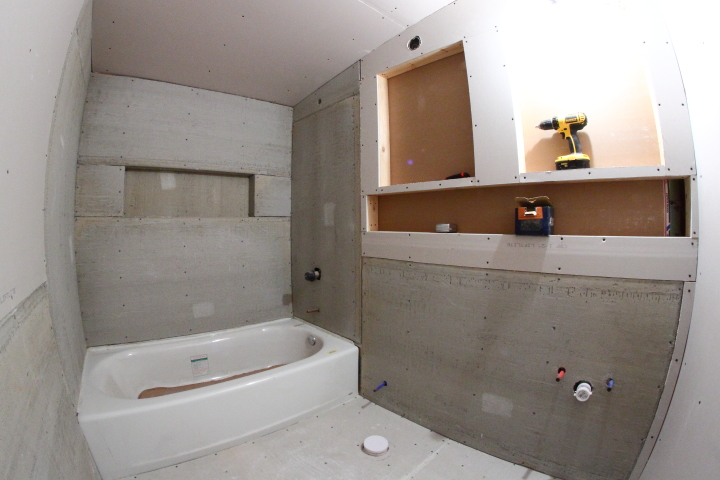
Next up is tiling the shower surround, which I already got started with on Monday. Despite having a hard time finding time to get this bathroom done I can't wait to get it finished!
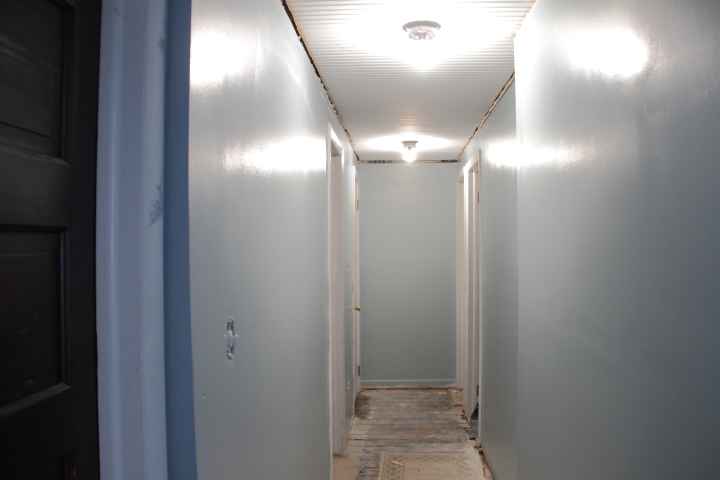
For other related posts about this bathroom renovation check out the history of my downstairs bathroom, fixtures for my bathroom renovation, plumbing in the downstairs bathroom, installing the floor tile underlayment, insulating the ceiling, installing the vapor barrier for the shower, installing drywall and cement board and tiling a vintage mosaic border. If you are interested in my completed master bathroom renovation check out master bathroom renovation recap.
 Lisa | 2 Comments | Share Article | Email Article | Print Article