


Preparing the Bathroom Floor for Tiling
After the building inspector approved me to close up the floor I was excited to do just that. I cut some pieces of 3/4" subflooring to size and patched the areas of the floor that I had previously left open for the plumbing.
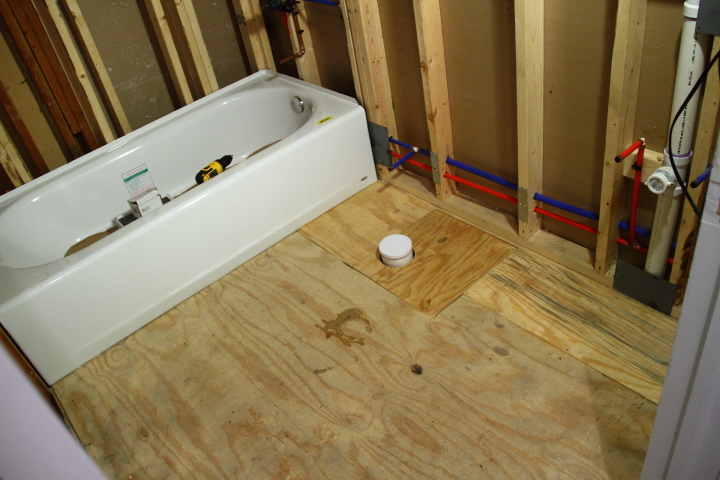
With the subfloor complete I moved on to preparing the floor for tiling. Having a properly prepared underlayment will make sure that you don't have issues with cracking down the line.
I chose to use 1/4" HardieBacker for my floor. The sheets are 3' x 5' so I needed two for my floor. You need to have a small gap from the edge of the HardieBacker to the walls and since my framing was just a smidge over 5' it was perfect for me to lay one full sheet in the front of the room.
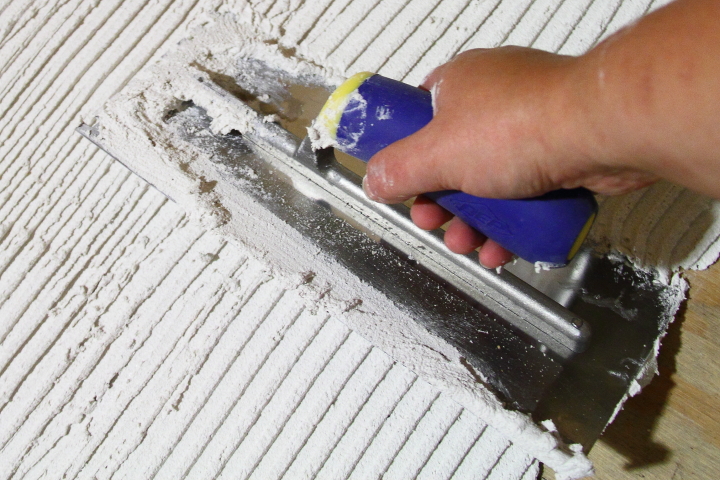
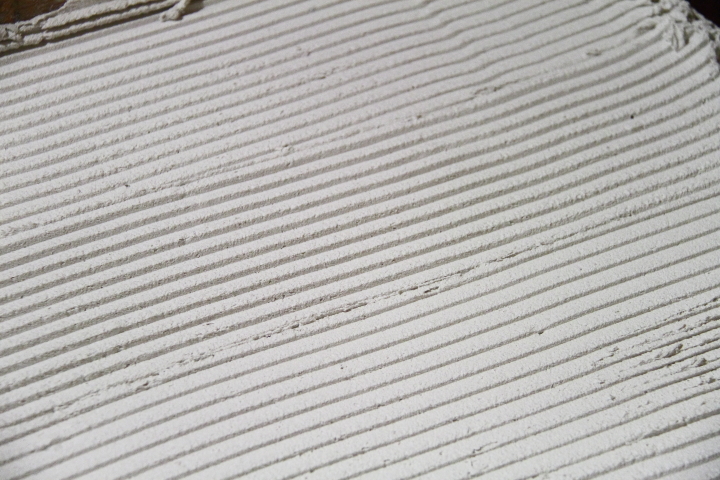
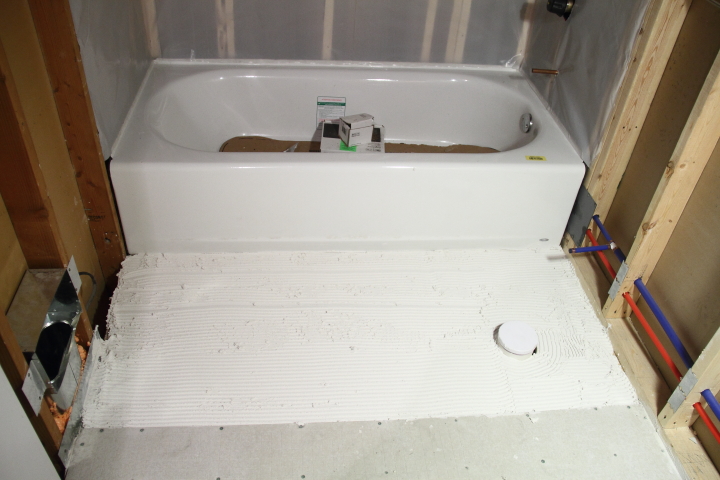
The first step was to spread a layer of thinset over the floor with a 1/4" square notch trowel. Since I was laying a full sheet I marked on the subfloor where 3' was so I knew how far I needed to spread thinset.

I then carefully laid the HardieBacker into position making sure I had a small gap to all of the walls. I then scraped up the extra thinset that extended past the HardieBacker since I didn't want it to dry while I was screwing in the board.
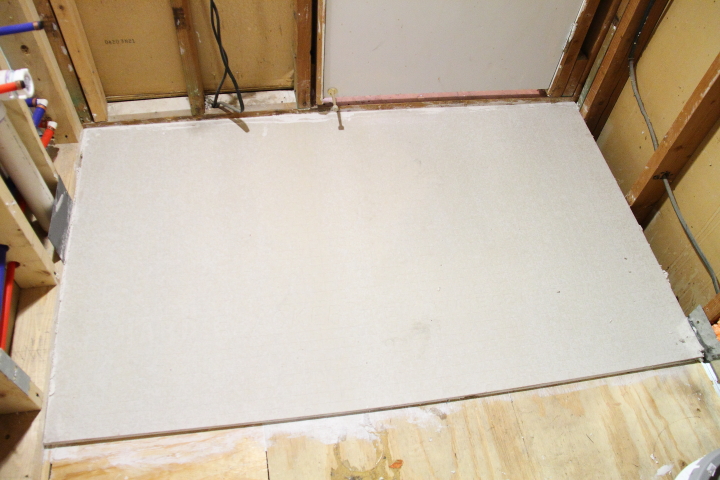
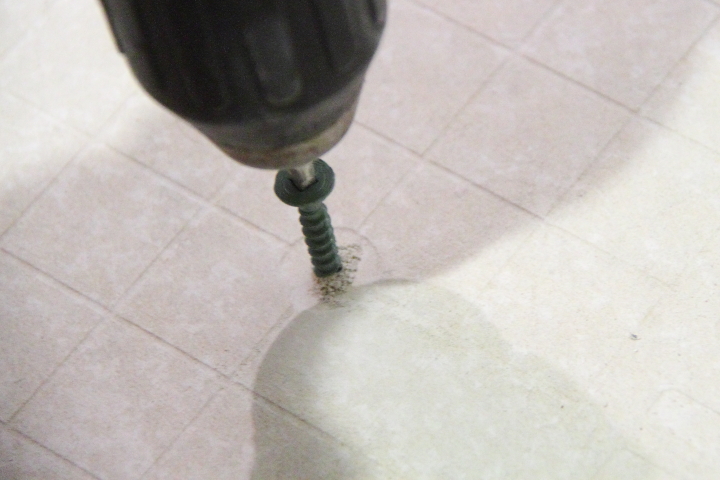
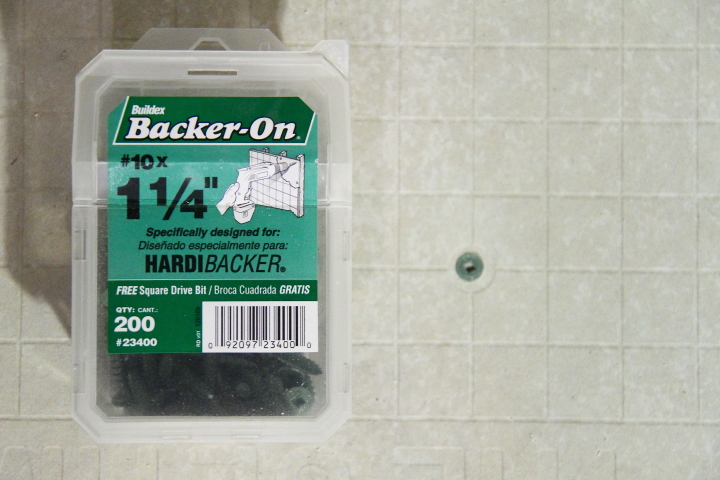
To firmly anchor the HardieBacker to to subfloor I used 1-1/4" screws designed specifically for cement board. HardieBacker has handy little circles on the boards to indicate the spacing you need for your screws. After about a million screws I had the first board in place.

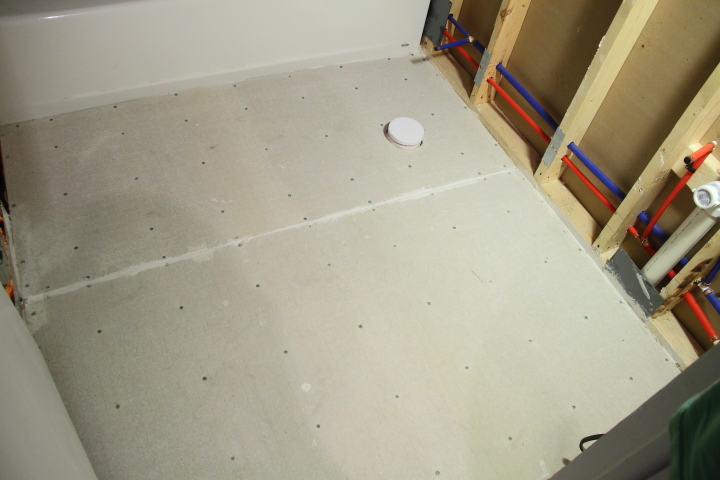
Next I moved on to the second piece which had to be cut down. For the straight edge I simply scored the board a few times and snapped it like drywall. For the toilet drain hole I used my jigsaw. Because of the particulate from cutting cement board with power tools you need to be very careful to use a face mask.
I did a dry fit of my second piece to make sure it was the right size and then spread down more thinset. I put the board in place, again making sure of the small gaps to the wall, tub and first piece of HardieBacker and then screwed it down again. I still need to tape the seam between the boards before I tile, but that is for another day.
Here is a sneak peek at what I am thinking of for the tile floor. I am planning to make a border around the room with black and white square tiles and then have 1" white hex for the field tile. I think it will add some fun to this small bathroom. I can't wait to start tiling!

For other related posts about this bathroom renovation check out the history of my downstairs bathroom, fixtures for my bathroom renovation and plumbing in the downstairs bathroom. If you are interested in my completed master bathroom renovation check out master bathroom renovation recap.
 Lisa | 17 Comments | Share Article | Email Article | Print Article
Reader Comments (17)
This bathroom is going to look so amazing. You may get guests refusing to come out or wanted weekend invites :-) I appreciate all you step by step instructions, of course I pass them on to my husband for review :-)
Great instruction, it is always good to get a breakdown of what to do! I love the tiles you have chosen, those little tiles always look brilliant but can be a bit tricky when you need to cut them to fit an awkward shape. I always think it is vital when tiling to have the best tools possible. Tiling looks brilliant when done well and having the best tool will really make a difference.
Fantastic idea! I think it is better to put tiles in bathrooms, rather tan another kind of floor!
Hannah
Mary-Lou- Thank you! I can't wait to get it done!
Alice- Thank you! I agree that having the right tools for the job is important. Luckily I have a tile wet saw from when I tiled my upstairs bathroom shower to use.
Hannah- Thank you! I have hardwood in my upstairs bath since it was already existing and it has been okay. I am looking forward to having tile in this bathroom, though.
Superb idea! I love it, Use tiles is really better option rather using any type of floor. Cool pics and well explained it!
This is a really great post Lisa. Obviously because I work in the industry myself I can see what you've done is great. Personally, I would go for some nice tiles like yourself or if budget permits, natural stone flooring. I much prefer the look of these types of floorings in comparison to something such as laminate. However the effects of something such as natural stone flooring are only really noticed in larger bathrooms.
Tiles are the best options for bathrooms as they are perfectly waterproof. I personally like light colors as they make the are more spacious.
Excellent Post...If anyone confused by the many types of tile on the market you information can help to get the right choice.
Fantastic idea! I really like it, Use ground tiles is really better choice rather using any kind of ground. Awesome photos and well described it!
Fantastic idea! I really like it, Use ground tiles is really better choice rather using any kind of ground. Awesome photos and well described it!
Thanks ! For the news.These tiles deliver amazing look to the bathroom .I am happy that a found a way for to add extra beauty contents to the house.
Thanks for providing this useful information. Tiling your own bathroom floor can be a satisfying and cost-effective home repair project if you get the correct materials and plan your project in advance. With a little planning, anyone can do it. Keep reading to learn to prepare the foundation, lay the tile, and grout your floor so it will last for many years to come.
Such a helpful article. I don’t know I will be able to do it or not but will definitely try to do it once in my home.
cheambas e3d3fd1842 https://socialkeko.com/buzboifigi
Thanks for all your efforts and info. We're just some humble Tilepro.
Wow fantastic idea. Obviously because our https://unitecleaningservices.com.au/ company provide best services. I am happy that a found a way for to add extra beauty contents to the house.
Great guide to preparing a bathroom floor for tiling. Clear steps, practical tips, and easy explanations make the process understandable even for beginners. Very helpful resource before starting a tiling project.