


Installing the Vapor Barrier for the Bathroom Shower
 With all of the plumbing in and the rough approval complete I set about installing a vapor barrier for the bathroom shower surround. I actually did this back in September before my crazy period of travel this fall, but I didn't have time to organize the photos and write about it until now.
Although the porcelain subway tiles that I will tiling the shower surround with are waterproof the grout and the cement backer board is not so it is important to protect the wood studs with a vapor barrier. I choose to use clear 6 mil polyethylene behind my cement backer board for my vapor barrier.
There are other ways to waterproof the shower, like using RedGard or Kerdi waterproofing membrane, but the important thing is that you should only install one vapor barrier (i.e. do not install sheeting behind the cement backer board and then RedGard over the cement backer board) so that moisture won't get trapped between the barriers.
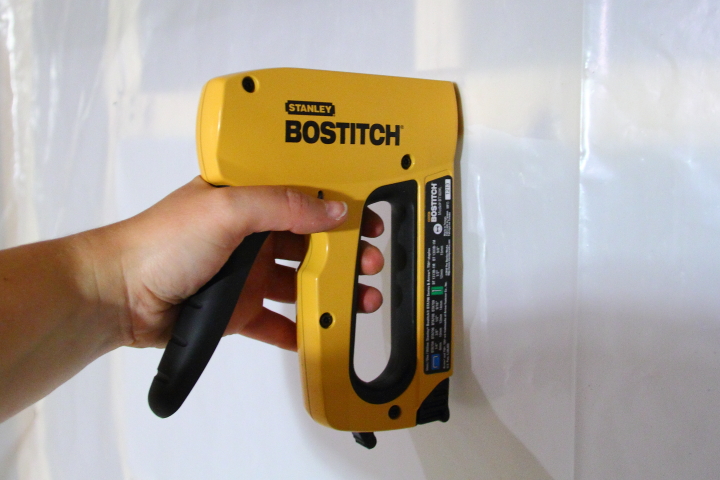
Because this is a barrier against moisture throughout the installation process I used the least amount of staples needed to keep the sheeting in place in order to minimize staple holes in the sheeting.
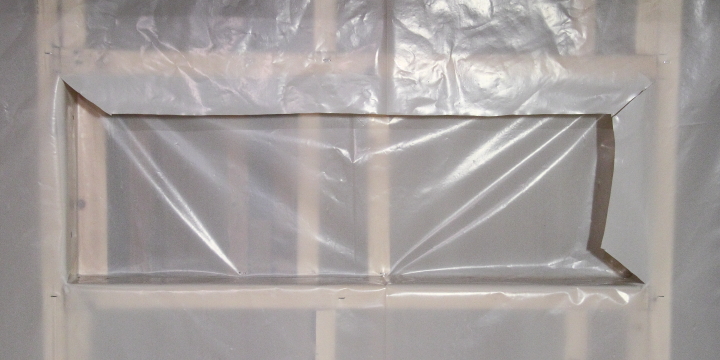
I started by lining the soap/shampoo nook in the shower. I cut a piece that was larger than the nook and used my stapler to tack it to the back of the nook. I folded the corners to lie flat and then trimmed off the excess sheeting around the nook.
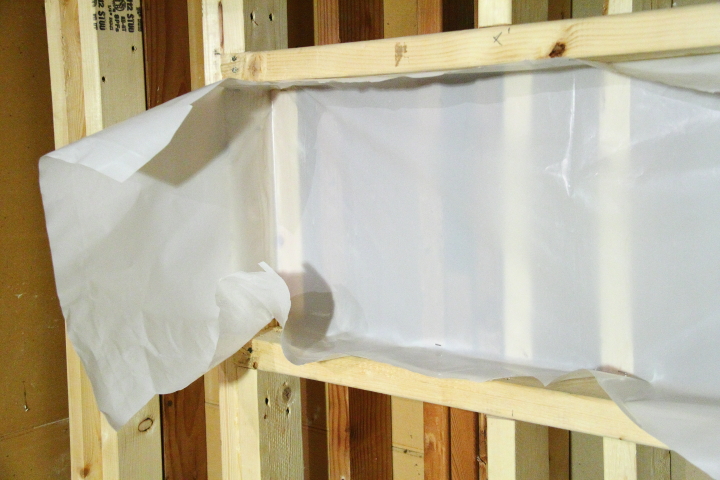
Next I cut a single continuous piece of sheeting that would wrap around my whole shower with some excess at the top and bottom. I cut tight holes around the plumbing and secured it to the walls with a few more staples.

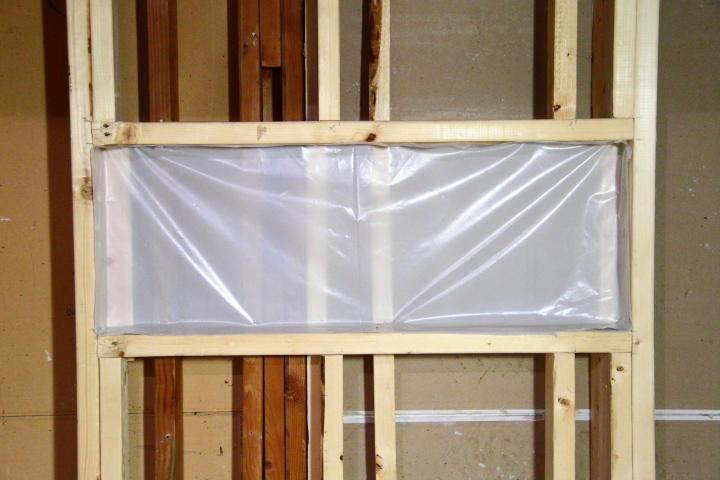
To finish the nook area I trimmed out a rectangle a few inches smaller than the nook out of the sheeting. I cut a diagonal slit at each corner and the folded the excess into the nook and stapled it down.


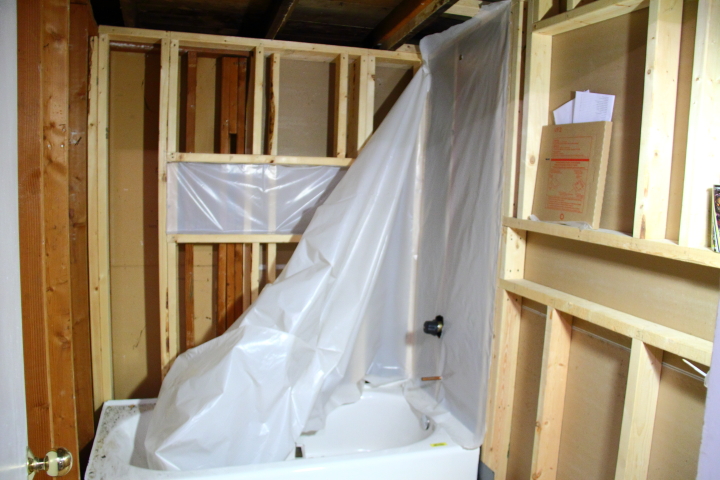
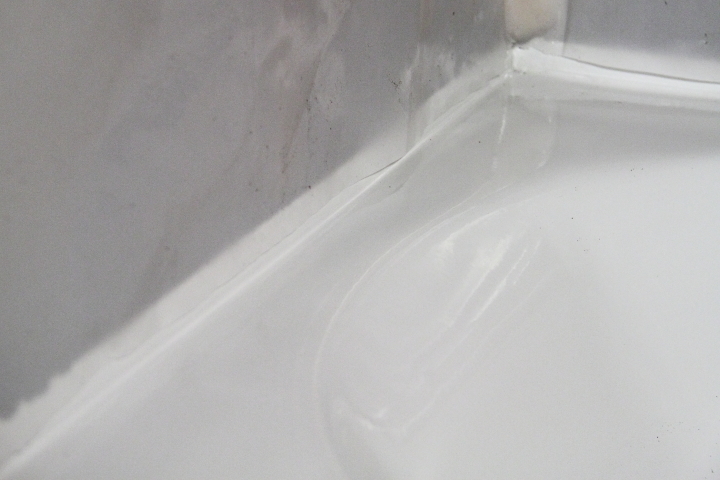
As a last step I trimmed the excess sheeting off of the top and bottom of the shower surround. To make sure that any water trapped by the vapor barrier would drain into the tub I lifted up the bottom of the sheeting, applied clear waterproof silicone caulk to the lip of the tub and then pressed the sheeting into the caulk making a nice water tight seal. I also added a dab of the silicone caulk over each of my staple holes and to seal where the two sheets met in the nook for good measure.

When I finished installing the sheeting Frank peeked into the bathroom to see what I had been up to and said it looked like something from the set of the TV show Dexter. Yes, it does look a little scary right now but I can already imagine it covered with beautiful subway tile. Next up is installing the cement backer board (the photo below aready has the first piece installed in the nook with one of my subway tiles propped up) and then the tiling fun will begin!

 Lisa | 8 Comments | Share Article | Email Article | Print Article
Reader Comments (8)
I chuckled out loud at your comment about tiling fun (beginning) ...
I'm very excited to see how this project progresses since we're considering retiling our bathroom. I love that you go into so much detail i your posts; it makes me think I could actually do it too!
Mary-Lou- Thank you! Compared to all of the prep work tiling is fun!
Sandy- Thank you! I am excited to get this done myself. I think that anyone can do just about anything as long as you do your research before you begin. Personally I have found the John Bridge forum (http://www.johnbridge.com/vbulletin/index.php) to be an excellent resource for tiling. I've never posted there but just about any tiling question you can think of has already been asked!
I can't wait to see how this turns out! Tiling may be a lot of work but it will be worth it in the end!!
I am two excited to see how this turns out! I think this an advance version of water proofing and I am planning to create a similar one in my bathroom.
Installing a vapor barrier for the bathroom shower is crucial to protect the wood studs from moisture. After completing the plumbing and getting rough approval, I installed a clear 6 mil polyethylene vapor barrier behind the cement backer board. This prevents moisture from penetrating through the grout and backer board. Remember, only use one vapor barrier to avoid trapping moisture. I started by lining the soap/shampoo nook, using minimal staples to secure the sheeting.
Installing a vapor barrier for the bathroom shower is crucial to protect wood studs from moisture. Although the porcelain subway tiles are waterproof, the grout and cement backer board are not. I used clear 6 mil polyethylene behind the cement backer board for effective moisture protection. Remember, use only one vapor barrier type to prevent moisture entrapment. Minimal staples were used to secure the sheeting, and I carefully lined the soap/shampoo nook first.
Reading Lisa’s post on installing the vapor barrier really gave me a new appreciation for all the behind-the-scenes work that goes into a proper bathroom renovation. It’s not the most glamorous part of the job, but clearly one of the most important! I like how she explains everything in a straightforward way—it makes the whole process feel much less intimidating. Honestly, it kind of makes me want to try a small DIY project myself.