


Setting the First Wall Tile in the Bathroom
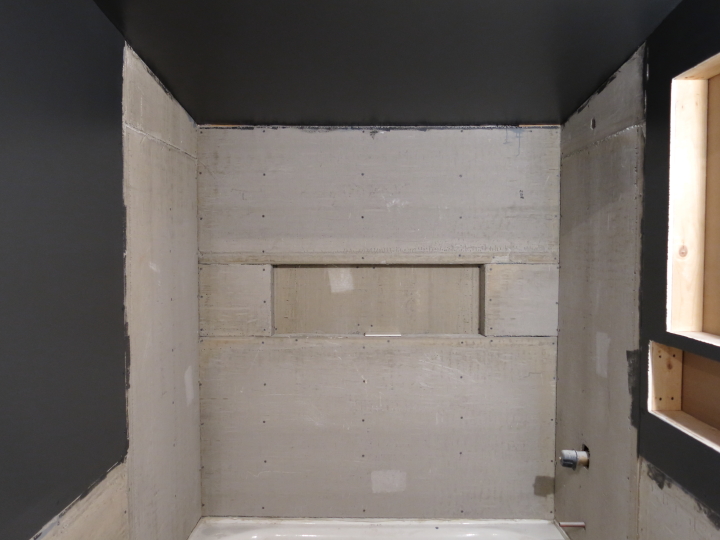
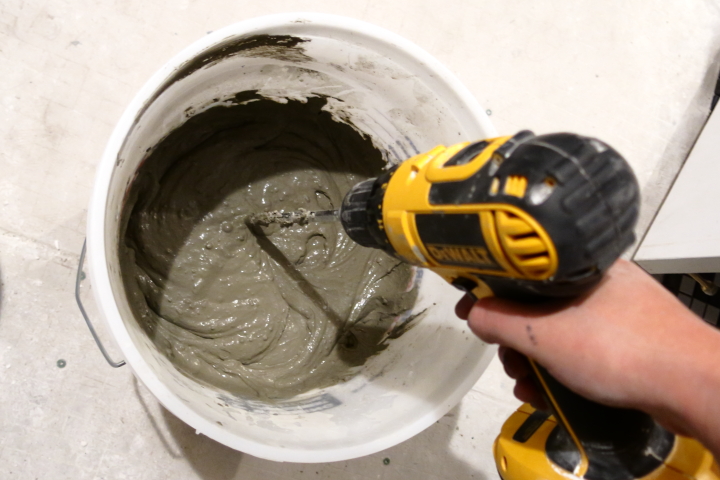
On Monday I finally got to begin setting the wall tile for the bathroom. But before I began tiling I had to tape all of the cement board joints. First I mixed up a batch of thinset using the same type that I'll be using for tiling later.
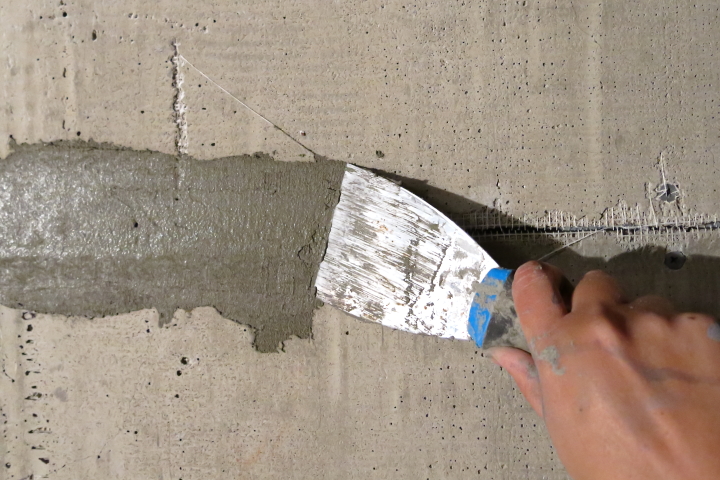
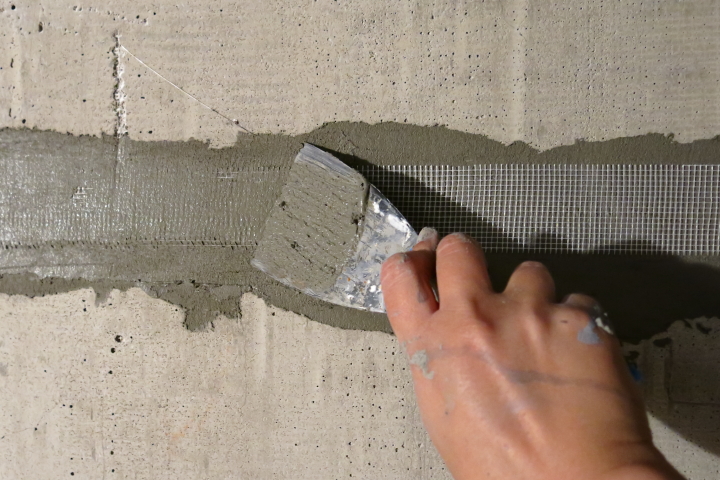
I filled all of the joints with thinset, embedded 2" alkali-resistant glass fiber tape in the thinset and then leveled everything smooth. The alkalinity of the thinset can cause regular fiber mesh tape to deteriorate over time so it is important to use alkali-resistant type.
Once I had finished all of the joints I had some thinset left over from the batch I mixed up so I decided to start setting tile. Setting the first tile properly is critical since that will determine the rest of your tile layout. If the first tile isn't level and centered the whole installation will be off.
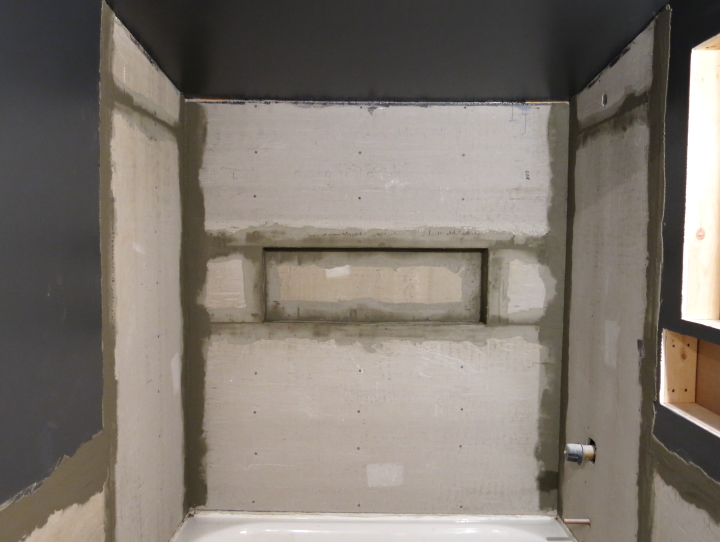
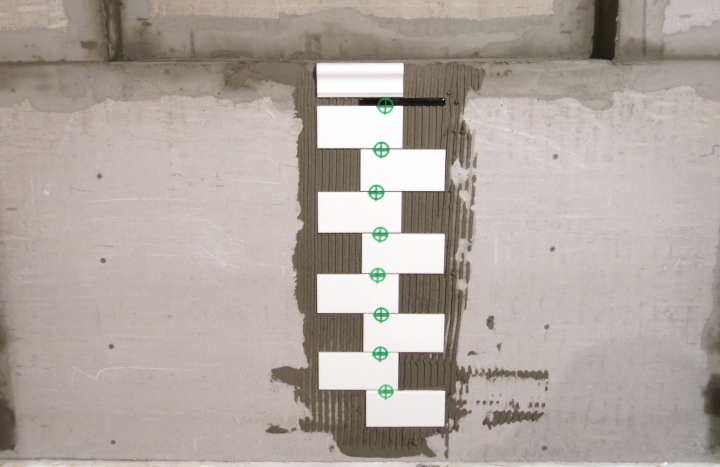
I wanted my chair rail tile to line up with the bottom of my shower niche so I applied some thinset to the center of the wall with my 1/4" square notch trowel. Starting from where I wanted the chair rail tile I worked my way down setting my tiles with 1/16" spacers until I got to my second to the bottom tile.
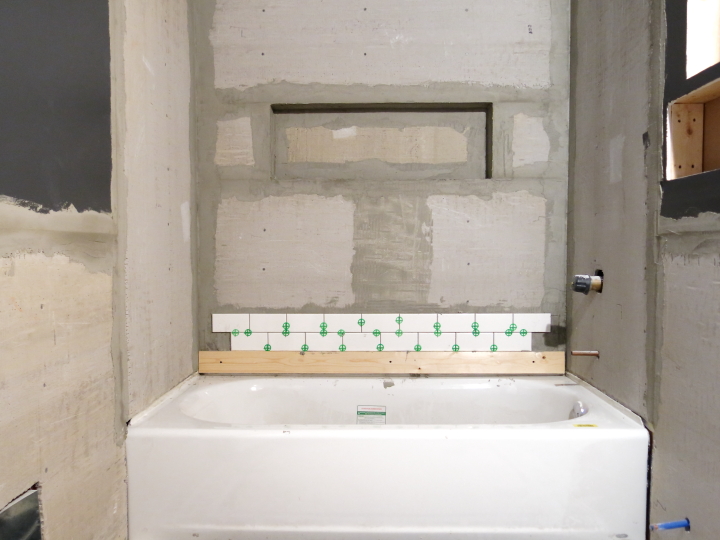
I then took a 1x4 cut to the width of the shower, butted it up to the bottom tile and screwed it into the wall at the center point. Setting my 4' level on top of the board I used the center screw as a pivot point and adjusted the board.
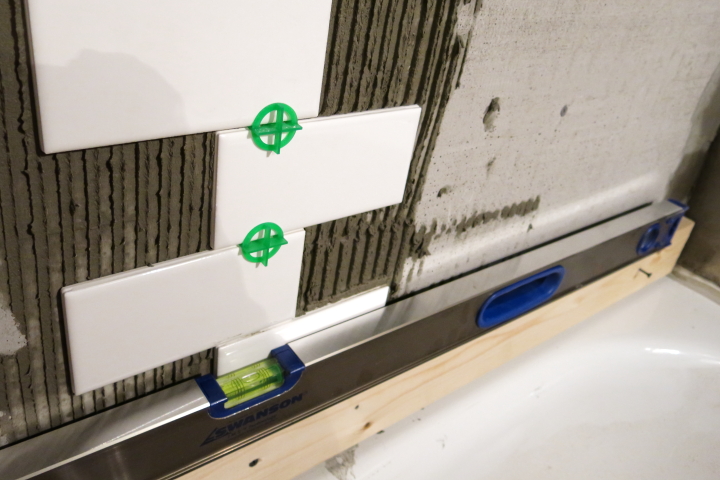
Once I had the board level I screwed it to the wall on the ends to secure it and pulled down the tiles from the wall making sure to scrape off all the thinset from the cement board. This gave me a clean slate with a ledger board in place to make sure that my chair rail tiles will line up where I want them. I'm sure a professional would have a better way of doing this but it took me less than ten minutes and I was afraid that if I just measured down I might be slightly off and that would have driven me nuts.
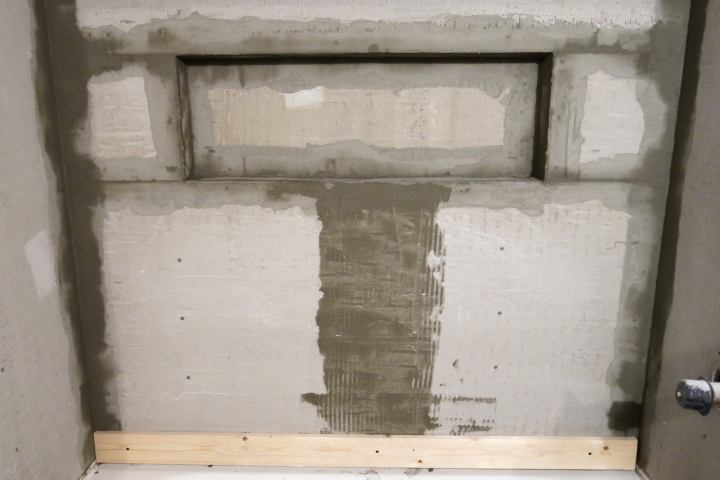
I troweled some thinset on the cement board, measured the midpoint and carefully set the first tile. From that tile I worked my way out setting the first row with 1/16" spacers. I moved up to the second row, carefully measuring to make sure that it was offset 3" from the row below and set the tiles from the inside out. At this point I was out of thinset so I called it a day. I know it is only two courses, but it is nice to have just a little bit of tile up on the wall. Hopefully I can fit in some time to work on it again this weekend.
For other related posts about this bathroom renovation check out the history of my downstairs bathroom, fixtures for my bathroom renovation, plumbing in the downstairs bathroom, installing the floor tile underlayment, insulating the ceiling, installing the vapor barrier for the shower, installing drywall and cement board, tiling a vintage mosaic border and mudding, taping, sanding and painting. If you are interested in my completed master bathroom renovation check out master bathroom renovation recap.
 Lisa | 9 Comments | Share Article | Email Article | Print Article
Reader Comments (9)
This is really coming together nicely. I know you want it done, but going slowly gives you that chance to step back and do that be sure check. I admire all your skills. Picking the paint colour & tiles would be where my involved would end. Even with a ruler I draw wiggly lines!
Mary-Lou- Thank you! I just wish I could devote more time to getting it done to move things along a bit more quickly...
Thanks for sharing the progress of this bathroom re-model, a very organised approach you have!
Tile is porous. Grout is also porous. Sealants will degrade over time. Putting poly behind the backerboard is often prone to punctures when you apply the backerboard and miss a screw into a stud. Not to mention the niches where leaks are bound to happen. You should put an elastomeric sealent over all the cbu. Otherwise you are looking at a mold situation especially If you have kids like I do and bath time is also play time.
Thanks For sharing this point to point information to us.. I must say you add every single step add in your blog that will be helpful for beginner and professional who are looking for tile installation products . Keep up the good work
Great Information. Thanks for Sharing.
This is really coming together nicely. I know you want it done, but going slowly gives you that chance to step back and do that be sure check. I admire all your skills.Thanks .
Thanks For sharing this point to point information to us. I just wish I could devote more time to getting it done to move things along a bit more quickly. Keep up the good work.
This bathroom renovation guide is outstanding! The tips on selecting the perfect tiles were incredibly useful. Your advice made the process much easier and more effective.