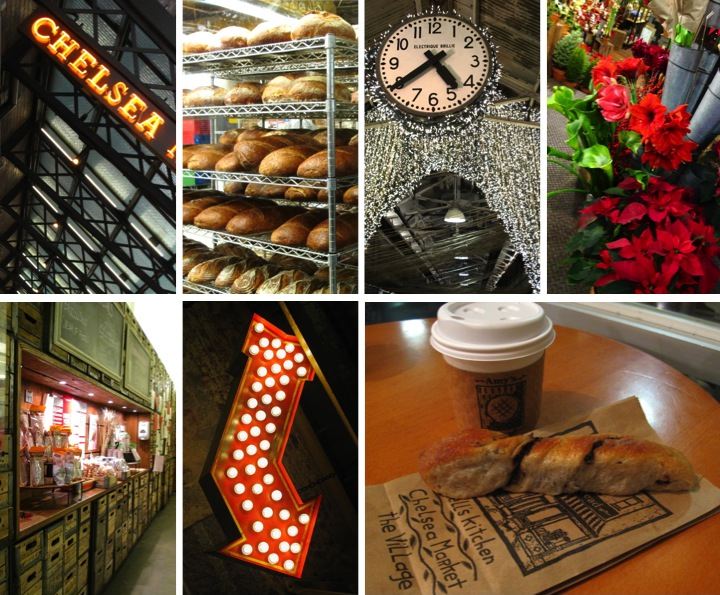
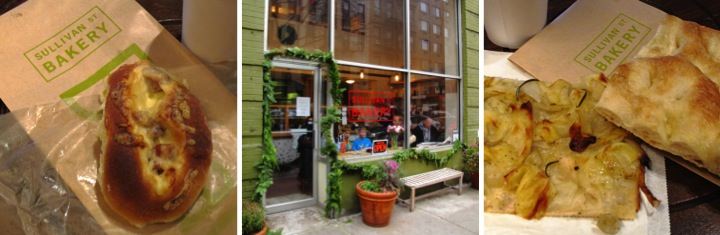
On Tuesday, our second day in New York, Frank and I started off the morning by picking up breakfast at Sullivan Street Bakery which is just around the corner from our hotel. I opted for a pastry filled with ricotta, gruyere and pancetta while Frank had the Pizza Bianca (olive oil, rosemary and sea salt) and Pizza Patate (potato, onion, olive oil, rosemary, and black pepper). Not only was it convenient but it was absolutely delicious.
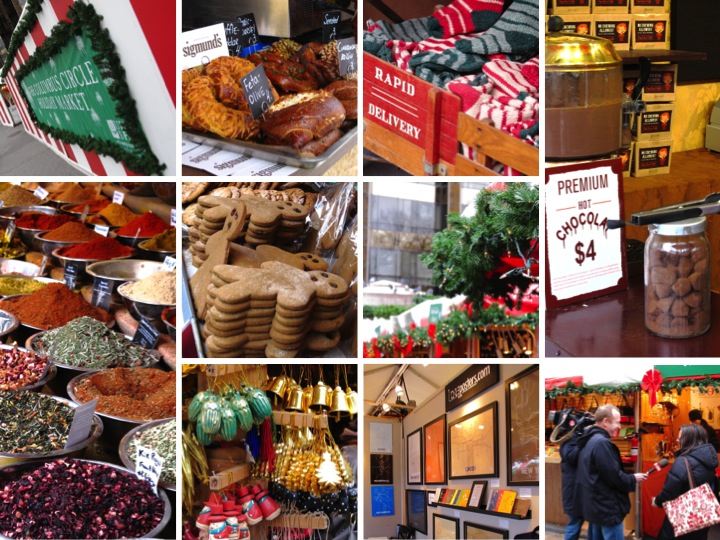
After breakfast the rest of the day was all about the holiday markets. We started off by walking up 8th Avenue to the Columbus Circle Holiday Market. The market was festive with red and white striped tents festooned with greenery and lights. Wandering around looking at all the vendors was really fun. The stalls were bustling with people and we even saw a CNN camera crew interviewing shoppers. I ended up buying some cool postcards with graphics of transit lines from cities across the U.S. and around the world from Line Posters. We also couldn't resist picking up a snack of a yummy truffle-cheddar pretzel from Sigmund's Pretzels and a hot chocolate from No Chewing Allowed! The hot chocolate was ridiculously decadent and had a chocolate truffle placed in the bottom of the cup before the hot chocolate was poured over it.
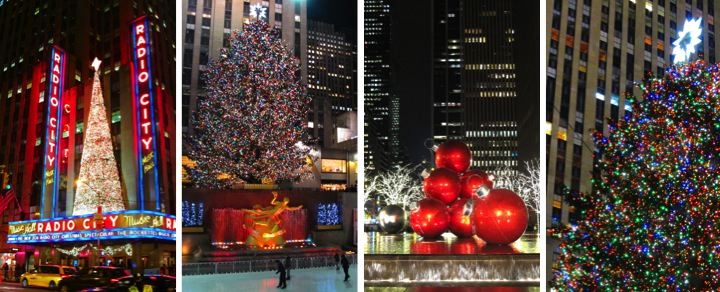
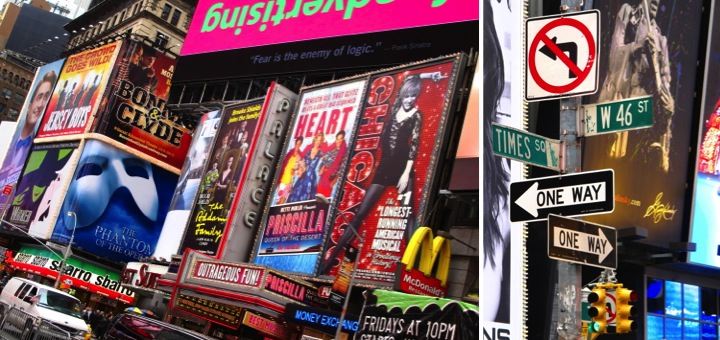
From Columbus Circle we walked down Broadway and through Times Square en route to Grand Central Terminal. With all the hustle and bustle and the buildings plastered with enormous advertisements there is nothing quite like Times Square.
Grand Central Terminal was teeming with people when we got there. Frank was particularly interested in checking out the new Apple Store which opened up there earlier this month. At 23,000 square feet it is enormous and has a cool atmosphere taking up the whole east balcony overlooking the station.

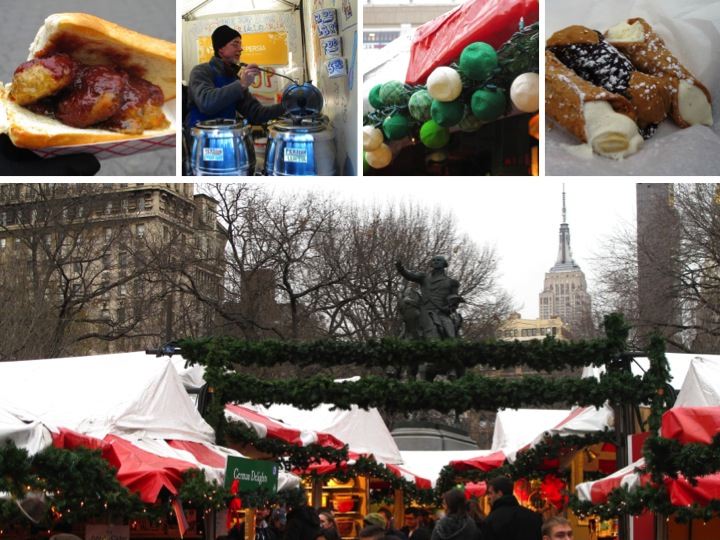
From Grand Central Terminal we hopped on the subway to visit the Union Square Holiday Market. Many of the vendors were the same as those at Columbus Circle so we didn't do a lot of browsing, but being late in the afternoon we were hungry and ready to try some of the food stalls. First up was pork meatballs topped with a sweet and spicy cranberry horseradish chutney from Mighty Balls. Still hungry we got lentil soup and Persian chili from Taste of Persia. The soup had a delicious flavor and was chock full of beans and vegetables. We finished off with a trio of miniature canoli in eggnog, girl scout cookie, and white chocolate macadamia flavors.
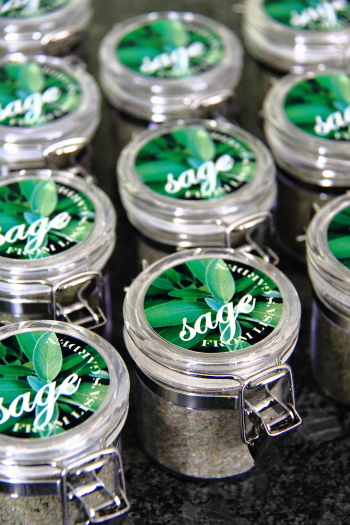
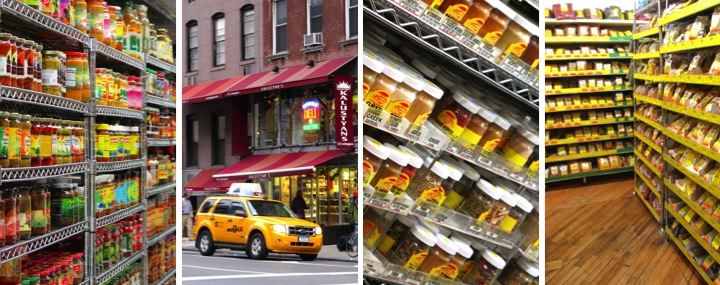
After getting our fill of tasty treats we grabbed the subway again to go to Kalustyan's. It is an amazing shop full of all sorts of food stuffs but the reason for me to go is the fabulous selection of high quality spices. Frank and I stocked up on bulk packages of all sorts of things. Who needs a pound of poppy seeds? Me, of course!
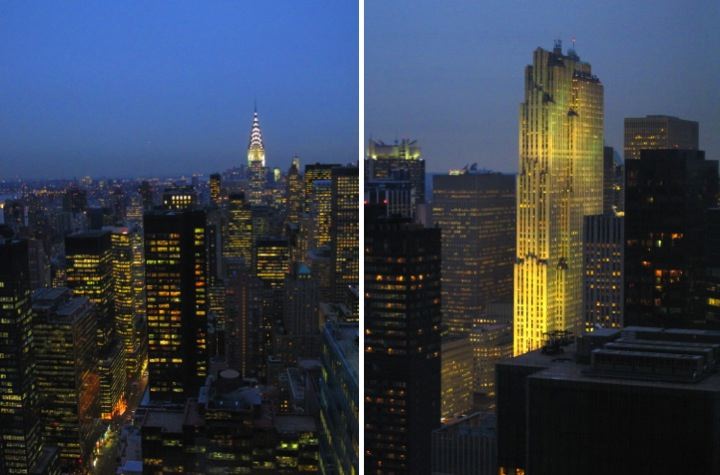
We then headed to 601 Lexington Avenue to visit a friend of Frank's that works there. Frank's friend's office is on an upper floor of the building and the conference rooms have amazing views of the Chrysler Building and Rockefeller Center.
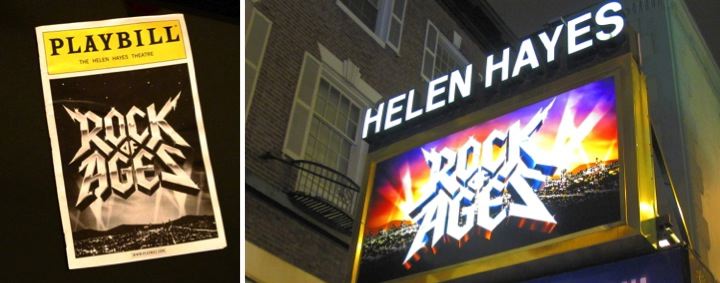
After a short rest at our hotel we headed to Broadway for a production of Rock of Ages. Booking last minute during holiday season we had limited options and the campy aspects of the show really weren't my style. Despite the show not being my taste the performers were talented and I like the cozy atmosphere of the Helen Hayes Theater where the production was staged. Two years ago at the Helen Hayes Theater I had a chance to see The 39 Steps, a farce based on the Alfred Hitchcock movie of the same name, which being an old movie buff I absolutely loved.
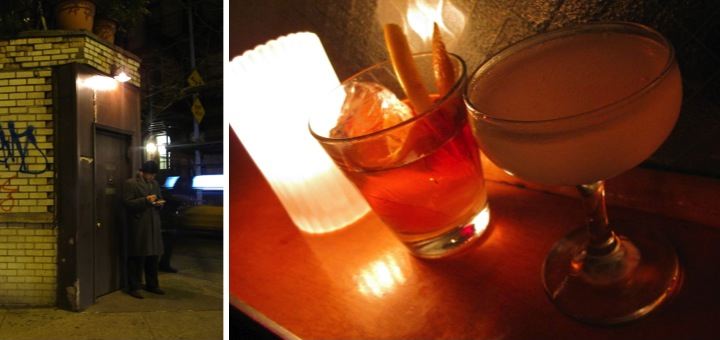
At ten o'clock we ended our evening by dining at Momofuku Ko which was an amazing experience and deserves it's own post later. It was another wonderful day in New York.
If you are interested, check out the rest of our New York trip here: Day 1, Day 3, Day 4.


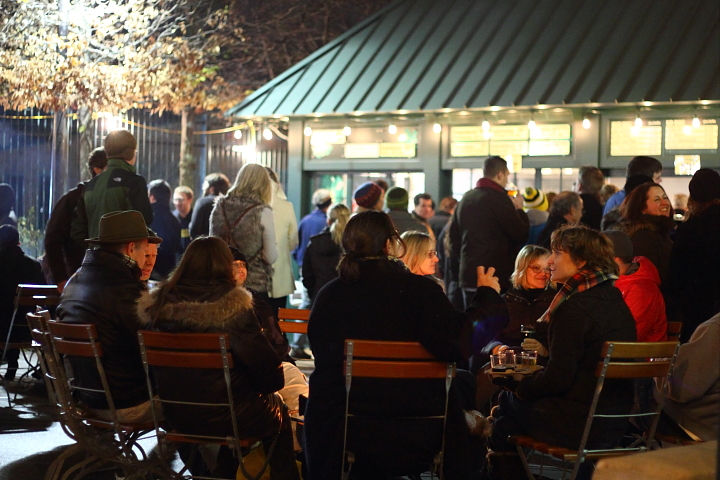
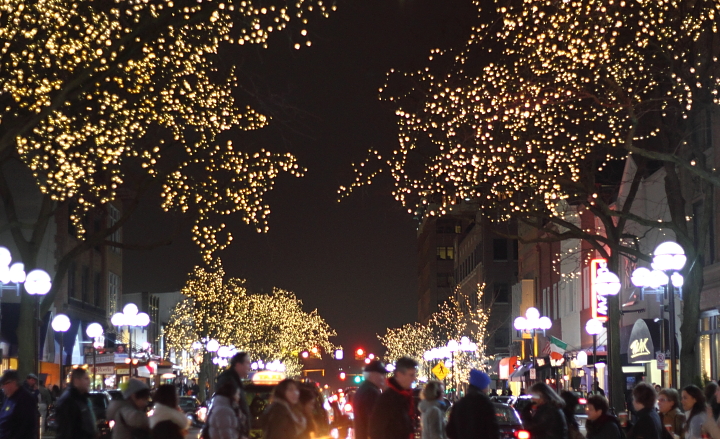
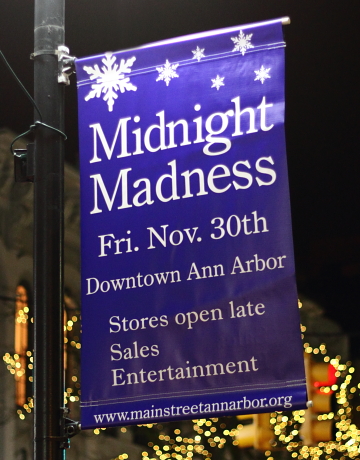 On Friday night Frank and I walked downtown after dinner for Midnight Madness where everything in Ann Arbor was open late for holiday shopping and winter festivities.
 Lisa |