Welcome

My name is Lisa and I'm a crafty girl with wanderlust working as an engineer by day. My blog chronicles projects in my home as well as pictures and stories from my travels.

Search


Instagram

Blog Index
The journal that this archive was targeting has been deleted. Please update your configuration.
Navigation

Entries in Baking (36)

Wednesday
May152013

Blackberry Rhubarb Pie

I love just love rhubarb and found some beautiful stalks at the grocery so I decided to pair it with some blackberries to make a pie for Mother's Day. Rhubarb is pretty tart so I added a good bit of sugar to offset it in the pie filling. I think that the rhubarb and blackberries made a great combination and it was a big hit with everyone at Mother's Day dinner.

Ingredients List
- 3 cups rhubarb, cut into 1/2" cubes
- 3 cups blackberries
- 1 cup sugar
- 3 Tbsp. corn starch
- 1/2 tsp. salt
- Double pie crust pastry

Directions
- Cut the rhubarb and place it in a bowl with the blackberries
- In a separate small bowl stir together the sugar, corn starch and salt
- Pour sugar mixture over rhubarb and blackberries, tossing filling to coat the fruit
- Roll out half of the pastry and line the bottom of a pie plate with it, trimming off excess
- Roll out remaining half of the pastry
- Add filling to the pie plate and then top with pastry using lattice crust or other vented style top
- Bake for 20 minutes at 425° F, turn heat down to 350° F and back another 35-40 minutes until the crust is golden and the filling is bubbling 

Since I was making this pie for Mother's Day I decided to used a heart shaped cookie cutter to cut vents in my top crust before putting on top of my pie. For the edges I simply pinched the two crusts together.

Tips and Tricks
- I make my own crust but you can also use store bought
- To make your pastry easier to deal with, keep it in the refrigerator until you are rolling it out
- To prevent your crust from browning too much, wrap it in tin foil for the first 20 minutes of baking

If you are interested, check out my apple pie recipe, my mixed berry pie recipe, and my recipe for making pie crust from scratch

Monday
May132013

Coconut Cream Cheese Icing

For Mother's Day yesterday I brought the desserts for the dinner gathering we had with Frank's family. Since Frank's mom absolutely loves coconut, I decided that for one of the desserts I would make would be a chocolate cake with coconut cream cheese icing.

For the cake I used Ina Garten's Beatty's Chocolate Cake recipe. It makes an awesome, moist cake and is one of my very favorites. Be warned, however, that if you make this cake that because it is so light it is a little on the fragile side. If you make it you definitely need to line the bottom of the pans with parchment paper as the recipe states in order to get the cake to release without sticking. One time when I was out of parchment paper I just buttered and floured the pan and had some issues getting the cake to release properly.

For the icing I used my coconut cream cheese icing recipe. Due to the flaked coconut in the icing, you can't get the icing to be super smooth on the cake, but it is so delicious that it doesn't really matter. I will always choose taste over aesthetics any day with my baking.

Once the cakes were cooled I iced the two layers of chocolate cake with the coconut cream cheese icing and then topped it with some more flaked coconut for fun.

Frank's mom really loved the cake and it was a big hit with everyone at dinner yesterday. It is definitely a combination I will make again. 

Ingredients List
- 1 (8 ounce) package cream cheese, softened
- 1/2 cup butter, softened
- 1 tsp. vanilla extract
- 4 cups powdered sugar (about 1 lb.)
- 2 Tbsp. coconut milk
- 1-1/2 cups flaked coconut 

Directions
- Cream butter, cream cheese in mixer with vanilla extract
- Mix in powdered sugar one cup at a time
- Stir in coconut milk to achieve desired consistency
- Fold in flaked coconut with spatula 

Tips and Tricks
- To achieve the desired consistency, if the icing is too thin add more powdered sugar and if it is too thick add more coconut milk
- You can add a teaspoon of coconut extract if you want to intensify the coconut flavor
- Because of the cream cheese in the frosting it is best to keep the iced cake in the refrigerator until serving

Thursday
Dec202012

Cake (and Cupcake) Decorating Kit

Frank's middle niece is ten years old and a pastry chef in the making. She loves to cook and especially loves to bake. She's always asked me a number of questions about cake decorating and even helped me decorate the Thanksgiving cake last year. I thought that for Christmas this year I would put together a beginning collection of her own cake (and cupcake) decorating supplies. 

I didn't like any of the plastic decorating toolboxes that I saw available so I decided that I would make my own. Originally I planned on building my own box, but when I saw the perfect sized unfinished wooden box at Michael's I decided to buy it and just build the interior of the box to hold the supplies.

The first thing to build was a little caddy to hold the gel colors. I had a lot of frustration while building this but I'll outline what worked first and then explain what mistakes I learned along the way.

The box was 8-1/2" deep so I cut a piece of 1/4x4 craft board 8-1/2" long. I then marked center points for drilling my holes by drawing lines 1" from the outside edge, 1-1/4" from the top and bottom edge and then 1" spacing vertically between those lines. To make the holes I first pre-drilled a small hole at each line intersection and then used a 1-1/4" hole saw to drill the holes. I then finished up by building a box base with 1/4x2 craft board (2 pieces at 8-1/2" for the sides and 2 at 3" for the ends), attaching everything with wood glue and brad nails.

What I learned didn't work was mis-measuring the size of the gel color containers, using a 1-1/8" hole saw and then not realizing that the gel colors won't fit until you have already finished building the caddy. Also, trying to line up the hole saw without the pre-drilling the pilot hole led to a mess with the holes not lining up properly. All in all I had to build the little caddy three times before I got it right. That's what happens when you are tired and not thinking things through...

I filled the nail holes of the gel color caddy with wood filler and then sanded it and the box smooth. I wiped everything down with a tack cloth and then gave both pieces a coat of white spray paint with primer. I did this because I wasn't sure if I would be able to evenly coat the area under/inside the gel color caddy with paint after it was assembled.

Once everything was dried I moved onto the area to store the decorating tips. At first I thought of cutting down a dowel but then had the idea to use 1/2" wooden hole plugs that I picked up at the hardware store. I lined them up with the wide side down in two rows along the left side of the box using some wood glue to attach them.

After the hole plugs were in place I put the gel color caddy inside the box, securing it with some wood glue and a few brad nails. I used some more wood filler to cover up the nail holes and fill in the seams where caddy met the box and then sanded everything smooth.

With the box built it was time to finish it. I used a few light coats of white spray paint of the inside and outside of the box.

I decided to add a stripe across the top of the box in purple which is Frank's niece's favorite color. I marked off the space with some painter's tape and then used some purple acrylic craft paint and a foam brush to paint the line. Since the color was dark it took three thin coats to get nice coverage.

I used some foam stickers to add the word "decorate" to the top of the box and it was ready to fill up with cake decorating supplies. I picked out a variety of gel colors and a bunch of decorating tips to put in the box. On the right side I added some 12" disposable decorating bags and some couplers.

I am so excited to give this to Frank's niece (along with some pretty decorating books) and show her some techniques. I hope that she likes it!

Thursday
Dec062012

Pie Crust From Scratch

It is no secret that I love pie. I'll use just about any excuse I can to make (and eat!) one. For me, one of the secrets of a good pie is having a good, homemade crust. Making a crust from scratch may seem difficult but it is actually quite quick and easy. Here is a simple pastry recipe for a two crust pie.

Ingredients List
- 2 cups flour
- 1 tsp. salt
- 3/4 cup butter, chilled and cut into pats
- 5-6 Tbsp. cold water

Pastry Directions
- Stir together flour and salt in a bowl
- Cut in butter with a pastry blender until the mixture becomes coarse crumbs
- Sprinkle in the water a little at a time, mixing the the dough lightly with a fork after each addition
- Form dough into a ball with your hands, wrap in plastic wrap and refrigerate for at least half an hour 

Rolling Out Directions
- Divide dough into half, form into a flat disc and place on a lightly floured surface
- With a rolling pin, roll out the dough in a circle until it is 1/8" thick and about 2" larger than your pie plate
- Roll half of the circle onto your rolling pin to transfer the pastry to the pie plate
- Gently lay the bottom half of the circle on the pie plate and roll the rest over the plate
- Trim excess crust 

Tips and Tricks
- For success both your butter and your water must be very cold
- If you don't know how to use a pastry blender, you just hold the bowl with one hand, and push the blender into the dough with the other, repeating until the mixture has become coarse crumbs
- If you do not have a pastry blender you can cut in the butter by using two knives in a scissor fashion (i.e. blades crossing each other like scissors to cut the butter up)
- Don't use too much water or over mix the dough- you want it to barely hold together
- Make sure to store the dough in the refrigerator until you use it as it is much easier to work with cold dough
- To limit how much flour I need to use to prevent sticking I like to roll my dough out on parchment paper
- If you make a mistake transferring the pastry to the pie plate just roll it out again 

If you are interested, check out how to make a lattice top or use cookie cutters with your pastry to decorate your crust.

Thursday
Nov292012

Graham Cracker Gingerbread Houses

With Thanksgiving behind us and December on its way I am ready to be in the holiday spirit. Nothing is more festive than gingerbread houses so I thought I would share some tips for making your own using graham crackers.

I made graham cracker gingerbread houses as a kid and last year I made a few base houses for Frank's nieces and then let them decorate themselves with candy and icing on Christmas Eve. It is a really fun and easy project and doesn't require baking.

To start you need (you guessed it!) a box or two of graham crackers. I have found that the best way to cut them is to lightly score them with a serrated knife, like a bread knife, and then break it on the scored line. Whenever I tried to cut right through I would have some breakage at the end. You should expect that some of the crackers in the package will be broken or you make accidentally break them so be prepared with extra crackers.

For "glue" you need to mix up a batch or royal icing. You can use your own recipe or try my royal icing recipe. Fill up an icing bag with a round tip with the icing and you are ready to start assembling. As you proceed it is really important for the icing to completely dry at each step otherwise you run the risk of the seams breaking as you put the house together.

To make the ends of the houses I cut angles on two pieces of graham cracker, put and bead of icing down the edge and pressed them together, laying them flat on a cookie sheet face down. To reinforce them I put another bead of icing on the back.

Once the ends were dried I put together the walls of the houses with two graham crackers placed lengthwise for the sides. Again I used royal icing to attach everything. For extra strength I took the trimmed off corners from making the ends and attached them inside of the house where the walls met. This added a lot of stability to the house.

For the roof pieces I used two pieces of graham cracker plus an additional half cut lengthwise. I put them together the same way as the ends but I decided to also press an additional half of a graham cracker on the middle of the back to make sure it was a strong and wouldn't later buckle. Once the roof pieces were dry I carefully attached them to the top of the house and the bases were complete. 

To make a snowy roof, I coated it with royal icing and then used frosted shredded wheat to make the shingles. Overlapping the shredded wheat and varying between starting a row with a full or half piece gives it more of a shingled roof look. Also, it is best to do one side at a time so that your icing doesn't set up while you are still working.

Finally, you can decorate to your hearts content with candies, attaching them with royal icing. Peppermint swirls, licorice sticks, gumdrops and gummy candies are all excellent colorful candies to use, but really the sky is the limit. This is a really fun activity and doing it with Frank's nieces last year was a really wonderful time.

Wednesday
Nov282012

Apple Pie

I just love apple pie. It is such an American classic and one of my favorites to make (and also to eat). You can usually get pretty nice apples almost all year round (unlike some other fruits) so this is a great pie to make from summer through early winter.

I've been making apple pie since my early teens and to me no summer picnic or Thanksgiving meal is complete without out one. Not only does it taste delicious but it also makes my home smell wonderful while it is baking.

Ingredients List
- 2 pounds apples: peeled, cored and cut into 1/4" slices
- 1 tsp. lemon juice
- 2/3 cup sugar
- 1/2 tsp. ground cinnamon
- 1/4 tsp. ground nutmeg
- Double pie crust pastry

Directions
- Prepare the apples (peel, core and cut) and place them in a bowl
- Add the lemon juice, sugar, cinnamon and nutmeg and toss the apples in the mixture
- Roll out half of the pastry and line the bottom of a pie plate with it, trimming off excess
- Roll out remaining half of the pastry
- Add apples to the pie plate and then top with pastry using lattice crust or other vented style top
- Bake for 40-50 minutes at 425° F until the crust is golden and the filling is bubbling 

Tips and Tricks
- Using a variety of apples gives a nice flavor I think. For this particular pie I used Granny Smith and Raeburn but feel free to experiment, just avoid apples with a high water content.  
- I make my own crust (I'll share the recipe in another post) but you can also use store bought
- To make your pastry easier to deal with, keep it in the refrigerator until you are rolling it out
- To prevent your crust from browning too much, wrap it in tin foil for the first 25 minutes of baking

Sunday
Nov252012

How to Make a Lattice Pie Crust Top

For Thanksgiving this year I made a few pies and I took a some pictures so that I could share how to make a traditional lattice pie crust top.

A lattice top is a classic that always looks pretty. It seems like it could be a lot of work but it really isn't. Here are some simple instructions to try it if you've never done it before.

To start, roll out the top crust (it is easier if the dough has been chilled first) and then cut it into strips of an even width. I just use a knife to cut my strips, but you can use a pastry wheel or pizza wheel as well.

Once you have the strips all cut, drape a strip across the middle. Working out from the center, lay out the strips on one side and then the other until the whole pie is covered, spacing them one strip width apart.

Next, fold back every other strip on the top of the pie. Make sure to fold it back a little more than halfway. Lay a strip across the middle of the pie, perpendicular to the other strips.

Now fold the strips back down over the middle strip that you just laid down. Every other strip will be on top or underneath it. This is the start of the lattice.

To make the next lattice piece, fold back every other strip again but this time you want to fold back the ones that were underneath the middle strip. Lay down another strip of pie dough and then fold the strips back down.

Repeat the same process of folding back strips, laying down a perpendicular strip and folding the strips back down, alternating which strips you fold back each time. Once the pie is covered in one direction, perform the same process on the other side of the pie.

To finish simply trim the ends of the strips. If you want you can leave it (just pinch the strips down into the bottom crust to seal it) or you can make a fluted edge.

That's all there is to it. It looks quite fancy but it is simple to do in less than ten minutes. Easy as pie!

Sunday
Oct212012

Michigan Tailgate Cake: Bacon Theme

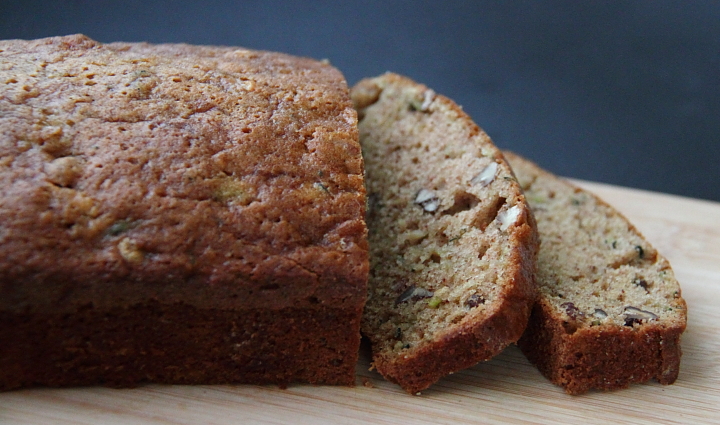
Yesterday Michigan played Michigan State at home and our tailgate theme was bacon. I decided in keeping with the theme that I would make a Maple-Apple-Bacon Cake that I have made a few times before using a wonderful recipe I found on the NPR website. I know that the bacon in the cake sounds a little strange but it really is quite delicious.

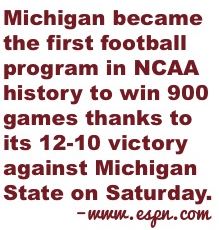
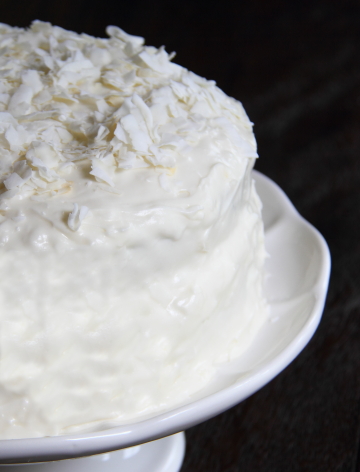
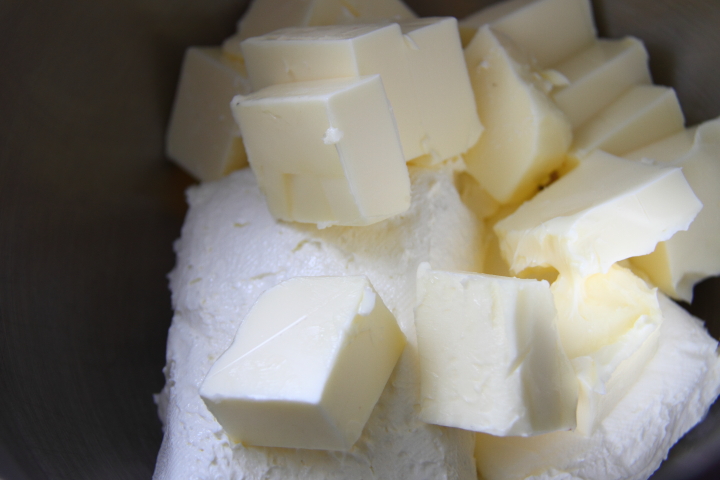
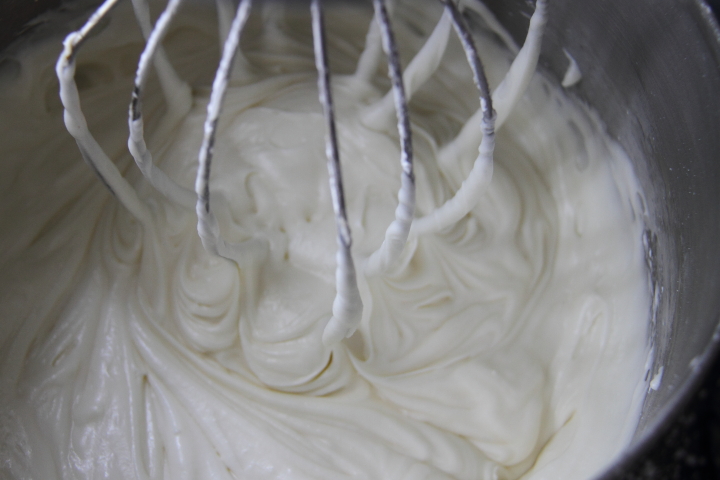
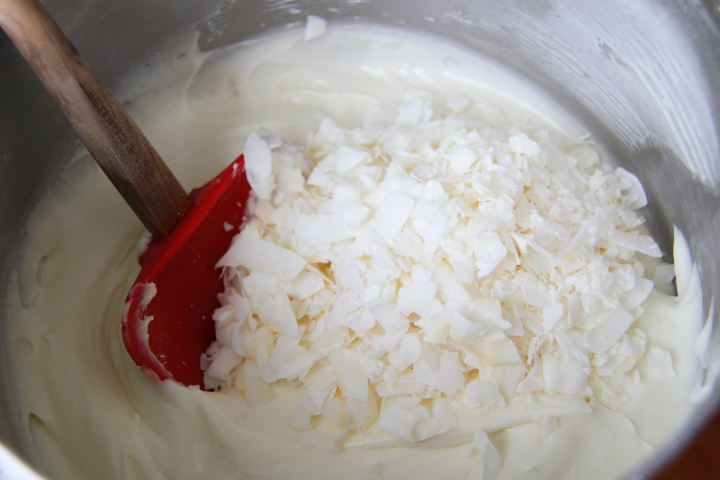
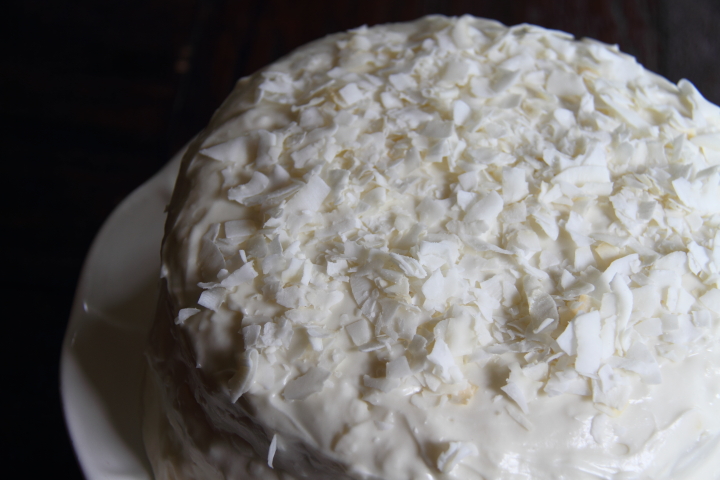
I did a few things slightly differently, however. Instead of baking it in an 8" square pan I split the batter between two 8" round pans. Also, instead of the maple glaze I made a maple cream cheese frosting.

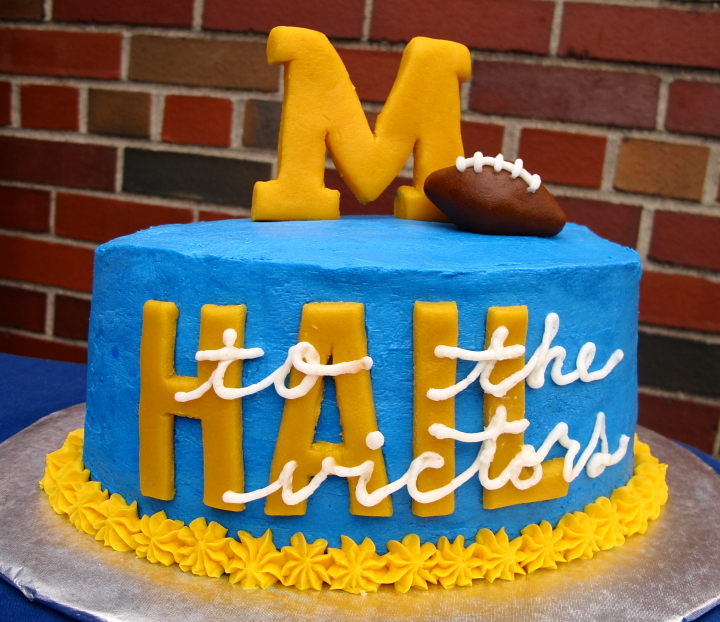
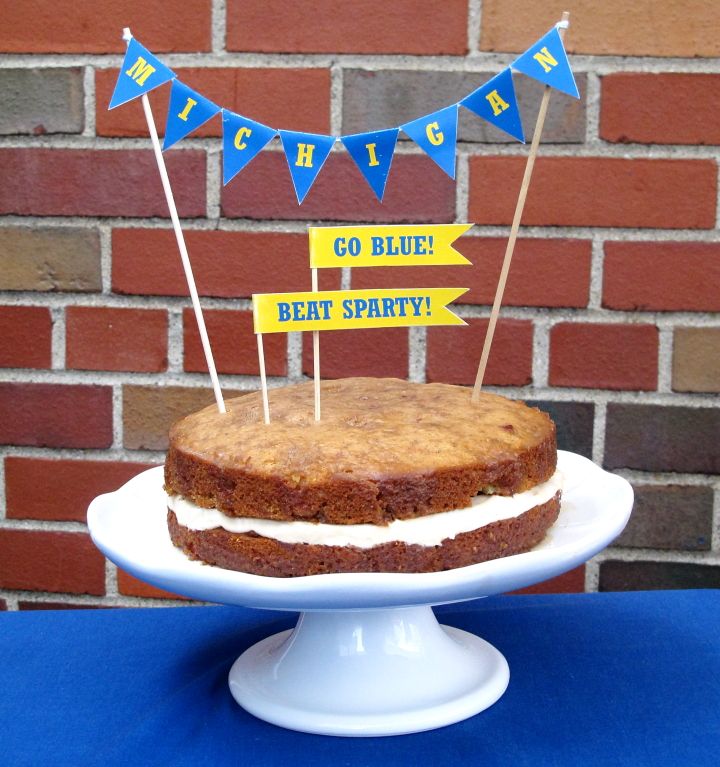
To assemble the cake I leveled the top of one of the cakes and placed it onto my cake stand. I used a pastry bag to top the cake with the maple icing, smoothing it out with a knife. I then placed the second layer on top and added my decorations.

To make the Michigan bunting I made a design of yellow letters on a blue background in PowerPoint and then printed it out.  I cut out the flags, folded them over and attached them to a string with a little tape, just like I did with my birthday bunting card. I tied the ends of the string to two 1/4" round dowels and stuck them in the cake.

The "Go Blue!" and "Beat Sparty!" flags were made in the same way (i.e. designed in PowerPoint, printed and then cut out) and then I wrapped them around long skewers and added them to the cake.

The cake got a lot of rave reviews from people, many of whom did not even realize there was bacon in it until I told them. It was polished off and selfishly I was a little disappointed that there was none left over for me to take home.

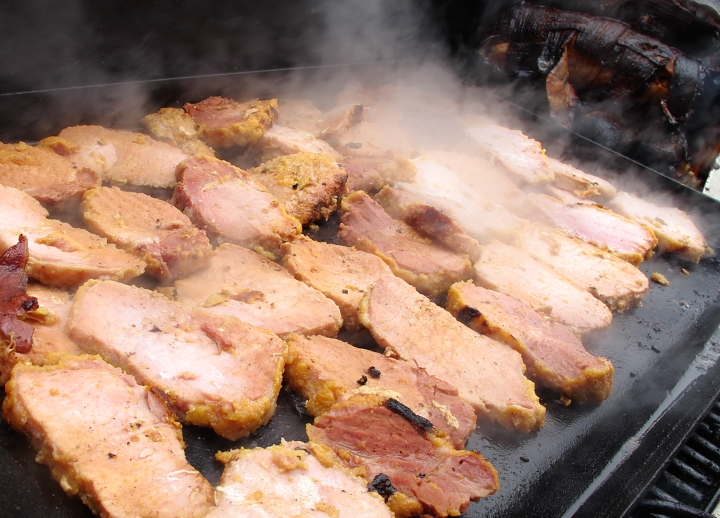
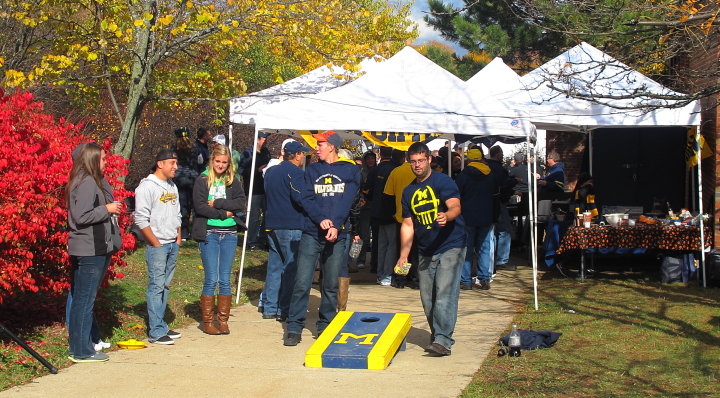
Continuing on with the bacon theme, Frank made several bacon explosions and a porchetta while other contributions included pea meal Canadian bacon from the Canadian contingent of the tailgate as well as sausage wrapped in bacon and water chestnuts wrapped in bacon. Needless to say it wasn't the healthiest tailgate but everything was delicious.  

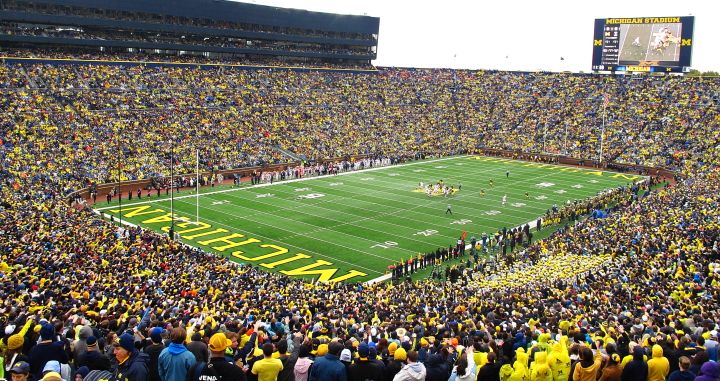
The weather also held up. Last week was cold, windy, rainy and miserable but this week it was overcast, but not too chilly and the sun even popped out a few times. The game had a 3:30 p.m. kickoff and Frank likes to be at the tailgate at 7:30 a.m. so decent weather is key to having a good time.

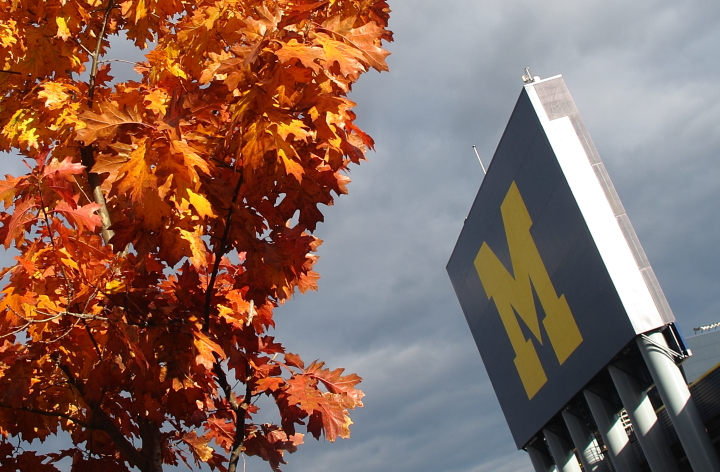
The skies stayed cloudy for most of the game, but luckily there was no wind or rain and I was comfortable bundled up for the game.

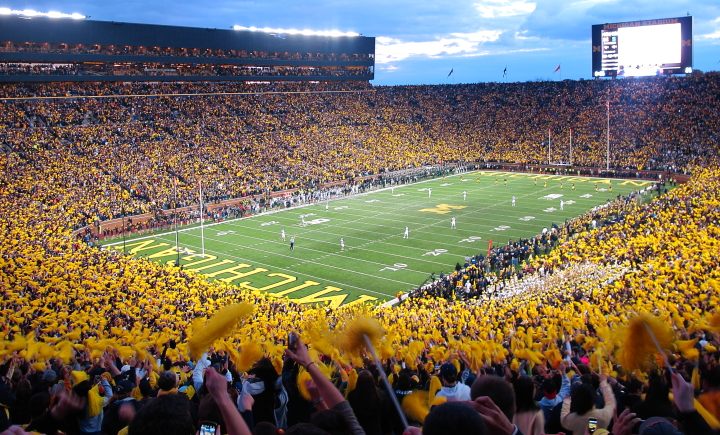
The game itself was a nail biter with five lead changes. In the last few minutes it looked like Michigan had blown their chances to win but with five seconds left, Brendan Gibbons kicked a field goal to win the game 12-10. Free yellow pom-poms had been passed out at the game and everyone in the stadium went nuts waving them. Michigan State had won the four previous games between the two schools so it was great to beat them.

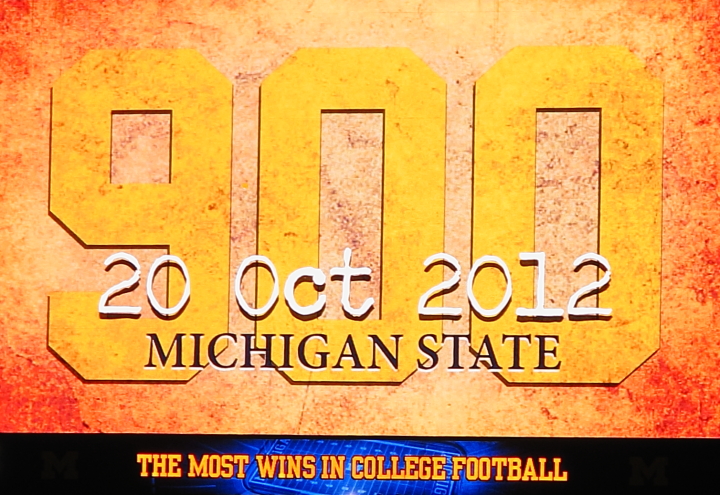
The win marked another big milestone for Michigan, namely the program's 900th win making it the first NCAA college football team to do so. Having the win occur at home and over Michigan State made it especially sweet. After the game the scoreboard played a show highlighting the 100th, 200th, and so on victories culminating with the 900th that had happened that day.

On another football front, my alma mater, Duke, beat North Carolina yesterday bringing their record this year to 6-2. Not only is it nice to beat our arch rivals, but this makes the team bowl eligible for the first time since 1994. In recent decades Duke notoriously does not have a strong football program so this is pretty huge.  Frank asked me who I would root for if Michigan and Duke played in a bowl game. I told him that my Michigan fandom comes with a Duke exemption and that I will always cheer for Duke over all others. A girl has to do what a girl has to do. Go Duke Blue Devils! and Go Michigan Wolverines! (when they are not playing Duke!)

Sunday
Oct142012

Michigan Tailgate Cake: Hail To The Victors

This week Michigan played Illinois for homecoming and the tailgate theme was Brazilian Steakhouse. I wasn't really sure how to translate that theme into a tailgate cake so I decided to make a cake with the first line of the chorus of the Michigan fight song across the front.

I started by baking a chocolate cake in two oval pans and then whipped up a double batch of buttercream icing, tinting it blue. Once the cake had completely cooled I leveled the layers by cutting off the crowns. I stacked the layers with some icing in between and then added a thin crumb coat of the blue icing over the whole cake.

After the crumb coat had dried I iced the cake with the blue icing and smoothed it over the cake. With the base of blue icing on the cake it was time for the fun part, decorating. I used marzipan that I tinted yellow to make the word "HAIL" and put that across the front of the cake. I also made a large block M and used skewers to make it stand on top of the cake. I added a little cocoa powder and copper tint to some more marzipan and made a little football to prop up in front of the block M.  

As a final step I made another single batch of buttercream icing, tinting half of it yellow and leaving the rest white. I put both colors in piping bags and piped a star border around the base of the cake in yellow. I used the white to add "to the victors" and add some laces on the football. 

Although the tailgate was a lot of fun, it was cold and toward game time it started raining. At the tailgate we were under tents, but we were completely exposed to the elements in the stadium. Being soaking wet and cold made watching the game a bit miserable but drinking a bunch of hot chocolate definitely helped.

Luckily the Wolverines dominated Illinois and when the score was 31-0 in favor of Michigan we decided that victory was ensured and it was okay to leave, watching the rest of the game back at the tailgate with the satellite TV under the tents. In the end Michigan won 45-0 for a decisive win. Bring on Sparty!

Do you root for any college teams? How did you spend your weekend?

Monday
Oct082012

Zucchini Bread Recipe

Every year as soon as summer fades and the weather cools down I get bitten by the baking bug. Yesterday was a chilly, rainy day and was perfect for turning on the oven. I decided to make a batch of zucchini bread since I had one last large zucchini from the end of summer harvest from my garden.

I love to make quick breads and in particular zucchini bread has a special place in my heart and stomach. It was something that my family made often when I was a kid and is a childhood favorite. As an adult a slice of zucchini bread with a dab butter and a cup of tea makes the perfect treat for me on a rainy afternoon.

The recipe I use today is essentially the same as my traditional family one but I replaced half of the oil with applesauce to make it a little lighter. It makes the zucchini bread a titch sweeter and moister but retains all the flavors of my youth.

Ingredients List
- 3 cups flour
- 1 tsp. salt
- 1 tsp. baking soda
- 1-1/2 tsp. baking powder
- 3 tsp. cinnamon
- 1/2 cup oil
- 1/2 cup applesauce
- 3 eggs, beaten
- 3 tsp. vanilla
- 2 cups sugar
- 3 cups zucchini, grated
- 1/2 cup nuts, chopped 

Directions
- Preheat oven to 350 and grease and flour two loaf pans
- Slice zucchini in half, remove seeds and grate using a large box grater or the coarsest grater in a food processor
- Stir together flour, salt, baking soda, baking powder and cinnamon
- In a separate bowl beat together eggs, applesauce, oil, and vanilla and then stir in sugar
- Add dry ingredients to the wet ingredients and mix until fully incorporated
- Stir in zucchini and nuts and then pour batter into prepared pans
- Bake for 40-50 minutes until tester inserted in the center comes out clean 
- Let cool for 15 minutes, remove loaves from pans and then let them cool completely on wire racks 

The recipe makes two loaves, so feel free to share one or since it freezes well, wrap one up and freeze it for a later day. I've also baked up the batter in mini loaves and muffins with great success.

Are you doing any fall baking? What is in your oven?