


Doll Bed with Bedding & Patchwork Quilt
For Frank's youngest niece, who is seven years old, I decided to make a doll bed with bedding and a patchwork quilt to go with her American Girl doll for Christmas this year.
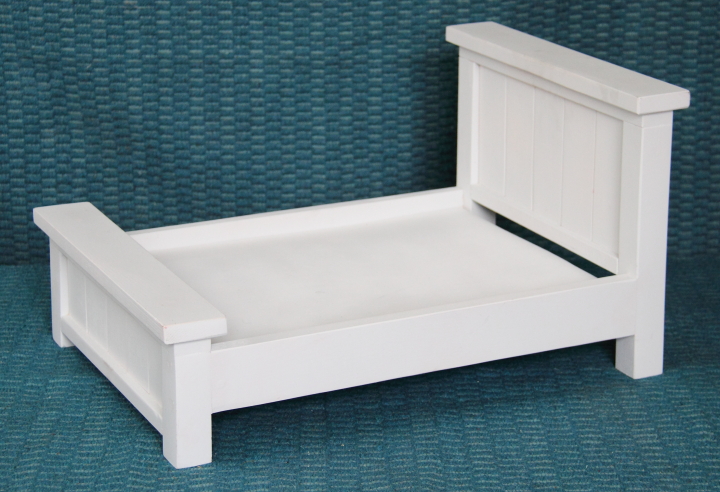
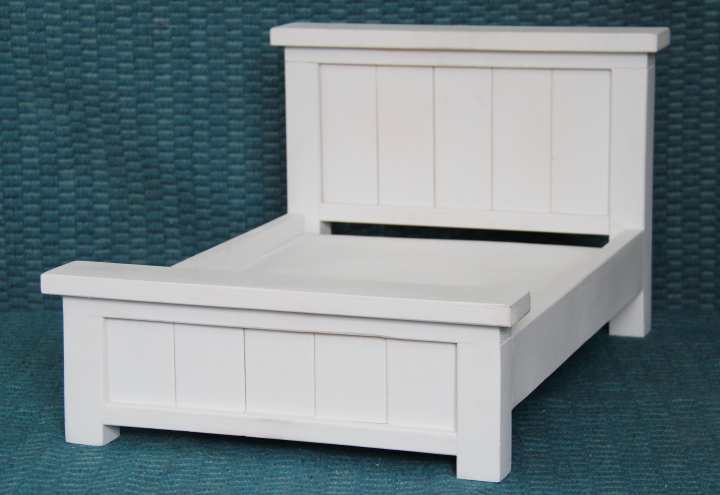
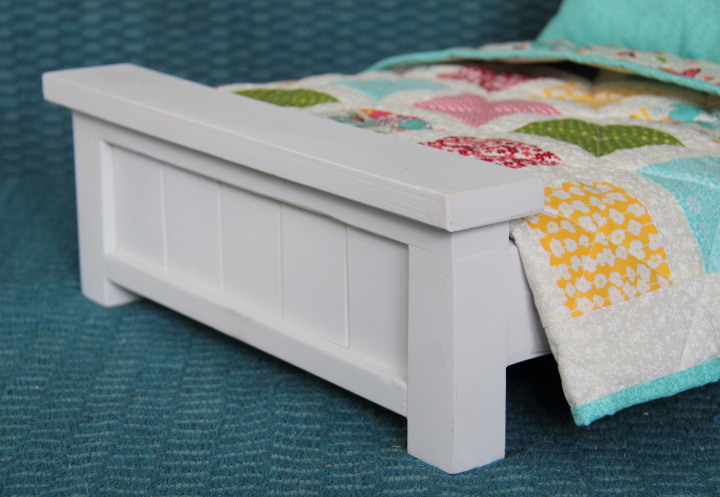
To make the bed I used the plans from Ana White's amazing website to build the Farmhouse Doll Bed. Her instructions are super clear and it was easy to build. I finished it with spray paint primer and a few coats of white spray paint.
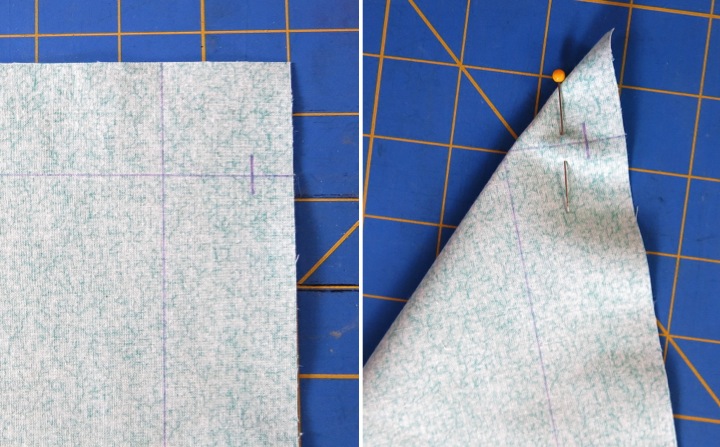
Next I needed to make a mattress and pillow for the bed. I bought some 1" foam and cut it to size to fit the bed frame, 14" x 19". To cover the mattress I cut a rectangle of fabric 17" x 22" to wrap around the sides and have a 1/2" seam allowance. I used a disappearing fabric marker to mark 1-1/2" from the edge of the fabric and then marked up 1/2" from the corner to know where I should stop sewing. I folded over the edges with right sides together and pinned it.
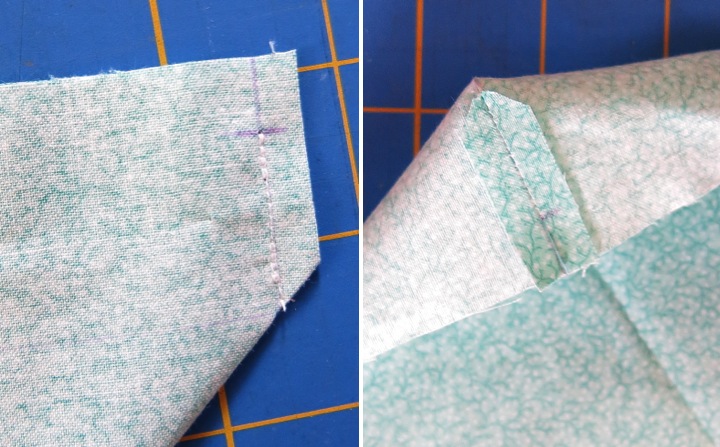
I sewed along the line, stopping at the 1/2" mark line, clipped the excess fabric and then pressed the seam open. After doing this for all four corners I had created the top of a box for the mattress.
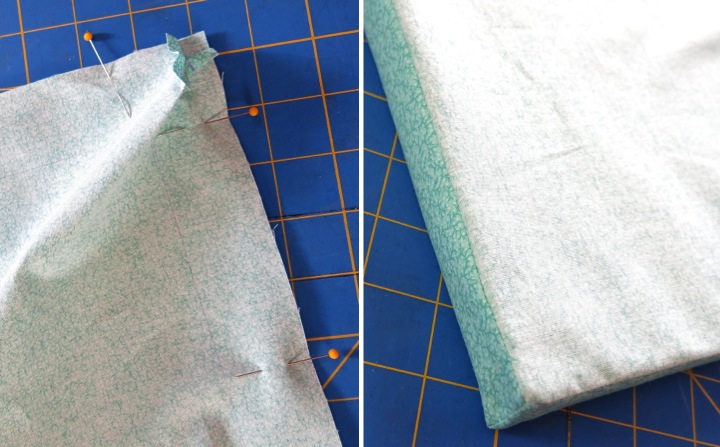
I then cut a piece of fabric 18" x 20" for the bottom and then pinned it to the top of my box, right sides together, lining up the edges. I sewed around the perimeter using a 1/2" seam and left an opening of a few inches. After turning it right side out I stuffed the foam mattress into the mattress cover and used a blind stitch to sew the remaining opening closed.
I made a simple rectangle pillow (two rectangles sewn together and stuffed) to complete the mattress and pillow for my bedding.
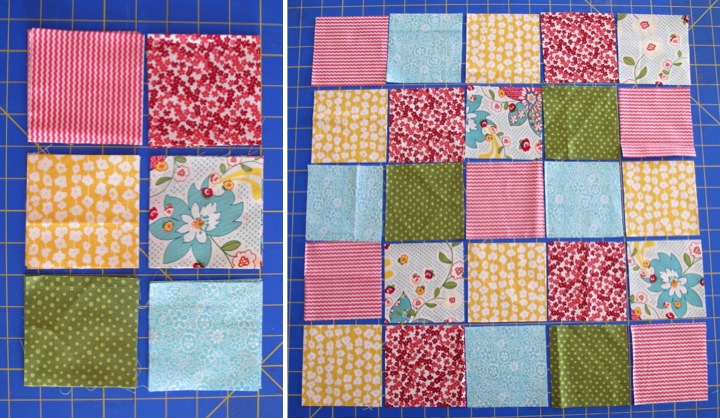
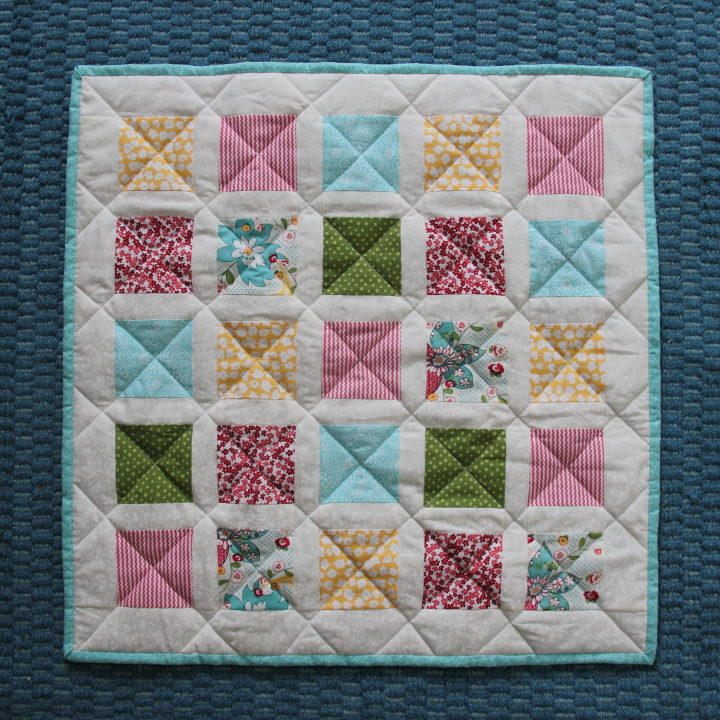
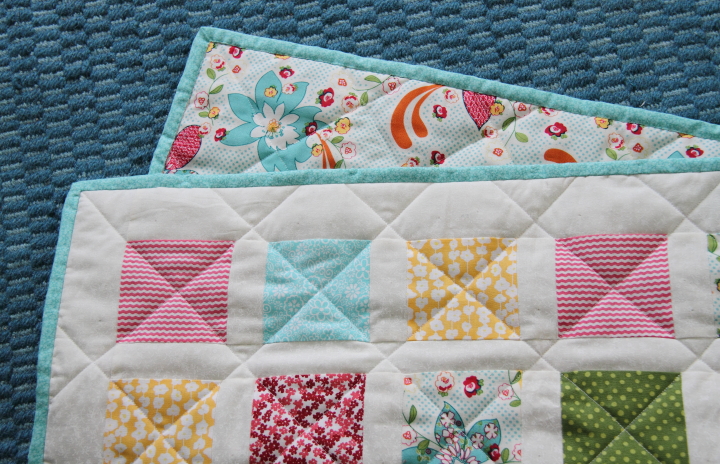
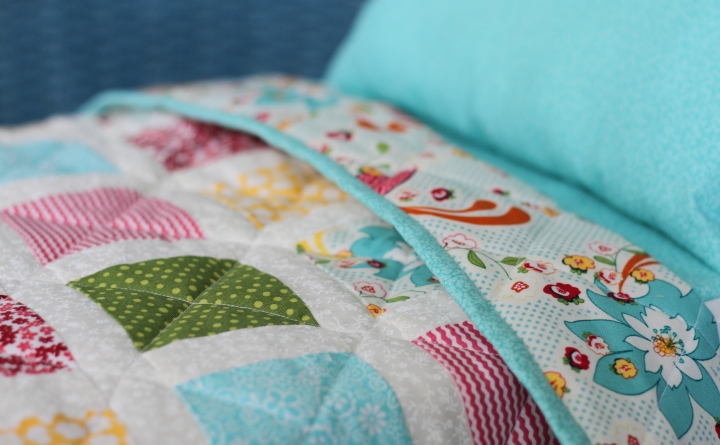
Next I made a small quilt for the bed. I chose a few fabrics I liked and cut several 3-1/2" squares from them. I laid out a 5 x 5 grid of the squares in a pattern that I liked.
I decided to add white sashing between the squares. I cut several strips white fabric 1-1/2" wide and then pinned all of the squares, except the right most row to the white strips. I then used a 1/4" seam allowance to sew the squares to the white strips. Next I ironed the seams flat toward the squares and separated the squares by cutting the white fabric between them.
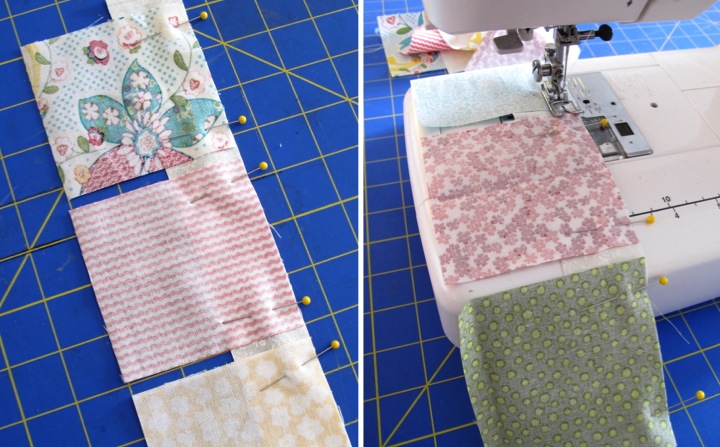
I sewed each row of the squares together with a 1/4" seam and then pressed the seam allowance flat towards the square. I then sewed a 1-1/2" strip of white to the top of each of the rows except for the top row.

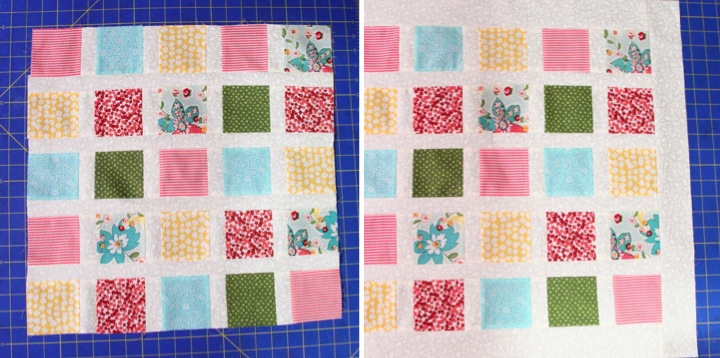
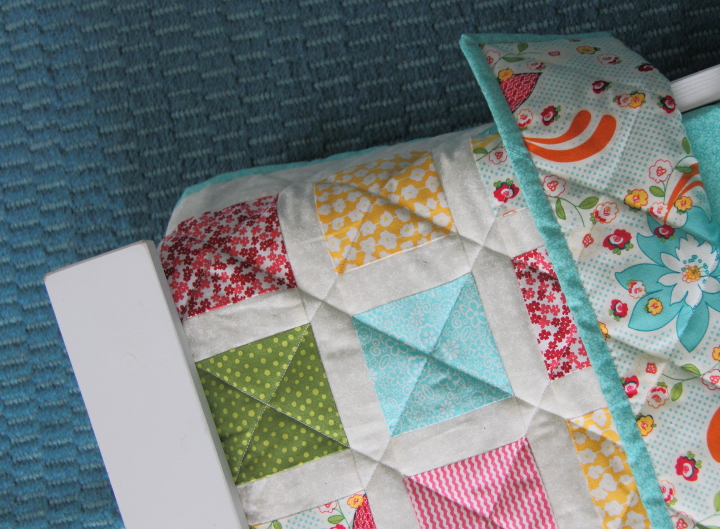
I then joined the rows with a 1/4" seam and then I used white strips 2-1/2" wide to create a border around the quilt.
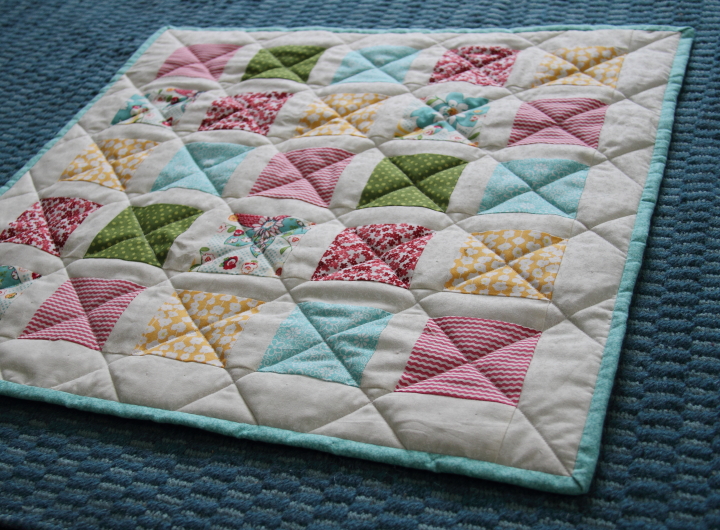
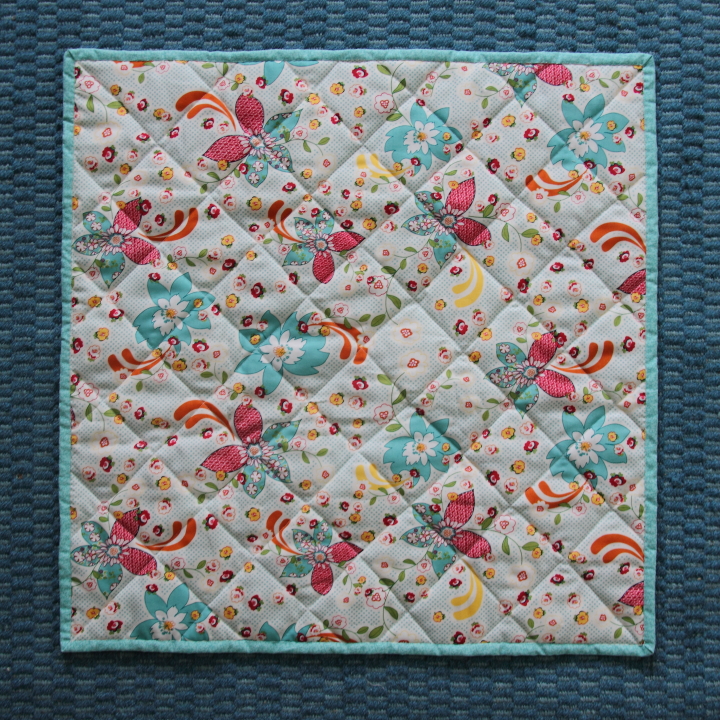
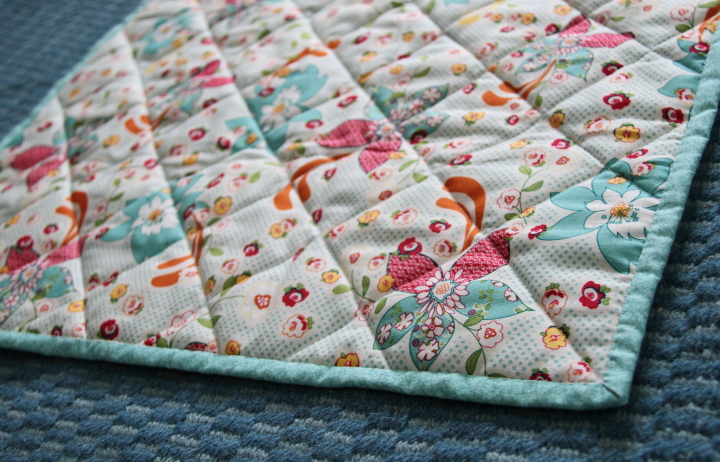
To prep the quilt for quilting I laid my backing fabric face down on the floor and taped it down. I layered my batting on top and then my quilt top face up. I smoothed everything out and then pinned through all of the layers. For my quilting I just sewed on the diagonal through the center of the squares.
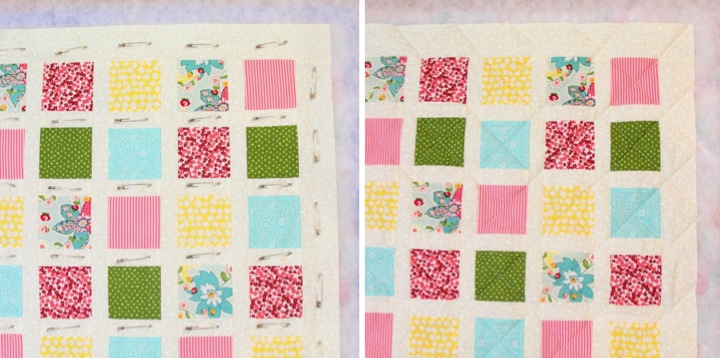
To finish the quilt I trimmed the excess backing and batting and added teal binding around the edge of the quilt. For basics on how to add binding check out my lavender sachet post.
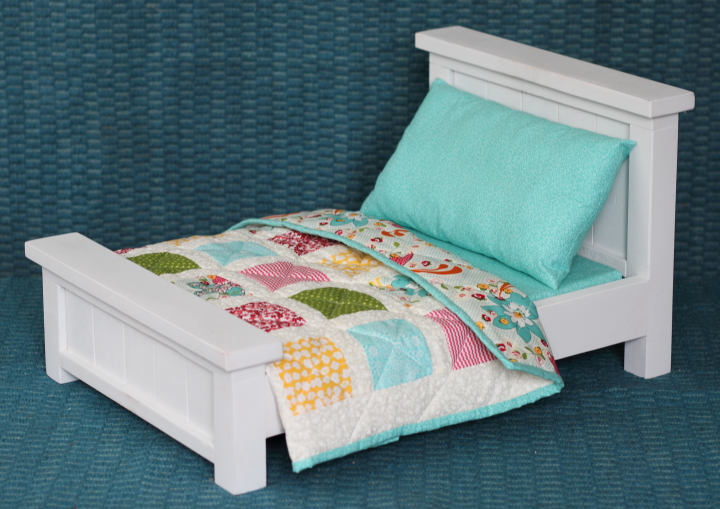
I think the doll quilt turned out really cute and I love how bright and colorful it is.
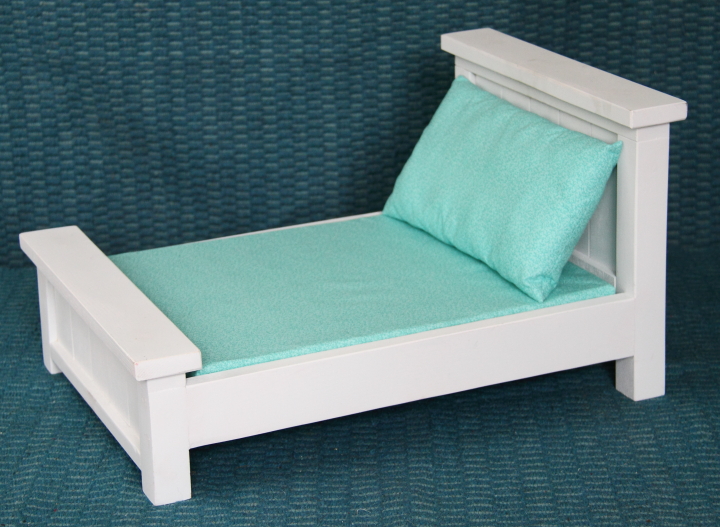
With the quilt complete I was excited to make the bed and see the final product all together. I think it all turned out great.

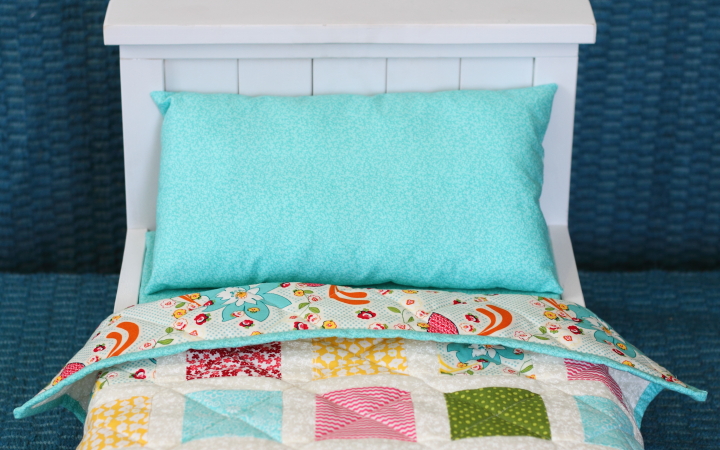
I was so excited for Frank's niece to open the doll bed on Christmas and she really loved it. I had intended it for her American Girl doll, but she is an avid collector of stuffed ducks and within a few minutes of opening her presents she had two of her ducks tucked into the bed. It was so cute and it made me so happy to see her enjoying it.
 Lisa | 32 Comments | Share Article | Email Article | Print Article
Reader Comments (32)
Wow! You are a woman of endless talent! That little bed is amazing, and the quilt is fantastic. I'm beginning to wonder, though, when do you find time to sleep? : )
Happy New Year Lisa!
I love your creativeness and passion for making homemade gifts. Those will forever be cherished! You have great forethought and your execution is always spot on!
Thank you for sharing all your wonderful crafts.
Pls. include some photos of yourself in your posts.
Enjoy this day!
Veronique
Sandy- Thank you so much! I'm glad that you like it. I definitely am a busy body and have a hard time relaxing...
Veronique- Happy New Year to you, too! Thank you for your compliment about my homemade gifts. You are so sweet. I love thinking up things to make for people. Regarding photos of myself, I feel a little self-conscious about it but I'll try to sprinkle in a few more here and there.
What an amazing creation! This is adorable and is it crazy I want one for myself?! Lol!
My 6 year old goddaughter would absolutely love this! I especially love the quilt-just gorgeous!
Hilary- Thank you! It's not crazy to want one. I made it because I want to play with it with her.
Janine- Thank you so much! You should make her one!
My husband is making this same bed (with the directions from Ana Whites website) for my daughter. I have been reading several blogs for quilt ideas. This is BY FAR the best tutorial and the most beautiful quilt I have come across. Thank you!!!
I do have a couple of questions for you:
What size did you make the pillow?
What is the overall finished size of the quilt? I like how you made it wider so there is plenty of quilt to hang over each side. But I can't tell if you made it longer to tuck under the foam mattress at the foot board, or did you make it close to the finished length of the bed which is about 19"....?
Thank you for your help!
Thank you, Melanie! I'm glad that the tutorial was helpful to you. I don't remember the height of the pillow but it was 14" wide to match the width of the mattress. The quilt was 23-1/2" x 23-1/2" square so that I could have it drape over the sides and tuck it. I also figured that I wanted it big enough to easily cover a doll when the doll was in the bed. Hope this helps!
Hi, I have almost finished a quilt similar to yours. My question is, did you use a quilting foot on your sewing machine for this quilt? Thanks!
I LOVE your quilt!! I've already made one of these beds, but I want to make 2 more. The first was a trial run and since I didn't have a sewing machine, I made the bedding by hand. Your quilt is definitely going to be on one of the beds made this weekend! Great job and thanks for sharing :)
Linda- I just used a regular walking foot when I quilted the quilt.
Brandi- Thank you! I am glad that you enjoyed my post and will have a chance to make a quilt yourself.
I made this quilt for my 8 year old granddaughter's American Girl Doll. Your instructions were awesome and it turned out great. She loves it. She got the American Girl doll twins for Christmas, so that is another project. I have a new great granddaughter due in March, your instructions were so easy to follow that I am attempting to make a crib size quilt for her. Thank you so much for posting. Will watch for more tutorials in the future.
its nioce blog
Can you tell me how many 3 1/2 inch squares of fabric per row I would need if I did not want to use the white sashing between the squares. Also, how many rows would I need for this quilt? Thank you
leslefyllb e3d3fd1842 https://mybalooza.com/ciacalrompfec
Visit Luxury Bedding
Welcome to canapaks.com, your gateway to wellness. We specialize in premium Pink Himalayan salt and Turmeric products, meticulously crafted to elevate your everyday routines. Discover the perfect blend of purity and potency, sourced from the pristine Himalayan foothills and curated for your well-being. Join us on a journey towards holistic health and vibrant living with our signature offerings.
Peel HR is a leading HR recruiting company in Toronto, Ontario, connecting top talent with premier organizations. With a commitment to excellence and professionalism, we streamline the recruitment process for seamless placements. Explore career opportunities or find your next top hire at Peelhr.com
B2BCERT is a premier consultancy firm specializing in ISO certifications, product certifications, and comprehensive cybersecurity solutions. Our team of seasoned experts is dedicated to helping businesses of all sizes achieve compliance, enhance security, and gain a competitive edge in their respective markets. https://www.b2bcert.com/iso-27001-certification-in-bangalore/
At ApparelnBags, you get a vast range of Champion cami and Champion tank tops for men, where you can find the preferred style, color, and fabric. Since the requirement for comfort and style remains high, we ensure to provide Champion tank tops that are made of premium fabrics and stitched diligently.
If you're looking for reliable iv drip in dubai, Care24 offers the perfect solution. Our professional, DHA-certified medical team delivers safe and effective IV drip Dubai right to your doorstep. Whether you're recovering from dehydration, fatigue, or simply need an immunity boost, our iv drip home service ensures you get the nutrients you need in the comfort and privacy of your own space. Say goodbye to long waits in clinics—experience personalized care at your convenience.
At Care24, we offer fast, confidential, and accurate hiv test in dubai services designed to give you peace of mind and clarity about your health. Whether you need testing for personal reasons, employment, or visa processing, our medical team ensures a safe and supportive environment throughout the process. When it comes to affordability, the hiv test cost in dubai at Care24 is transparent and competitive, with options tailored to suit your needs without compromising on quality. Book your appointment today and take a proactive step toward better health with Care24’s trusted diagnostic services.
Experience the beauty of Kerala with our Kerala Tour Packages and enjoy a comfortable Taxi Service in Kochi Kerala. Kochi Airport Taxi Services