For Frank's youngest niece, who is seven years old, I decided to make a doll bed with bedding and a patchwork quilt to go with her American Girl doll for Christmas this year.
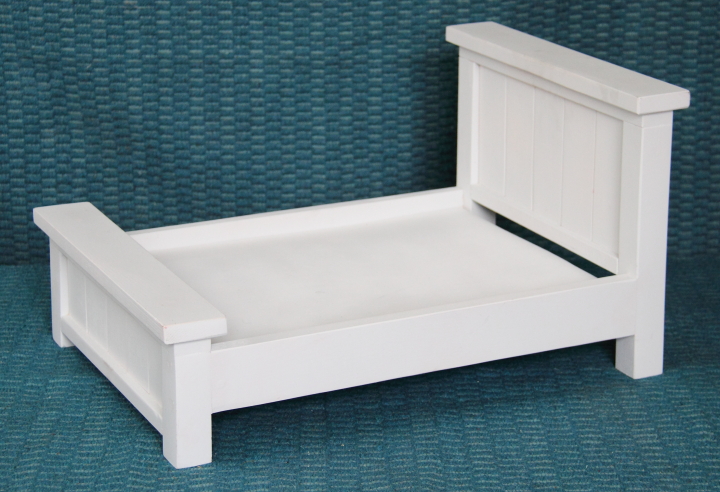
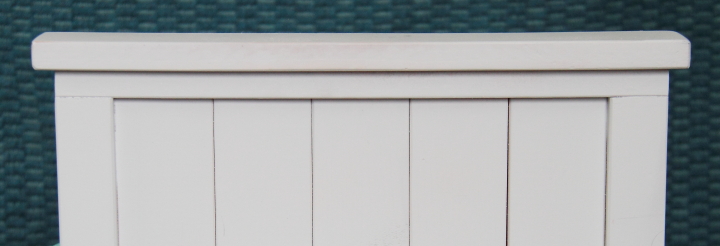
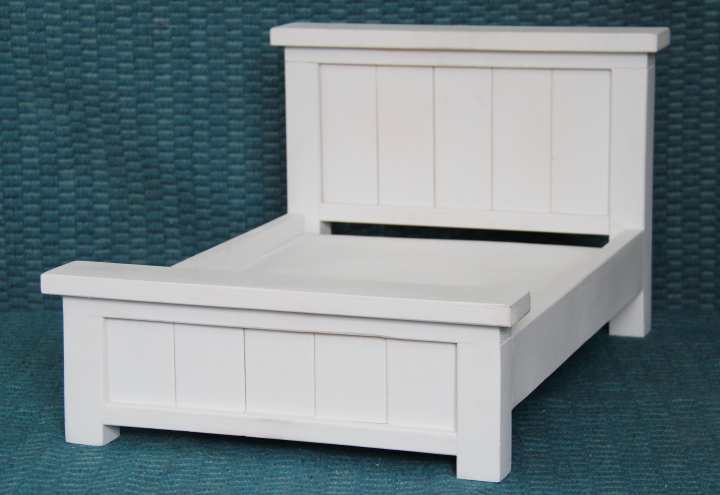
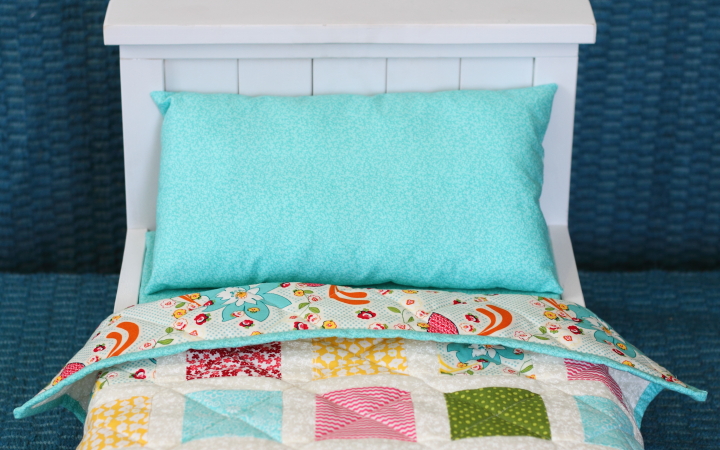
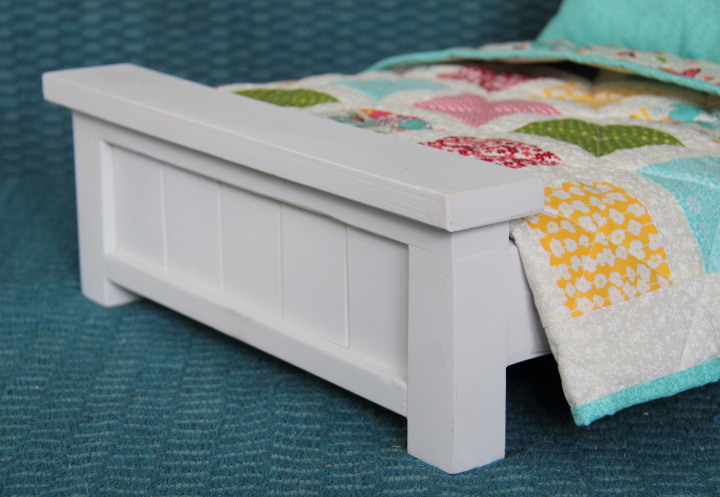
To make the bed I used the plans from Ana White's amazing website to build the Farmhouse Doll Bed. Her instructions are super clear and it was easy to build. I finished it with spray paint primer and a few coats of white spray paint.
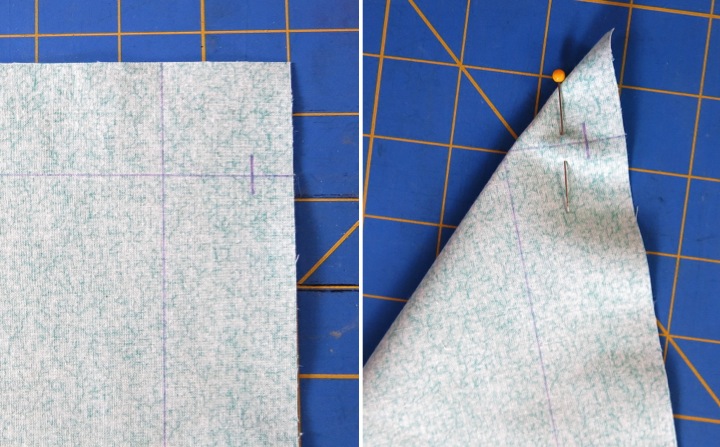
Next I needed to make a mattress and pillow for the bed. I bought some 1" foam and cut it to size to fit the bed frame, 14" x 19". To cover the mattress I cut a rectangle of fabric 17" x 22" to wrap around the sides and have a 1/2" seam allowance. I used a disappearing fabric marker to mark 1-1/2" from the edge of the fabric and then marked up 1/2" from the corner to know where I should stop sewing. I folded over the edges with right sides together and pinned it.
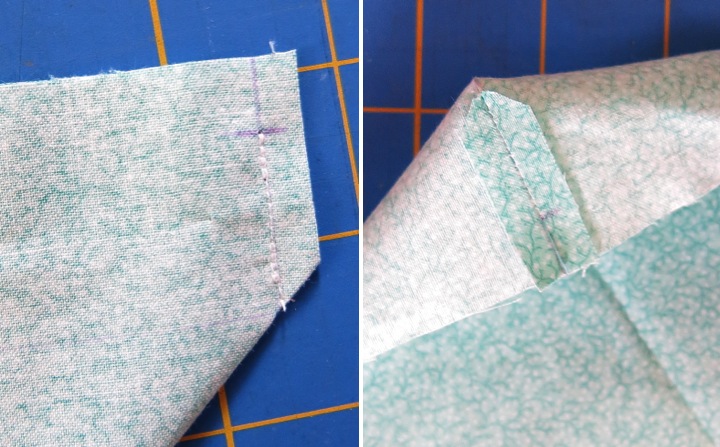
I sewed along the line, stopping at the 1/2" mark line, clipped the excess fabric and then pressed the seam open. After doing this for all four corners I had created the top of a box for the mattress.
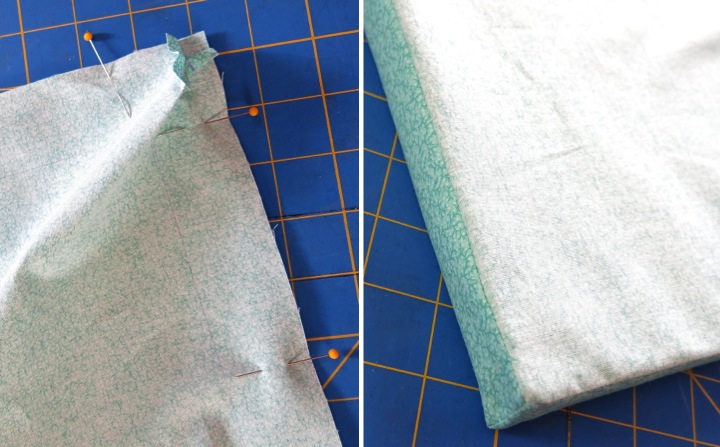
I then cut a piece of fabric 18" x 20" for the bottom and then pinned it to the top of my box, right sides together, lining up the edges. I sewed around the perimeter using a 1/2" seam and left an opening of a few inches. After turning it right side out I stuffed the foam mattress into the mattress cover and used a blind stitch to sew the remaining opening closed.
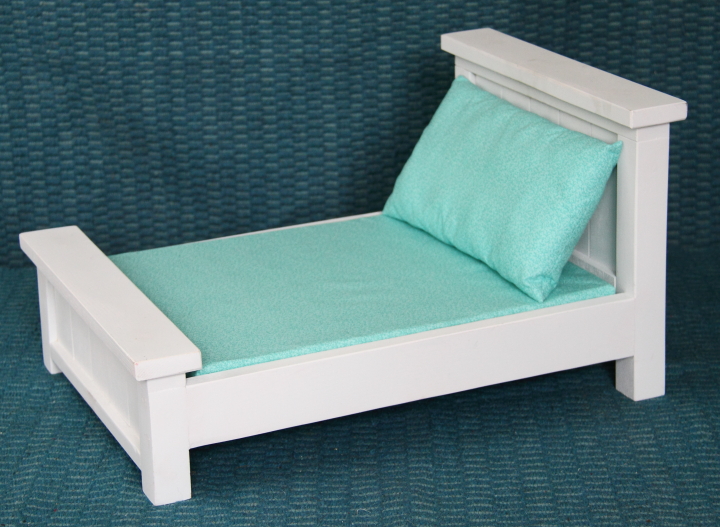
I made a simple rectangle pillow (two rectangles sewn together and stuffed) to complete the mattress and pillow for my bedding.
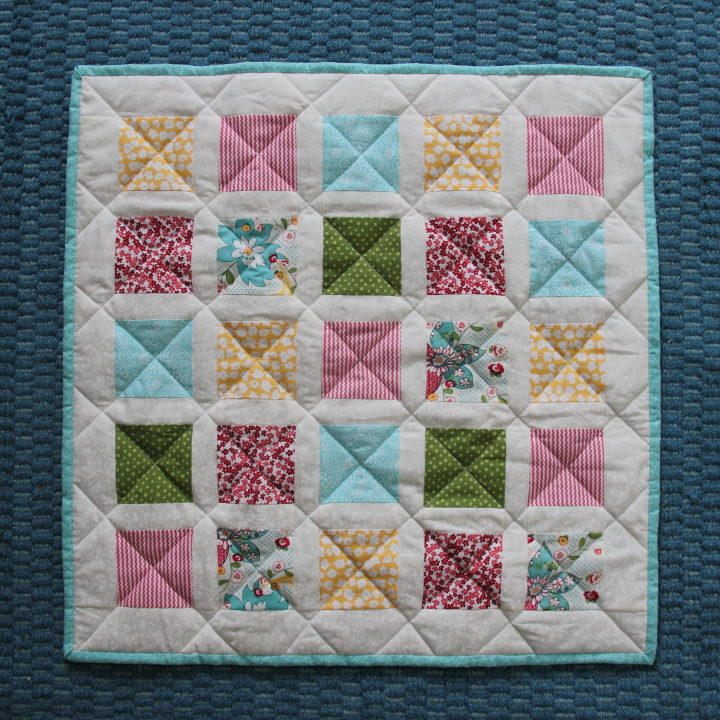
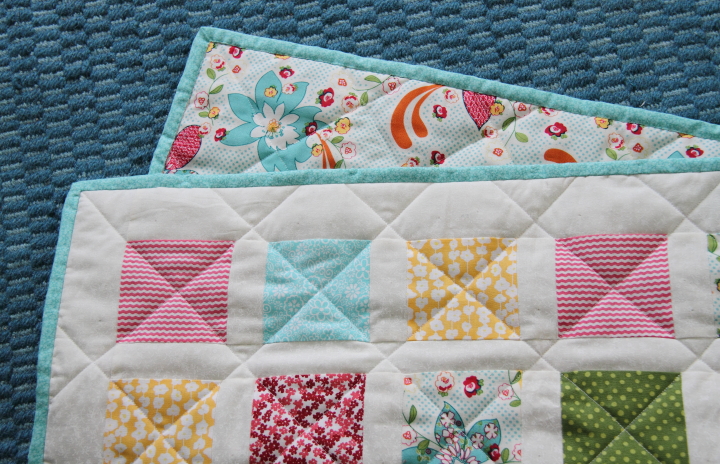
Next I made a small quilt for the bed. I chose a few fabrics I liked and cut several 3-1/2" squares from them. I laid out a 5 x 5 grid of the squares in a pattern that I liked.
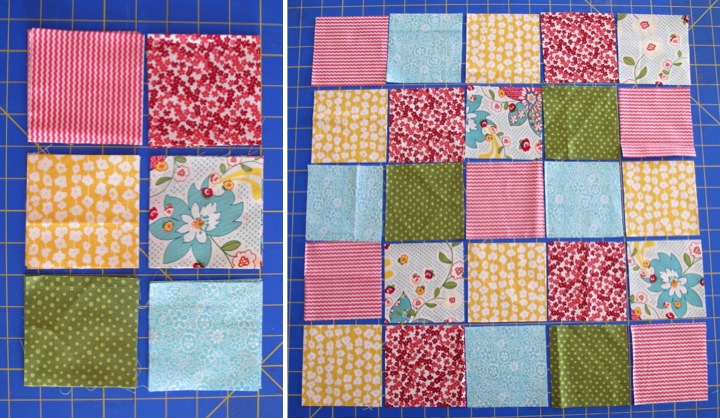
I decided to add white sashing between the squares. I cut several strips white fabric 1-1/2" wide and then pinned all of the squares, except the right most row to the white strips. I then used a 1/4" seam allowance to sew the squares to the white strips. Next I ironed the seams flat toward the squares and separated the squares by cutting the white fabric between them.
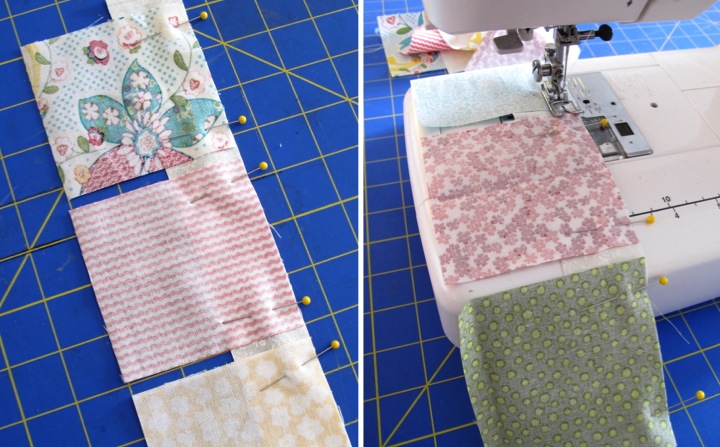
I sewed each row of the squares together with a 1/4" seam and then pressed the seam allowance flat towards the square. I then sewed a 1-1/2" strip of white to the top of each of the rows except for the top row.

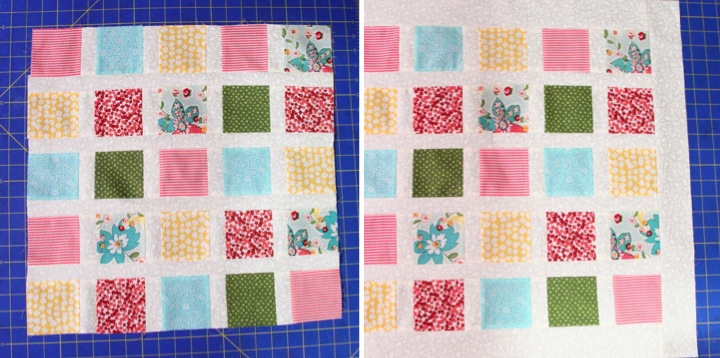
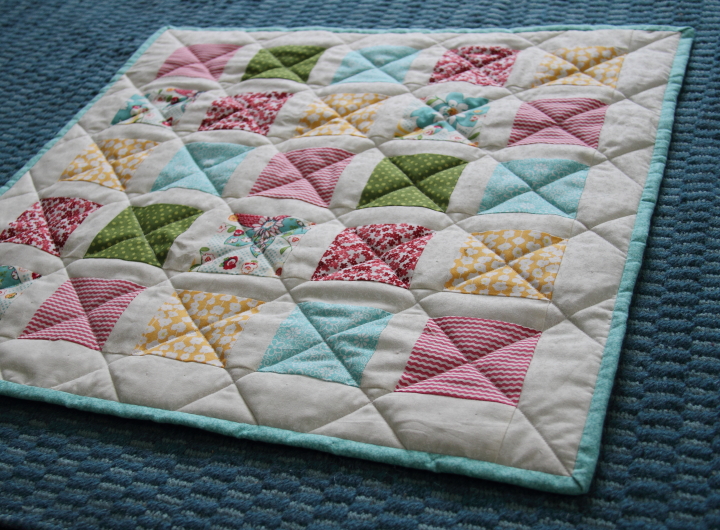
I then joined the rows with a 1/4" seam and then I used white strips 2-1/2" wide to create a border around the quilt.
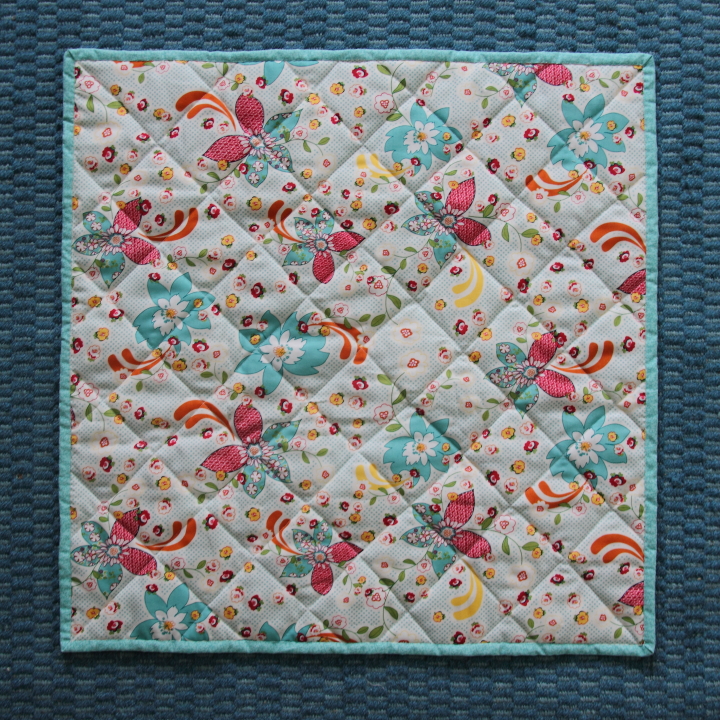
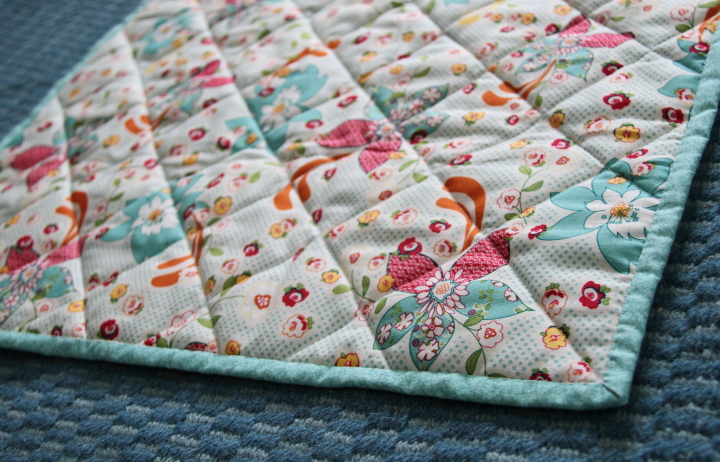
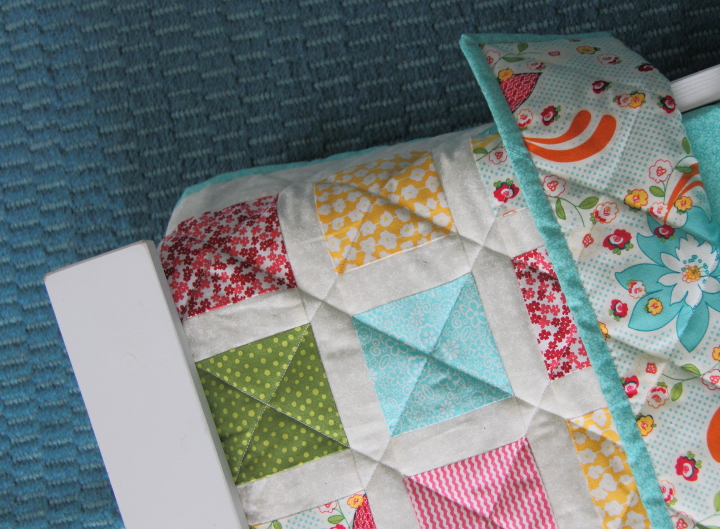
To prep the quilt for quilting I laid my backing fabric face down on the floor and taped it down. I layered my batting on top and then my quilt top face up. I smoothed everything out and then pinned through all of the layers. For my quilting I just sewed on the diagonal through the center of the squares.
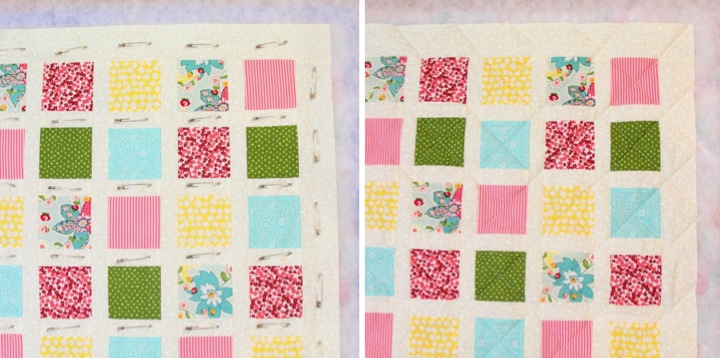
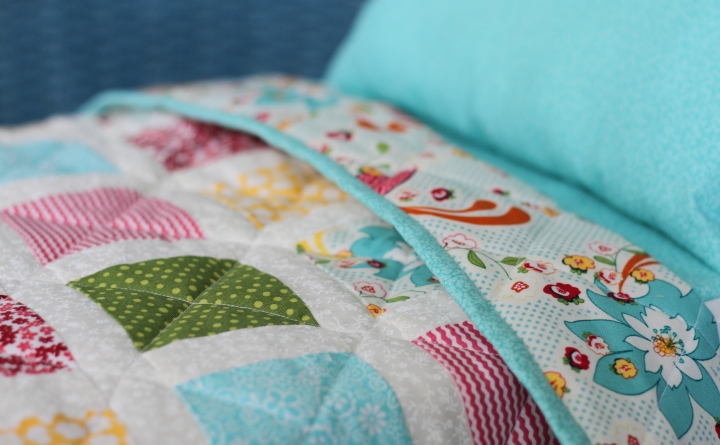
To finish the quilt I trimmed the excess backing and batting and added teal binding around the edge of the quilt. For basics on how to add binding check out my lavender sachet post.
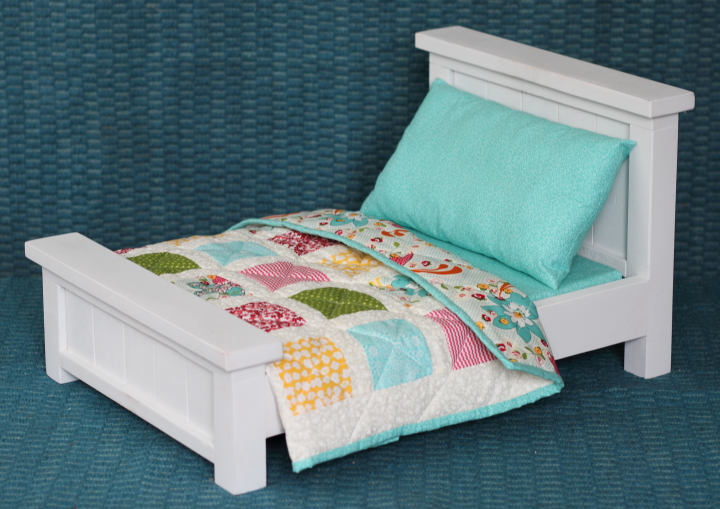
I think the doll quilt turned out really cute and I love how bright and colorful it is.
With the quilt complete I was excited to make the bed and see the final product all together. I think it all turned out great.

I was so excited for Frank's niece to open the doll bed on Christmas and she really loved it. I had intended it for her American Girl doll, but she is an avid collector of stuffed ducks and within a few minutes of opening her presents she had two of her ducks tucked into the bed. It was so cute and it made me so happy to see her enjoying it.