Behind the Walls: Insulation, Fireblocking and More
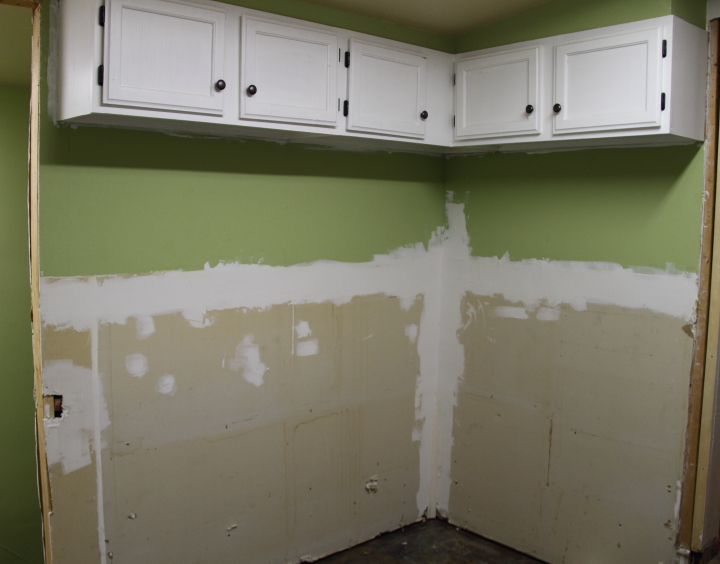
Before I was able to pass my building rough inspection for my laundry room and bathroom renovation I had to have everything up to code inside the walls. I hired out the plumbing, electrical and HVAC duct work to contractors but I pulled the building permit myself so that was all on me.
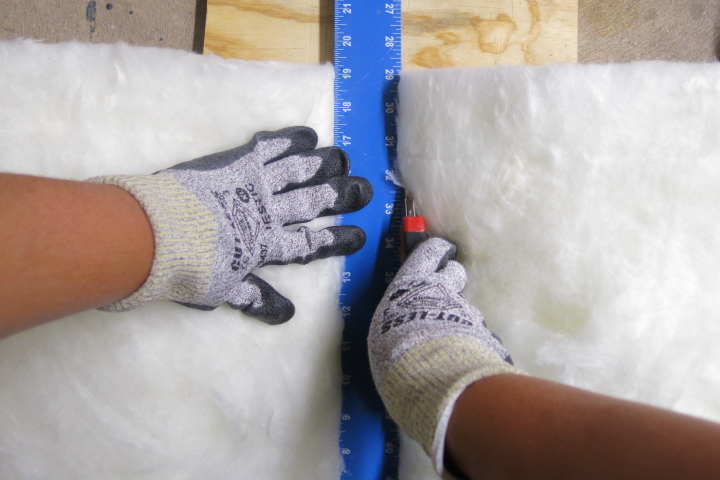
I started with the insulation in the bathroom ceiling. When dealing with insulation I always wear work gloves to protect my hands from irritation. To cut an insulation batt place it vapor barrier side down on some scrap plywood or other surface you don't care about and cut with a utility knife against a straight edge.
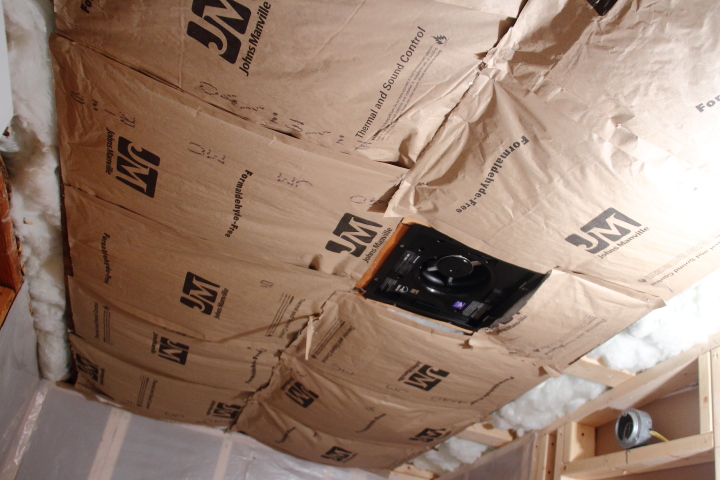
My local box store only stocks 15" wide insulation batts but my ceiling joists were 24" on center. To solve the issue I cut the insulation into 26" strips and removed about 2" of insulation on each end to create tabs that I could staple to the ceiling joists. This was a bit tedious but it did the job for the small area I needed to insulate and beat trying to search around to find wider batts or tacking up furring strips until I put up the ceiling drywall.
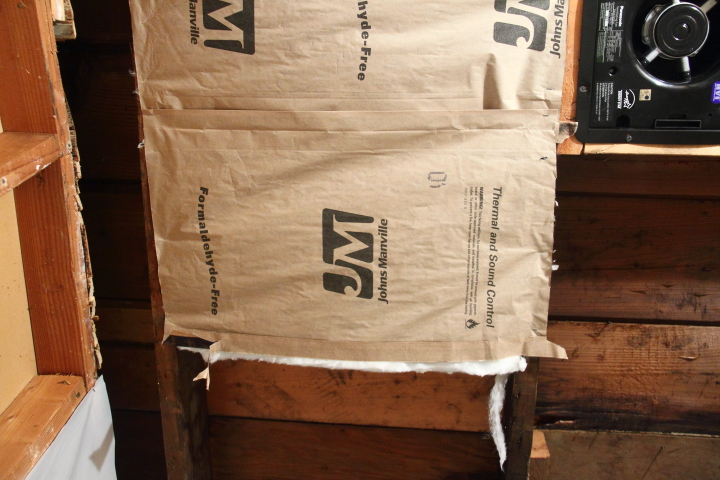
The paper backing that acts as a vapor barrier on the batt is flammable so in any areas where it will not be directly touching drywall you need to remove the paper. Since I wasn't positive it would fully contact where it went over the walls into the adjacent rooms I pulled off the paper on those pieces just to be on the safe side. All in all it took me a little over a half hour to get the insulation up.
Next I had to make sure I had proper fireblocking in place which prevents movement of flame, smoke, gases through concealed spaces. When I remodeled the the main part of my house the way those walls had been originally framed meant that I had to add 2x4 lumber between all of the studs to isolate the first floor from the second. Here I didn't need to deal with that which was nice.
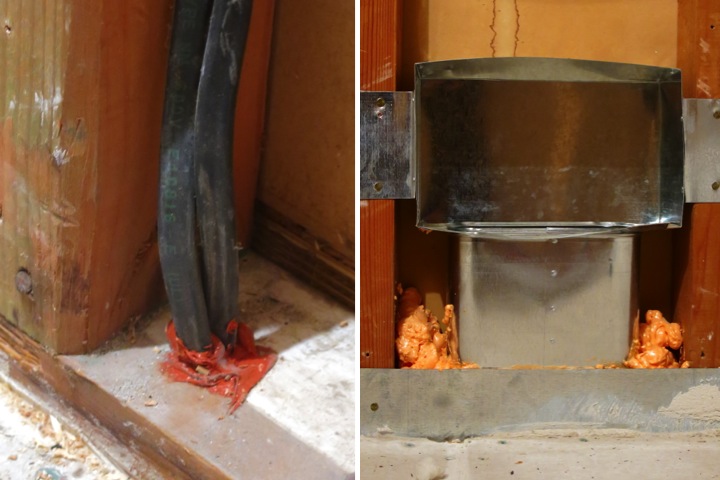
All of the openings through the floor around the wiring, pipes and ducts had to be sealed with an appoved fireblock material like a fire rated caulk or foam. This was done by my contractors as part of getting their rough approval, but I always like to check things over myself as well.
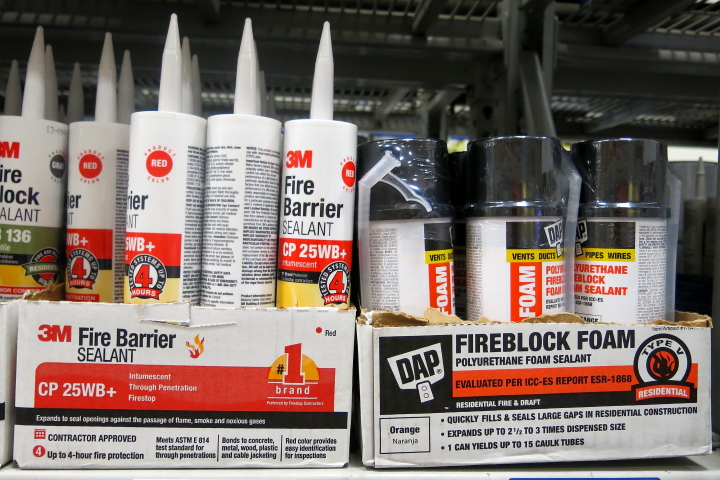
The caulks and foam are typically red or orange in color so that they are easily identifiable. My electrician used caulk around all of the wires and the opening around the duct into the bathroom was sealed with foam by my HVAC contractor.
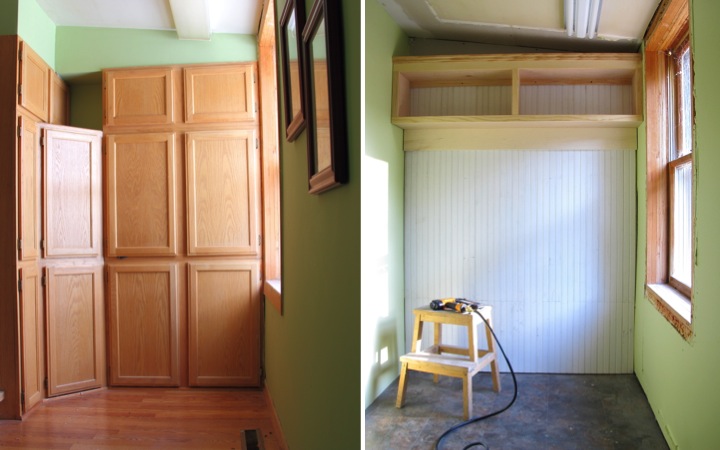
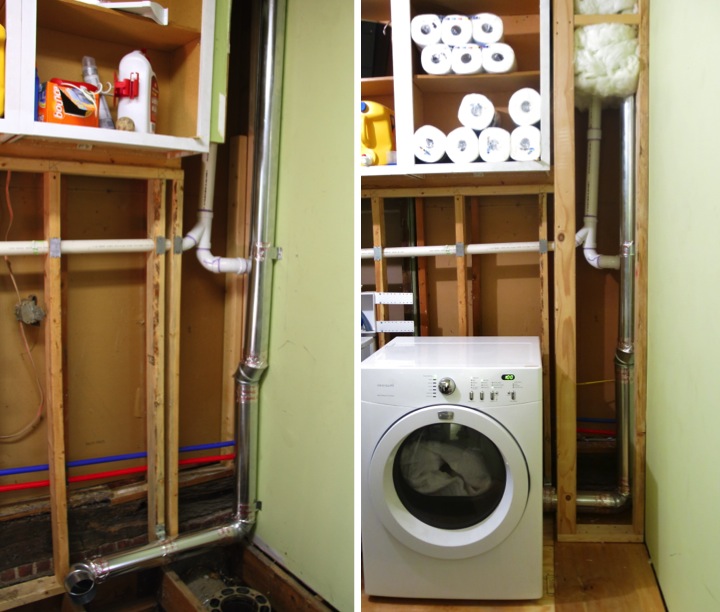
Next up was the dryer vent chase. The original plan had been to have the dryer vent go under the crawl space and out to the back of the house but it turned out that the foundation was so thick that it wasn't practical. The only solution was to go up and out the roof which meant that I then needed to frame out a chase around it.
I didn't take any pictures building the chase because it was the night before my building inspection and it didn't go quite as planned making me super frustrated. Long story short I built the front on the ground to make sure it was square. I then raised it in place adjusting the bottom plate until it was square to the adjacent wall and then secured it to the subflooring. I then had Frank help me to adjust it to be plumb using my four foot level and then screw it into the studs of the adjacent wall. This was easiest as a two person job with one person holding everything in place and keeping and eye on the level and the other person doing the attaching. Once the front was installed I built the side in place and added some cross pieces so that I could secure it to the back wall.
Typical materials for fireblocking are 2-by lumber, 3/4-inch structural panels and 1/2-inch drywall but with the awkward cutouts needed to go around the dryer vent and plumbing vent stack those options didn't seem the best for the chase. Instead I used unfaced (vapor barrier removed) insulation which was easier to install. Building code specifies that 16" of secured unfaced insulation can serve as a fireblock but to be on the safe side I was closer to 20".
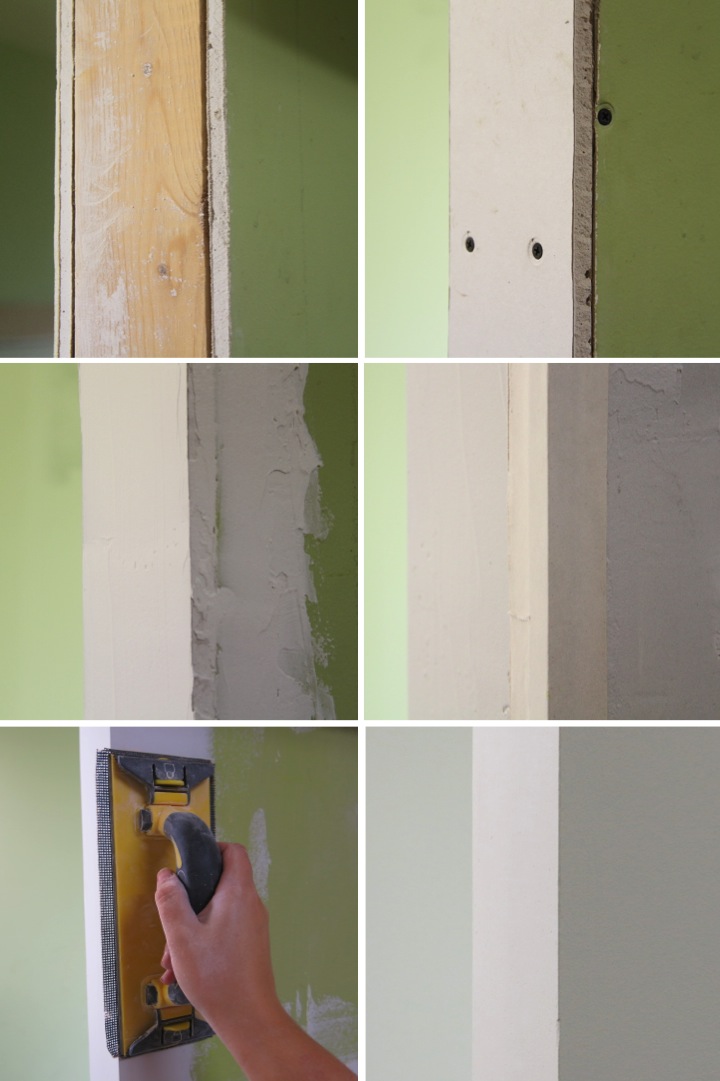
On a side note, on the picture above on the left you can see an electrical outlet that I found buried in the wall. Later my electrician found a two way switch that turned off the existing lights in the room buried behind one of the cabinets. Electrical code specifies that all junction boxes must be accessible so this was a big problem. If that buried switch had failed I would have had no lights in the room and would have had a hard time figuring out why. Thankfully all of that bad wiring has now been fixed and is up to code.
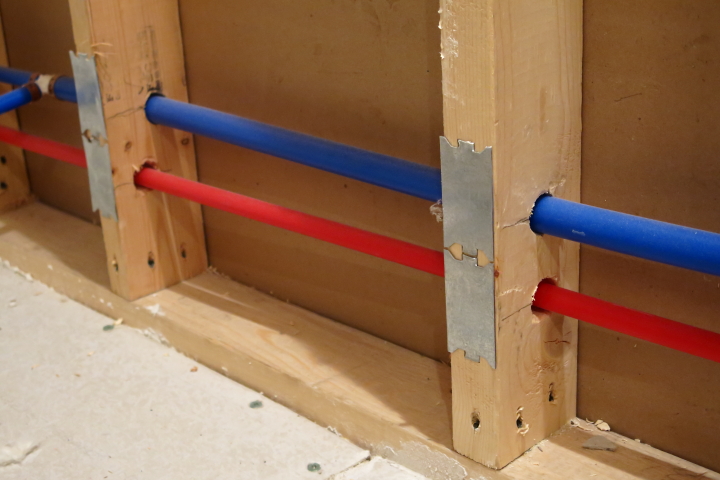
While I am at it I thought I would point out a few other key items lurking behind the walls that my contractors have done. At every location where wiring or plumbing runs through a stud a steel stud guard plate was hammered into the stud. This is done to protect screws and nails from piercing the wiring and plumbing saving me from a potential electrical problem or leak.
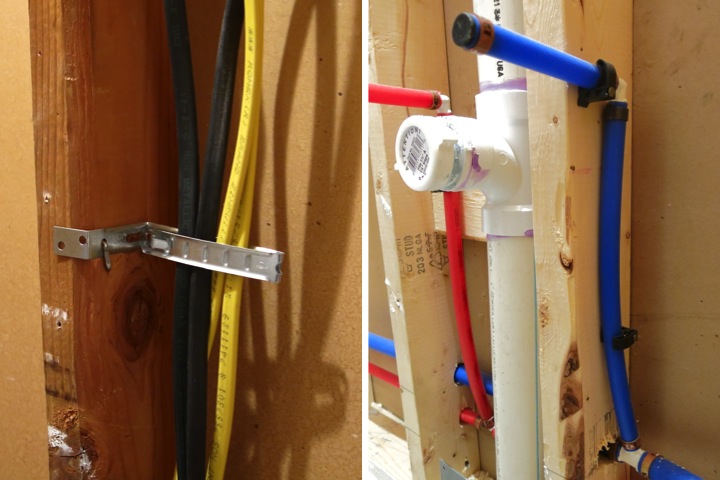
It is also very important that all of the plumbing, wiring and ductwork is well secured. Below are examples of a strap anchoring wiring in my bathroom to a stud and the PEX supply lines for my sink being secured with clamps.
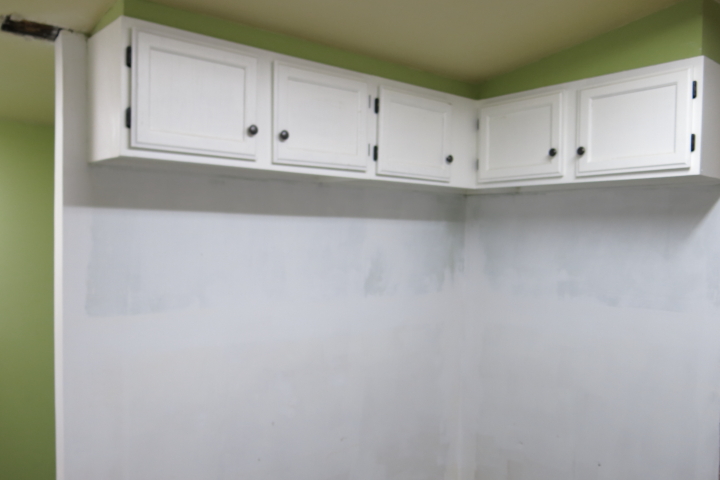
After inspectors for each of the trades had come out and gave their rough approval I had the building inspector come to the house. He said that everything looked great and okayed me to close up the walls. It was such a good feeling to get the green tag with his signature for the building rough approval. Now that I am done with traveling for a little bit I am hoping I can get some traction to start knocking things out again.

Disclaimer: I am not a licenced contractor. What I have done in my home meets the building code used by my city but building codes can vary by state and municipality so please do your own research to confirm the building code that would apply to you.
 Lisa | 13 Comments | Share Article | Email Article | Print Article