


Mudding in the Laundry Room
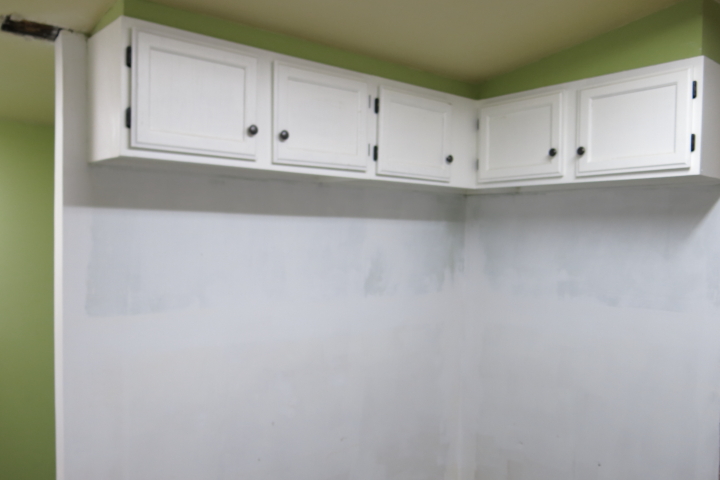
Over the holiday weekend I made some progress in my laundry room. I last shared a picture of the room where it looked like this: 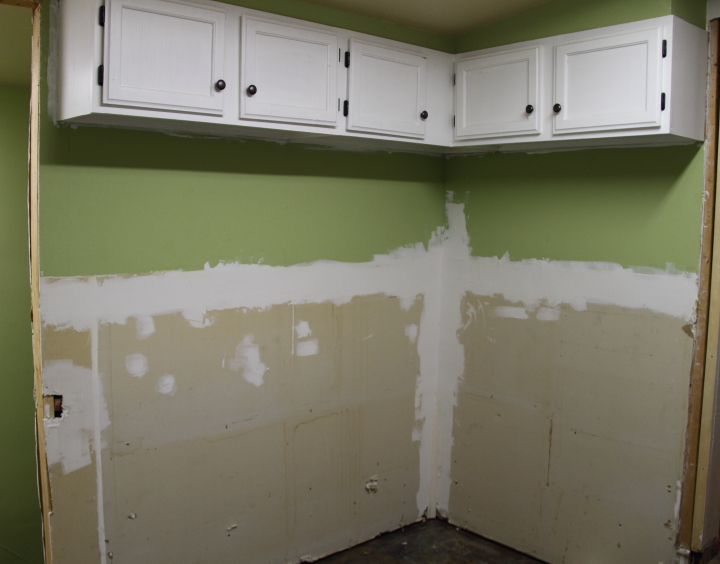
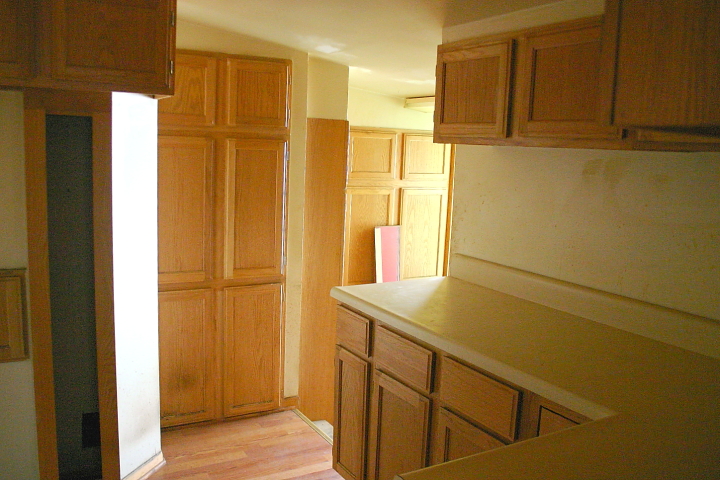
The previous owners had redone this area of the home at some point and it had been a crazy warren of cabinets. Also, they hadn't left enough room to properly turn the corner and go out the back door. The little wall that the cabinets were on was not load bearing so I had previously decided to shorten the wall back the the next stud. This meant that now I needed to drywall the raw edge of the wall. Below is a picture of the laundry room from when I first bought my home showing the strange layout.
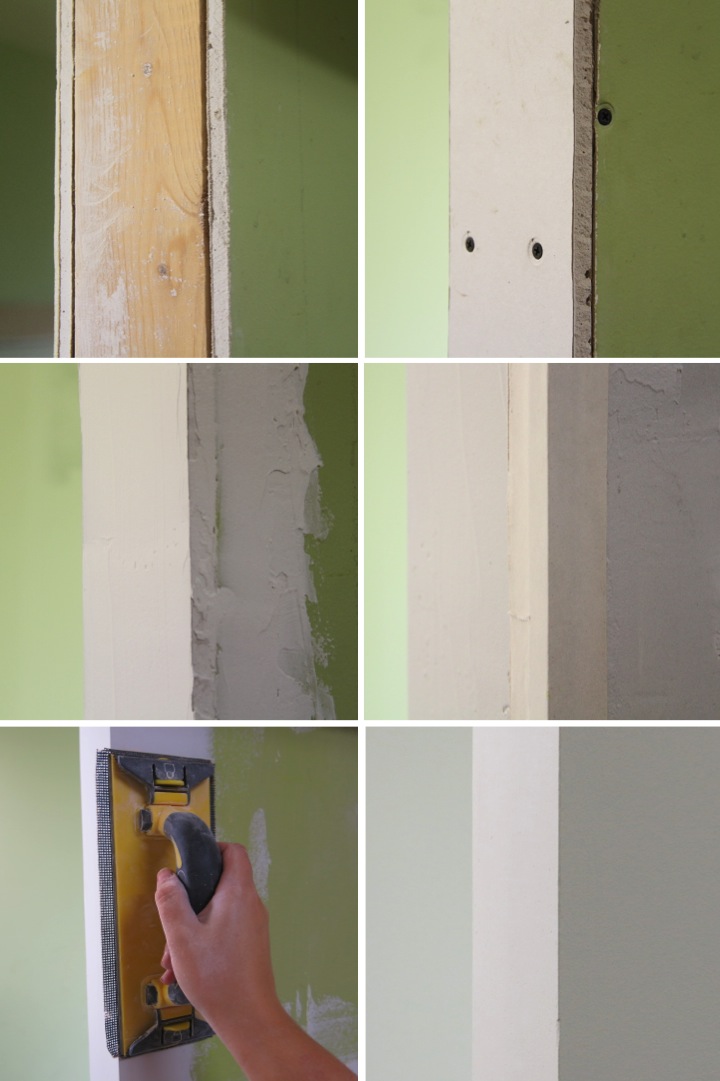
Let me preface this by saying that I am by no means an expert at taping and mudding, but if I can do this anyone can. First, I evened up the raw edges of the end of my exposed drywall with my rotozip since I had made a bit of a mess with my sawzall when I first cut back the wall. Next, I cut a piece of drywall to size and attached it to the end of the stud with drywall screws. I also secured the ends of the existing drywall to the stud since it was not well attached. Using a drywall screw setter when driving in the screws makes a little dimple in the drywall so that the screw head is set below the surface of the drywall so that you can cover it with mud later.
Instead of using traditional metal corner bead I like to use paper-faced corner bead. I think it is easier to install since you don't need to nail it in place. You simply apply drywall compound along both sides of the corner and then press the paper-faced corner bead into the mud with the metal side facing in. For a good result, you need to make sure that the corner bead is firmly set in mud along the whole corner on both sides. Any excess drywall compound that has squeezed out when you embedded the corner bead you can clean up by running a putty knife along the tape which also helps make sure it is firmly secured. Once it is dried, you apply another layer of drywall compound over it, sand it smooth once it is dry and repeat again.
As I said before, my mudding skills leave a little to be desired, but I can make up for it with my sanding. To get my corner perfect I had to do three rounds of mudding and sanding, but it was worth it in the end.
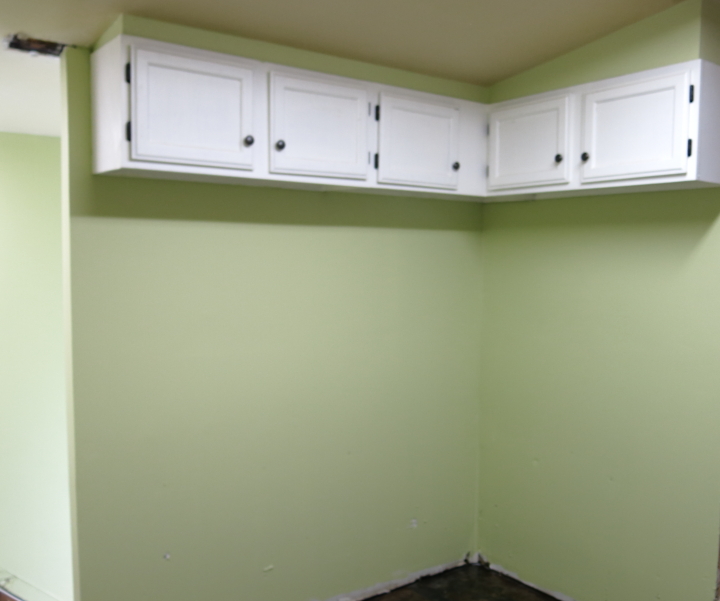
With everything finished up my wall now looked like this:
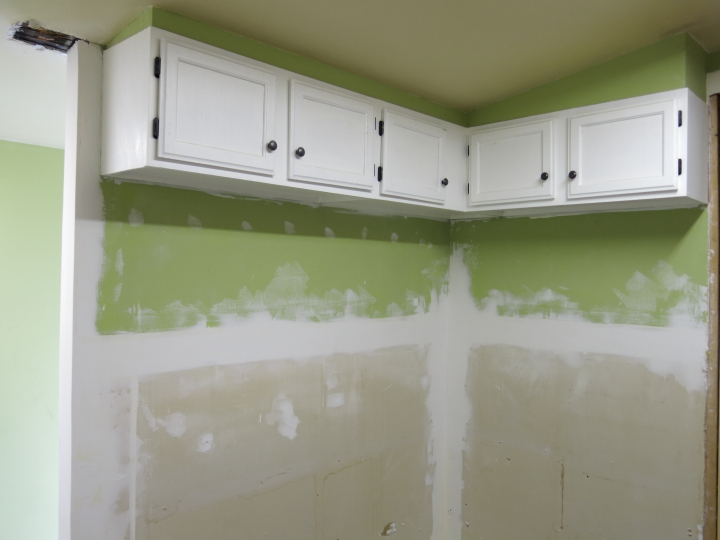
I didn't patch the ceiling spot where I had cut back the top plate because the drywall I had was too thick and I figure I will repair and paint the ceiling all at one time when I swap out the fluorescent lights.
I primed the whole area and then gave the wall a light sanding once the primer was dry. When you prime the walls, you'll notice that the area that has been mudded is really smooth, but the area with raw drywall can have some fuzzy texture. Sanding the primed walls knocks down the fuzz and ensures a smooth finish.
I then finally put on two coats of a pale green paint and the corner is ready for me to reinstall the base cabinets.
I've still got a long way to go but progress feels good! I'm getting excited as the room is starting to come together...
 Lisa | 1 Comment | Share Article | Email Article | Print Article
Reader Comments (1)
Wow. Great job. This green paint on wall is really good and i would call it... "calm". Nice work :)