Folding Luggage Stand Makeover for My Guest Room
As I was cleaning out my garage on Saturday I rediscovered an old folding luggage stand that I had picked up for a few dollars several years back. It was in nice shape but the color of the wood and the ribbon wouldn't fit in with the style of my guest room so I decided to give it a little makeover.

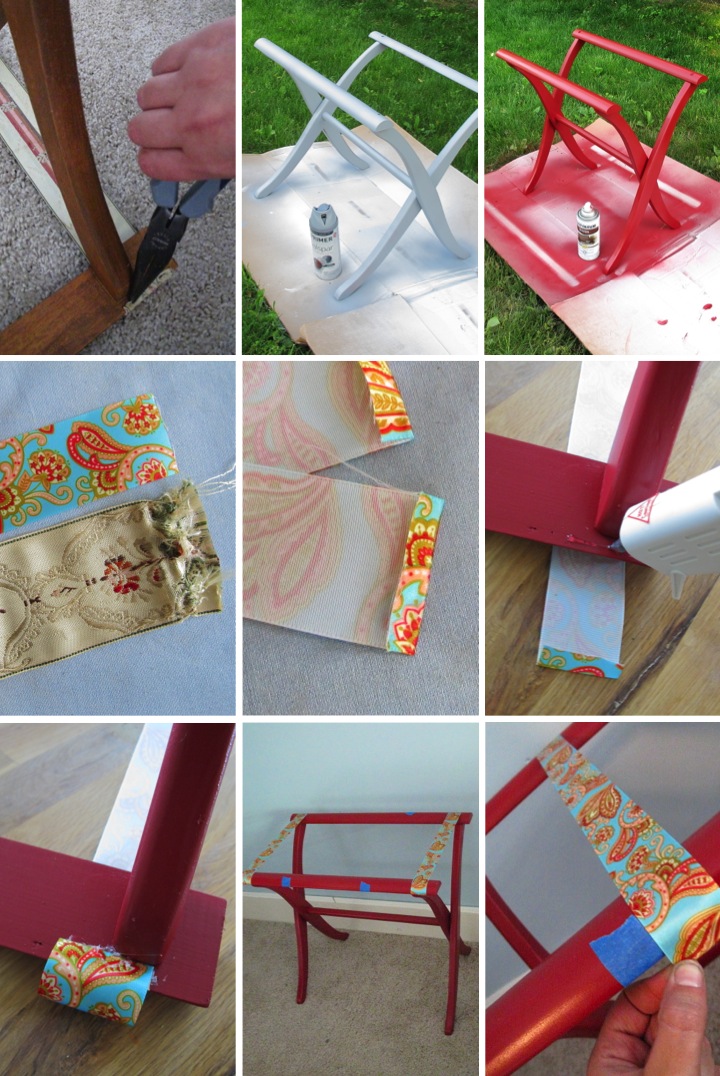
I started by using a needle nose pliers to remove all of the staples that held the ribbon onto the stand. With the ribbons removed I gave the wood stand a good cleaning followed by a light sanding. I then primed it with a grey spray paint primer followed by some light coats of red spray paint. Whenever I am using deeper colors I get better results if I use grey primer instead of white.
After the stand was dry it was time to add the new ribbons. Using the old ribbon as a pattern I cut new ribbons to length and then ironed under 1/4" on each end. Because my old ribbon was 2" wide and my new ribbon was only 1-1/2" I decided to increase the number of ribbons to four.
I started attaching the ribbons by working on the ends. I flipped the stand upside down on top of the ribbons and used a glue gun to glue them to the underside of the stand. For the middle two ribbons I wanted to make sure everything was taut so I stood the stand right side up to attach them. I measured out where they should be placed and marked the spots with blue painters tape and then glued them in place.
I had picked up the stand a few years back and already had the spray paint and primer so my total cost for the project was $3.50 for the spool of ribbon. Not counting paint drying time it took me about forty-five minutes of hands on time to complete the makeover.
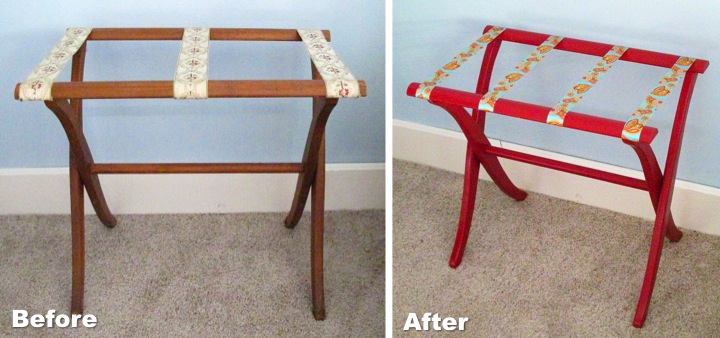
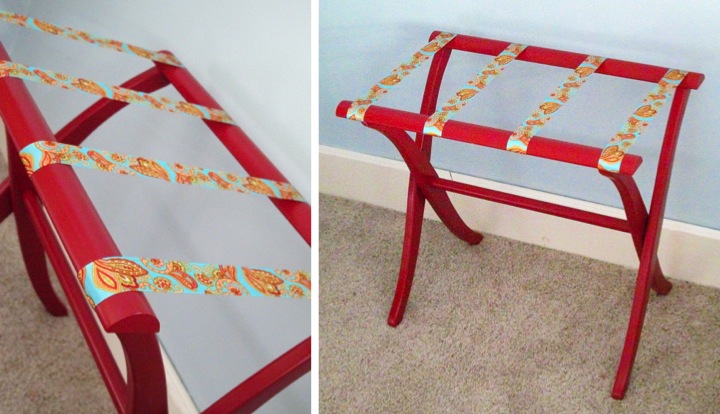
The new version of the stand is very bright and cheery and a nice improvement over the way it used to look. I think it will make a fun and useful addition to my guest room.

 Monday, May 21, 2012 at 8:11AM
