


TV Electronics Cubby
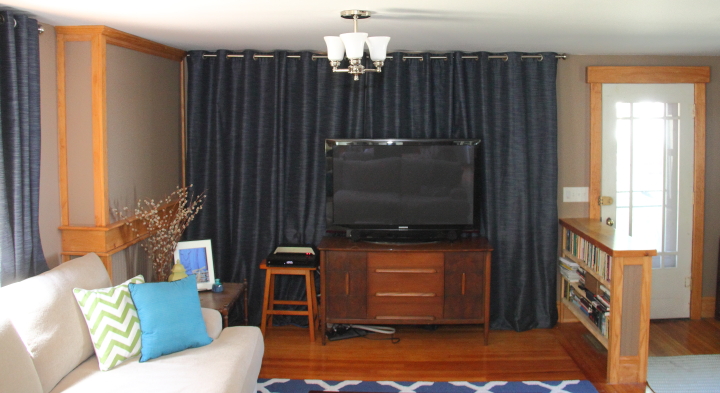
When I last shared my living room I had put up curtains behind the TV on my old sideboard, but needed a solution to store all of Frank's electronics since stacking them on a stool wasn't doing it for me. I decided to build a cubby that would sit on top of the sideboard to house all of the electronics.
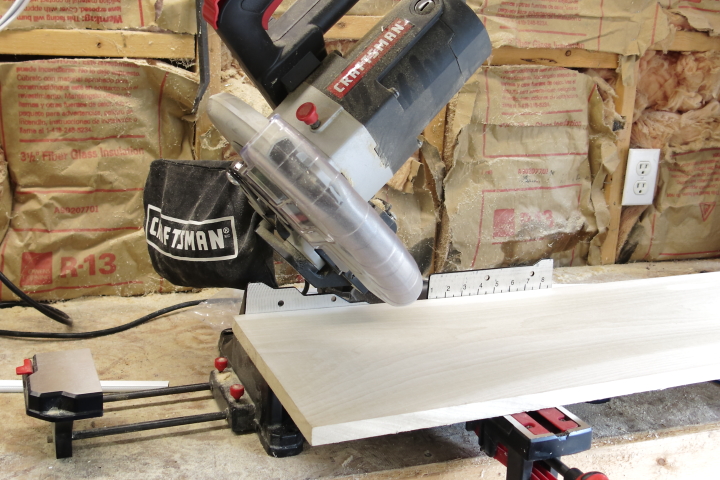
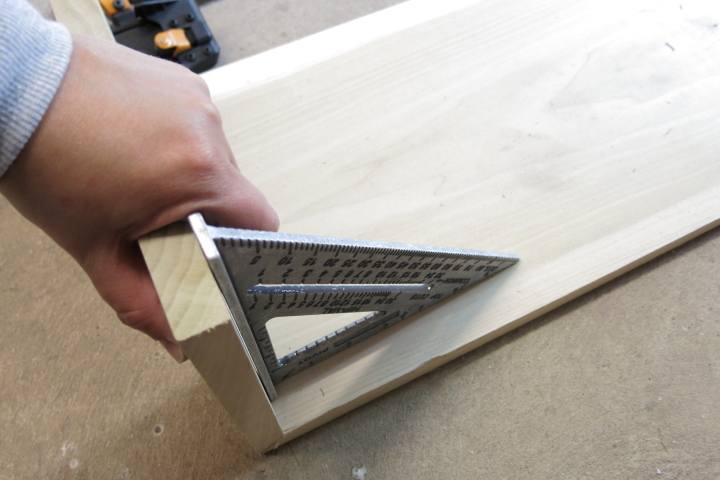
I made this project using one 1x12 and one 1x2 boards. I started by cutting a top piece and two side pieces from the 1x12. I cut 45 degree mitered ends on the top board and also on one end of each of the side boards.
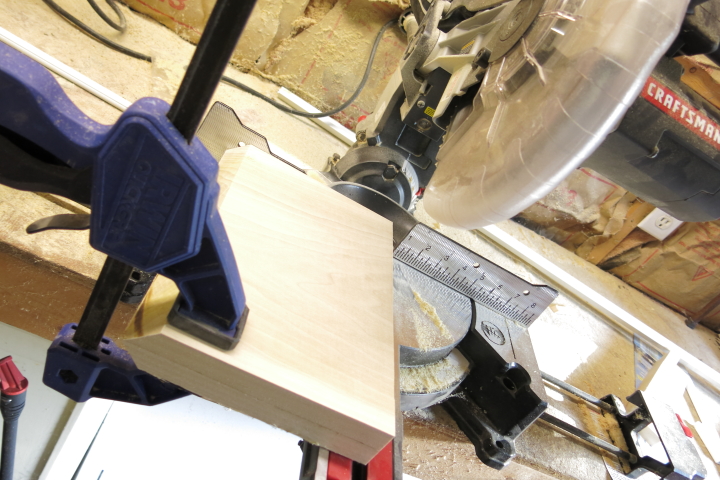
Because I like to do things quick and easy I cut the side boards a bit long, clamped them together and cut the square ends at the same time so they would be the exact same height.
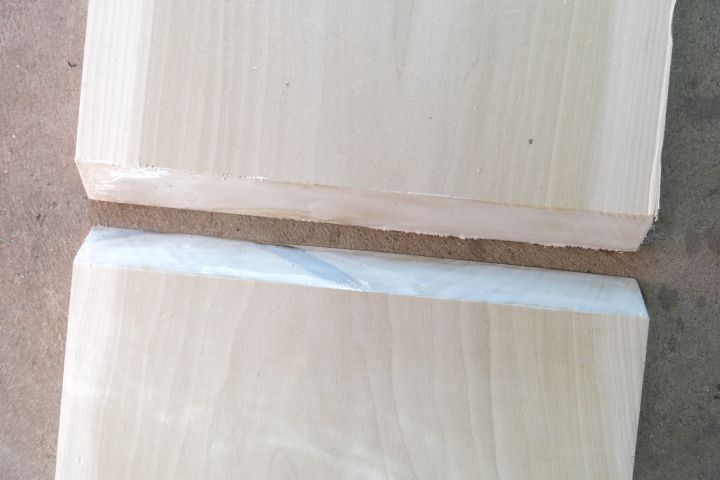
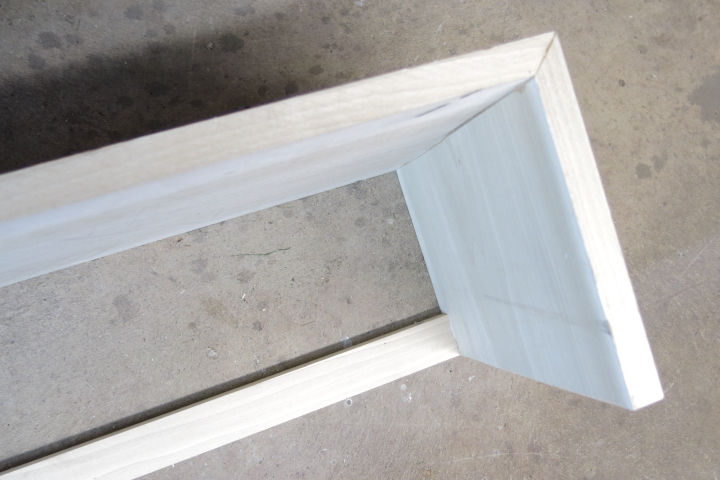
I started to assemble the cubby by spreading some wood glue on all of the mitered ends.
I laid the top upside down, put the sides in place and used my speed square to make sure it was all square. I then attached the sides using my brad nailer.
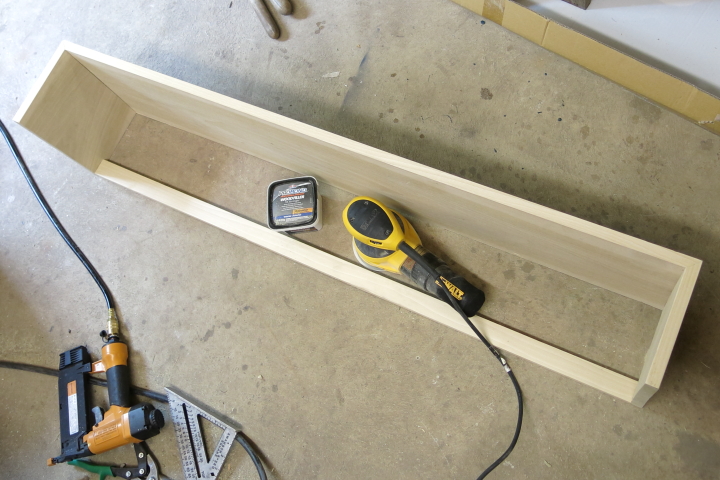
In order to make sure that the cubby stayed square I attached a back brace from the 1x2. I cut it to fit and attached it with wood glue and my brad nailer. I didn't want a solid back beacuse I wanted the electronic cords to be easy tucked down behind the sideboard.
I used some wood filler to cover the holes from the brad nailer and then sanded the whole piece down smooth.
To complete the cubby I wiped it down with a tack cloth and stained it using a mixture of cherry and walnut stains that I custom mixed together to match the sideboard. After it was complete I put it in place under the TV and tucked all of the electronics inside the cubby.
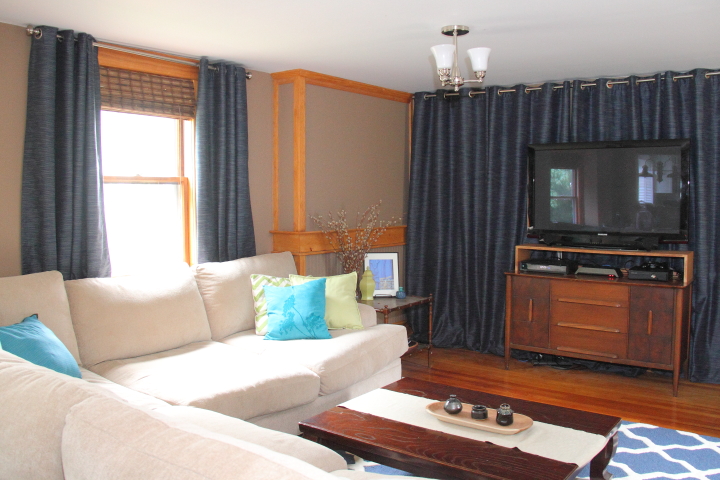
Unfortunately, while the stain is a good color match to the sideboard it is a little lighter in shade. I'm debating about whether I want to darken it up a bit more or just leave it as is.
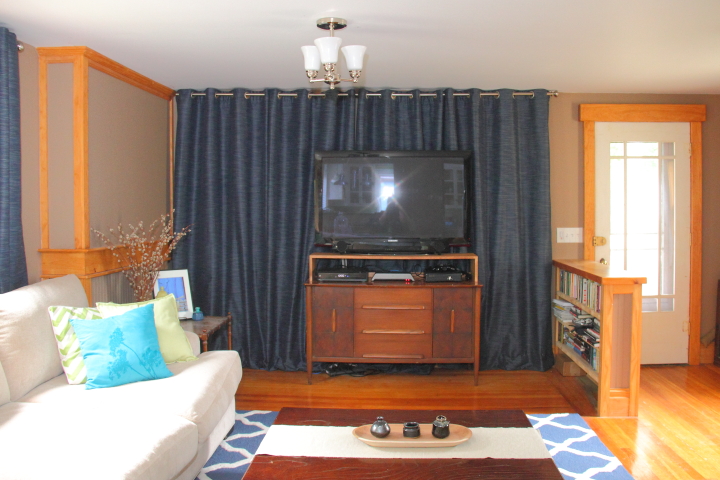
I still need something to place on the left side of the wall to balance having the TV off center, but the room is starting to come together.
 Lisa | 7 Comments | Share Article | Email Article | Print Article
Reader Comments (7)
Lisa, would you be able to have the left side of the curtain stop at the window molding, leaving that small section of the painted wall to the corner showing? You might have to nudge the sideboard to the left -- just a bit -- to center the sideboard on the new curtain width. Just a suggestion. Have a great weekend!
Looks great, Lisa!
Brilliant solution.
Sharron- Thank you for the idea! There isn't much space, but I will definitely try it out to see if it works.
Kim- Thank you!
Mary-Lou- Thank you!
GOOD ONE.
Thanks lot for the lovely article. I really appreciate it.
Great Inspiring post! Thanks for sharing it . I would like to appreciate your content and piece of great information.