ORC Week 2: Wallpaper and Lighting for my Loft Studio
 With the tedious job of installing new flooring complete in my Loft Studio, I turned my attention to adding some wallpaper and new lighting to the space for Week 2 of the One Room Challege. This loft space overlooks my bedroom so I decided not to paint the sloped ceiling because it extends to the bedroom and the color already works well for that space. I did decide to have a little fun and add some color and pattern on the back wall with wallpaper since that won't be visible from my bedroom.
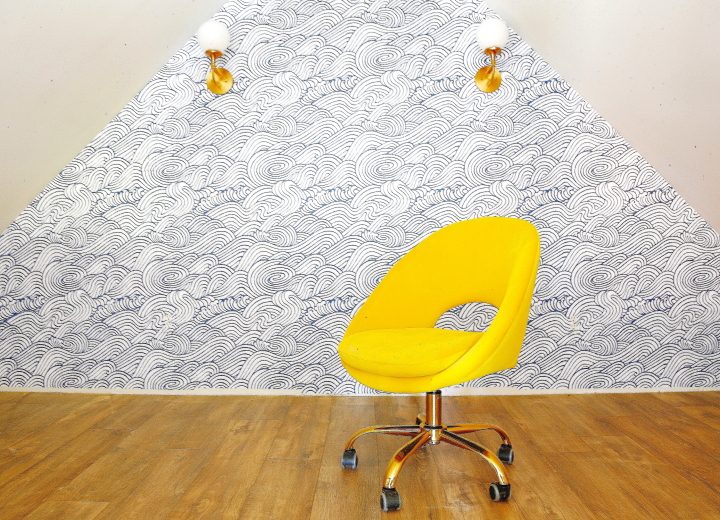
I wanted something that was fun but not overpowering and when I saw this Navy Saybrook wallpaper I thought it was perfect. To me it looks like a modernized version of waves from a Japanese Edo-era painting, like Kuniyoshi's "Life of Nichiren: A Vision of Prayer on the Waves". I'm a Senior Engineering Manager at Toyota R&D and have been lucky enough to live in Japan and visit over twenty times in my career so I thought this was a nice subtle nod to that part of my life.

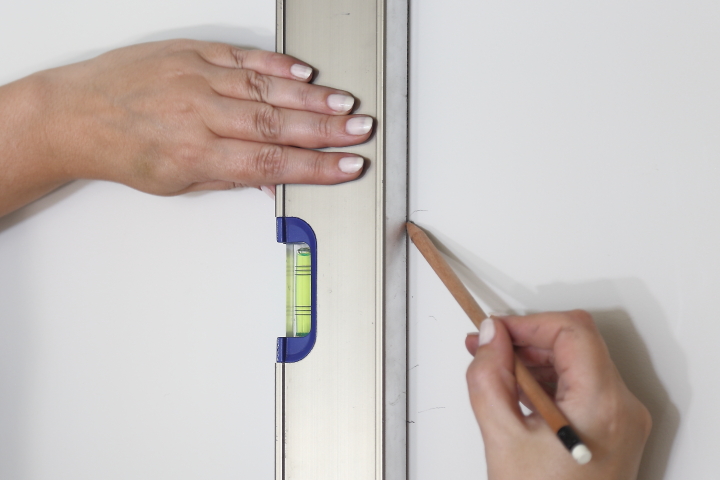
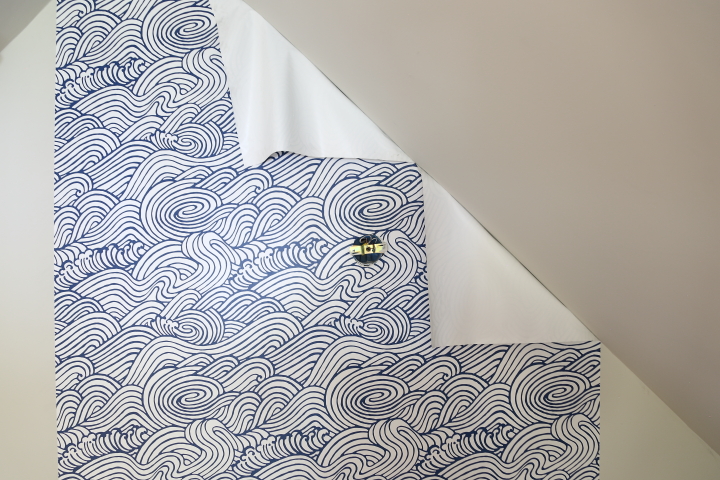
This wallpaper is peel and stick so it was really easy to install. Normally with wallpaper you start in a corner but with this triangular wall I thought it made sense to center the first strip in the middle of the wall. The wallpaper is 20.5" wide so I used my 4 ft. level to mark a plumb line 10.25" from the center. I then peeled off the backing a little at a time and hung the first piece aligned to my pencil line. Once the first piece was in place it was straightforward to hang the rest of the wall paper making sure that the pattern matched at the seams. When I was done I used my utility knife to cut the excess along the ceiling.
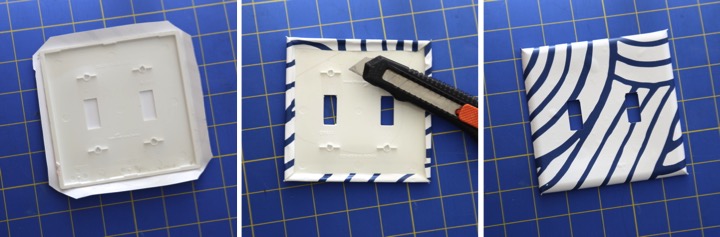
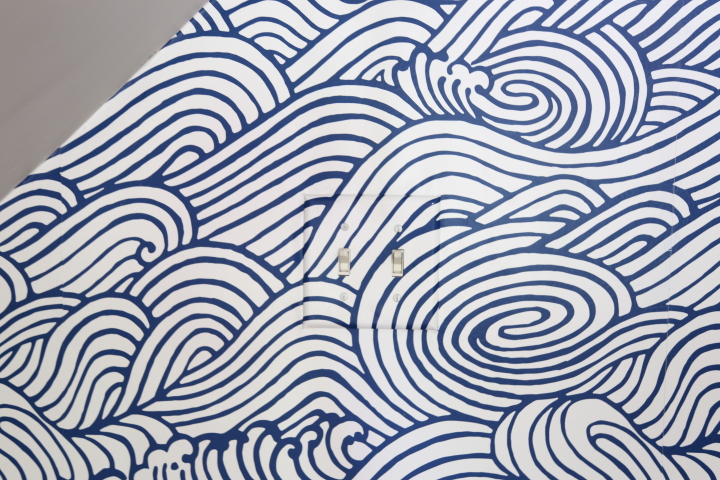
To make the wallplates for the switches and outlets on the wall to disappear I also covered them with wallpaper. I cut out a piece of wallpaper that matched the area a few inches wider than the wallplate. I then held the wallplate in place against the wall and then aligned the wallpaper piece to match the wall pattern and pressed it to the wallplate until it stuck. I cut the excess wallpaper off, leaving about 3/8" and then folded the edges around the wallplate. After cutting out the switch openings it was ready to install. I love that with the pattern of the wallpaper the switches and outlets almost disappear.
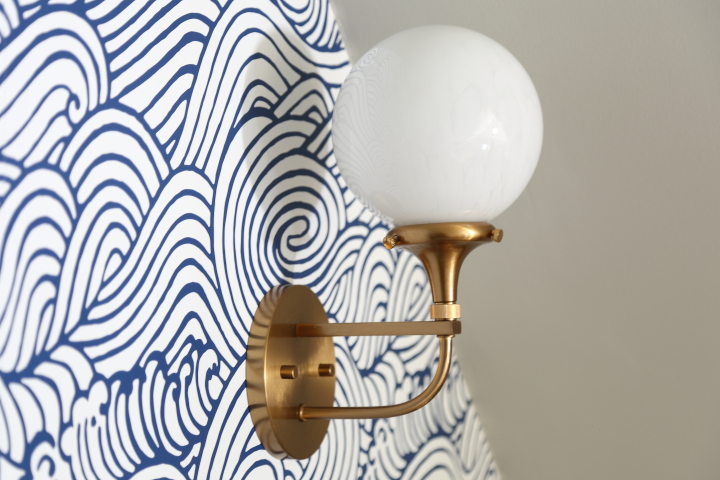
With the wallpaper hung it was time to move on to lighting. It took me a little while to find the right sconces because with the slope of the wall they can't be too wide or too tall. I thought brass would look nice against the blue and white wallpaper and finally settled on a pair of brass sconces with white milk glass globes by Elk Lighting. They were straightforward to install and I'm really happy with how they look.
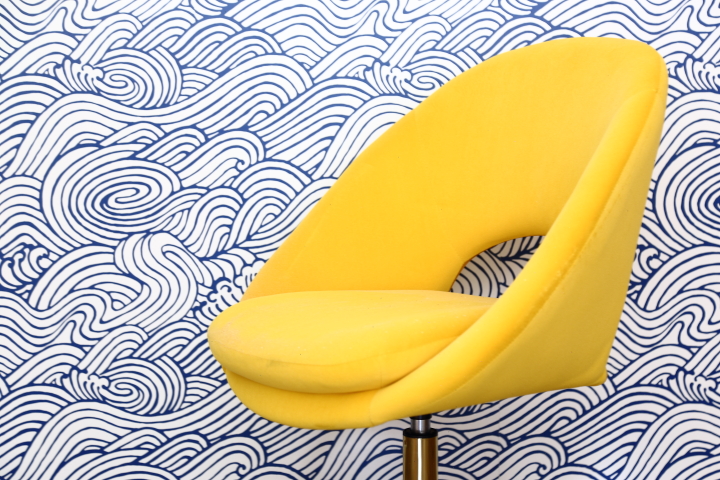
Several of the things that I ordered online have started to arrive, like my yellow desk chairs, and I am excited to see the space start shaping up. Next up, I will be starting on the built-ins along the sides...

 Lisa | 37 Comments | Share Article | Email Article | Print Article