 This past weekend was gorgeous, so Frank and I spent most of our days outside working on the yard. While Frank tackled the grass and some much needed garage cleaning I worked on prepping and planting the herb garden on the side of the house.
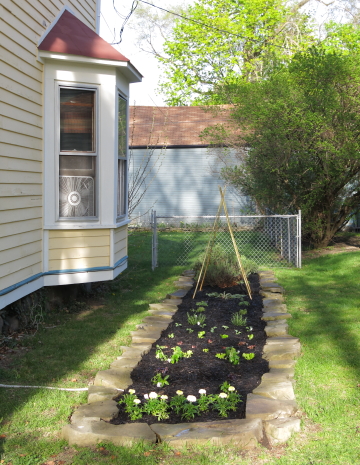
The picture to the left is what my herb garden looked like as of Sunday night, but it took me two afternoons to get it there. The perennials in the back had come back beautifully, but I had a lot of cleanup to do.
I cleaned out the brush, tied back the perennials and roto-tilled the areas around the existing plants and the empty area up front. I also flipped up each of the stones in my border to pull the weeds and grass that had grown up between them. I love the stone border that I put in a when I made the garden, but it is really labor intensive to keep looking clean and neat. By the end of the day on Saturday I finally had a clean slate to work with.
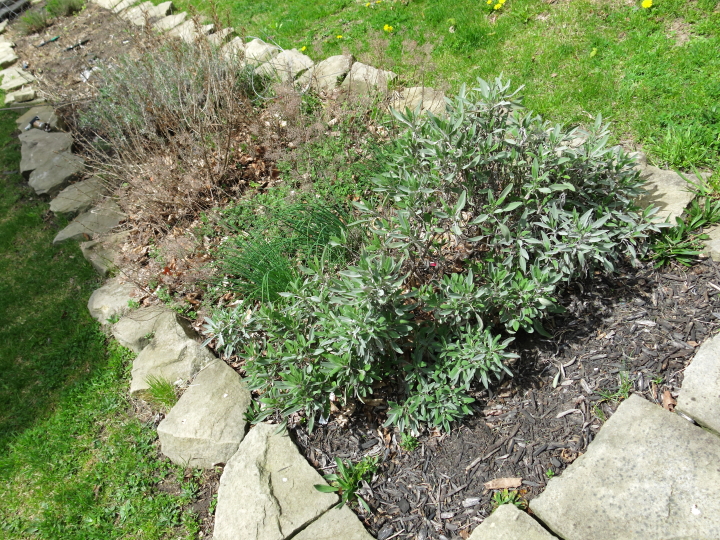
Below is what I was faced with on Saturday after we had brunch before I got it all cleaned up. It was such a mess that I was really discouraged when I started but I am so glad that I tackled it this weekend.
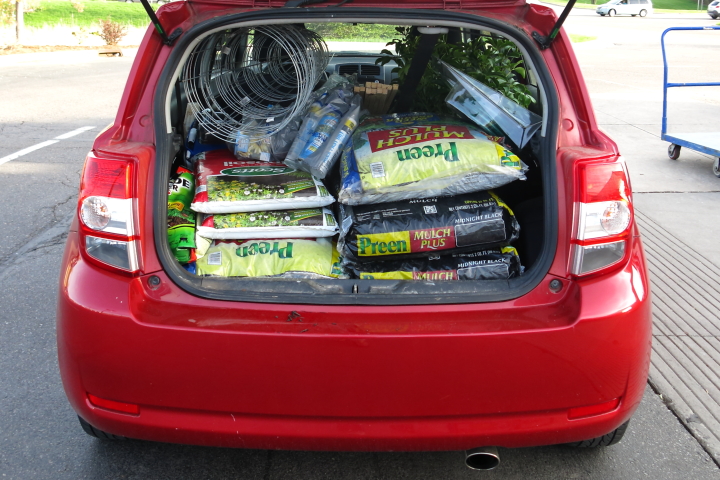
After getting everything tidied up I was tired, but made a run to Lowe's to get mulch and some other items so I could get busy on Sunday.
One of the things I wanted to do before planting anything new was lay down some sprinklers. I had put out sprinklers last year but after I had laid everything down so they stuck out and looked a bit ugly. Also, the hoses that I had used were too long for the space so I wanted to make some hoses that were a custom length for the spacing of my sprinklers.
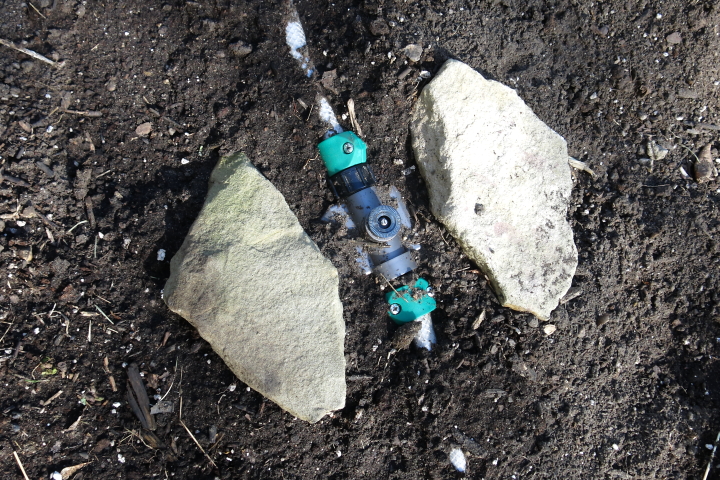
I cut lengths of hose from an old hose that I had and then it was simple to make the hoses using replacement couplers and a screwdriver.
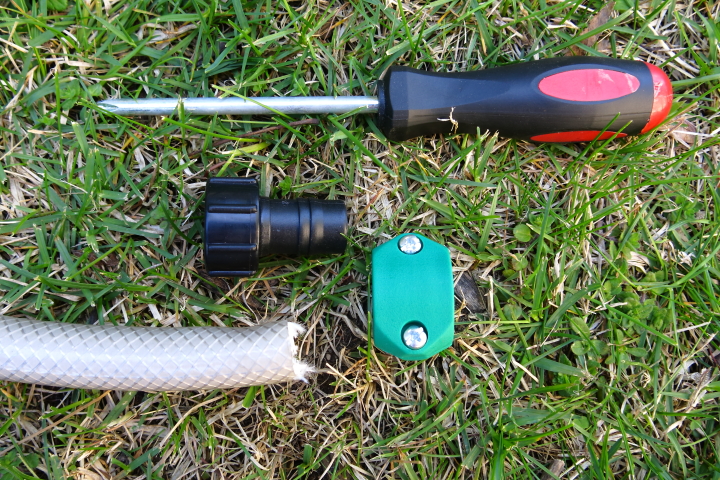
I untightened the screws on the collar of the coupler and slid it on the end of the hose.
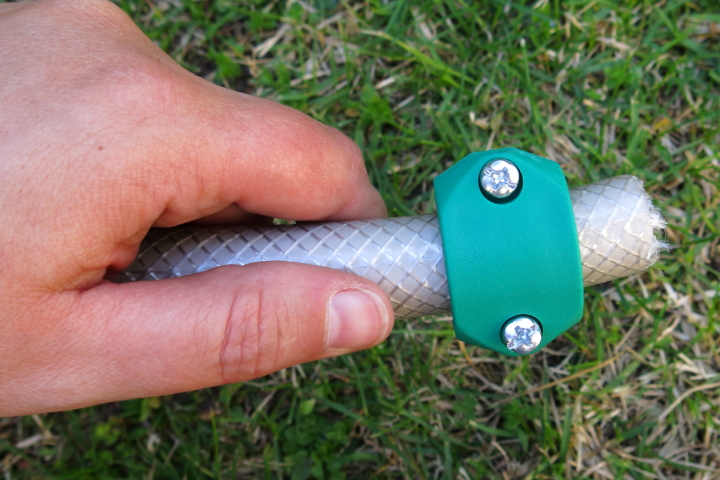
I then pushed the coupler firmly into the end of the hose.
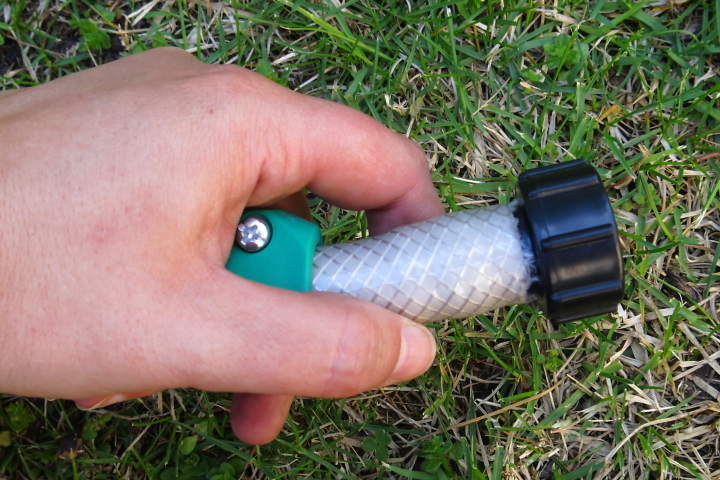
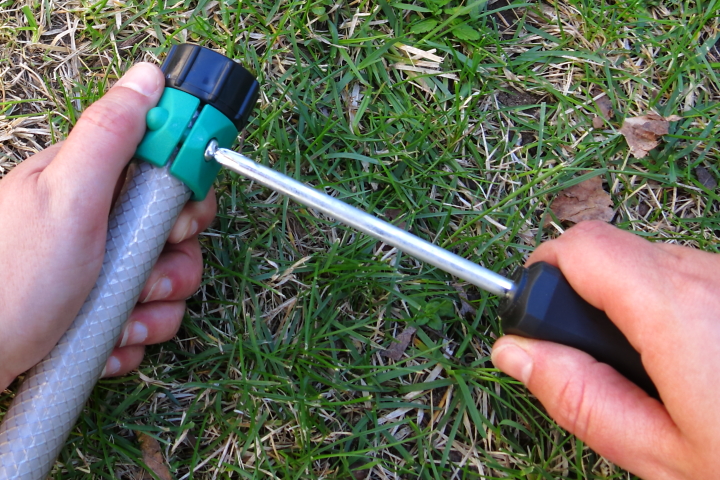
I slid the collar back up over the coupler and tightened it back down with a screwdriver.
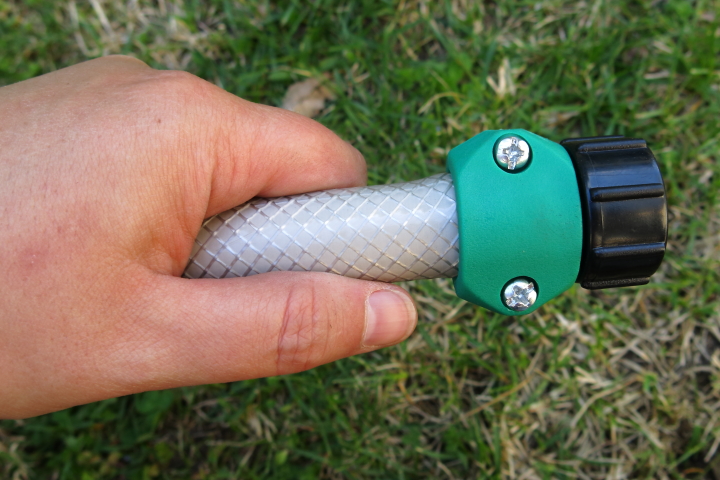
It is super easy and takes only about a minute to do for each end. In a little over five minutes I had my three custom length hoses complete.
With my hoses done I attached them to my sprinklers and laid them out in the garden. I used some small rocks that I had to weigh down the sprinklers to make sure they wouldn't shift around with the water on.
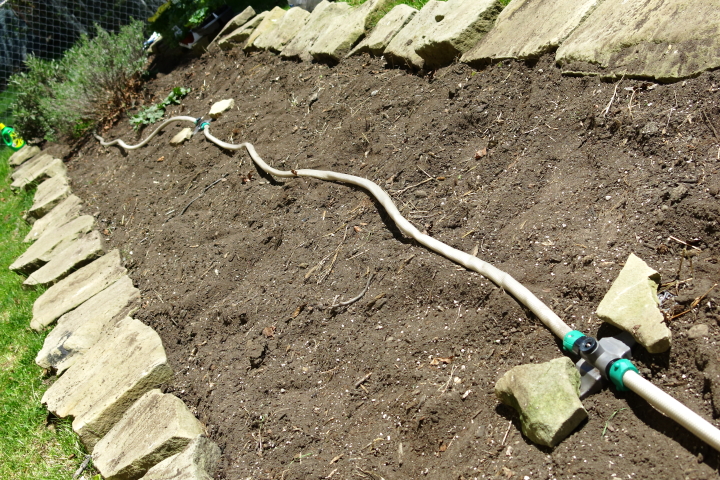
I turned the water on to check the connections and everything worked great with no leaks. I then dug some shallow trenches to bury some of the hoses.
After I planted the rest of the garden and added mulch you can barely even see the sprinklers anymore. This is a much better look than last year.
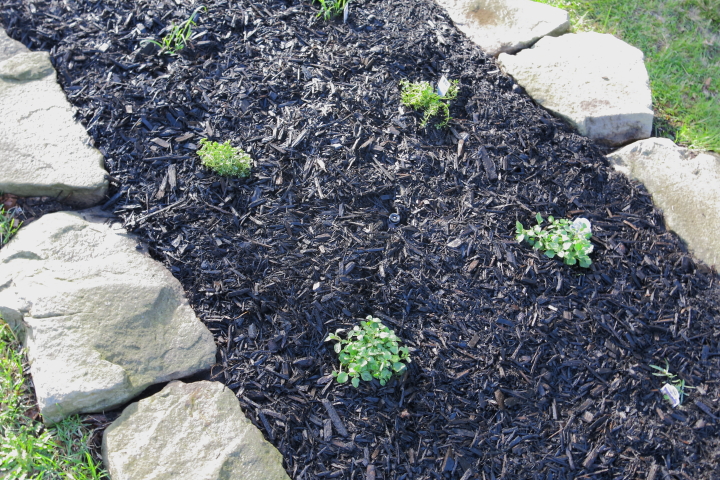
It didn't take much effort to hide the sprinklers, just a little advanced planning and I think it is so worth it. Later this week I'll share some details about what I planted. I'm looking forward to a bountiful summer of herbs!