Once I have a plan in place I tend to have a hard time sitting still. Working on the front bedroom was no exception. As soon as it was decided that we might as well finish up the front bedroom properly before Frank moves in I was itching to get started.
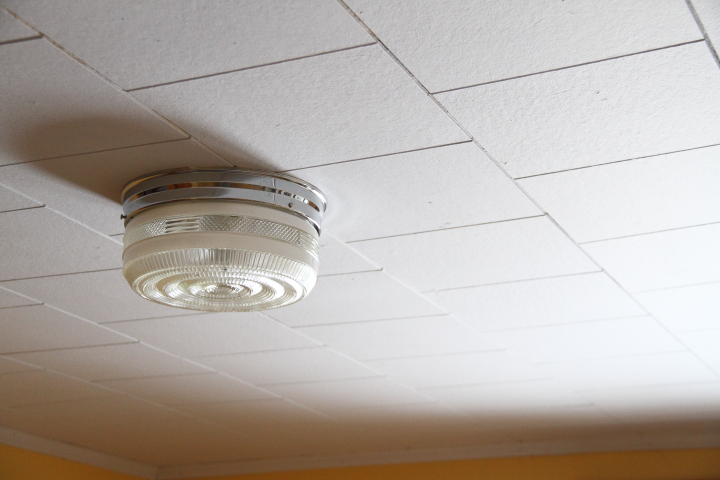
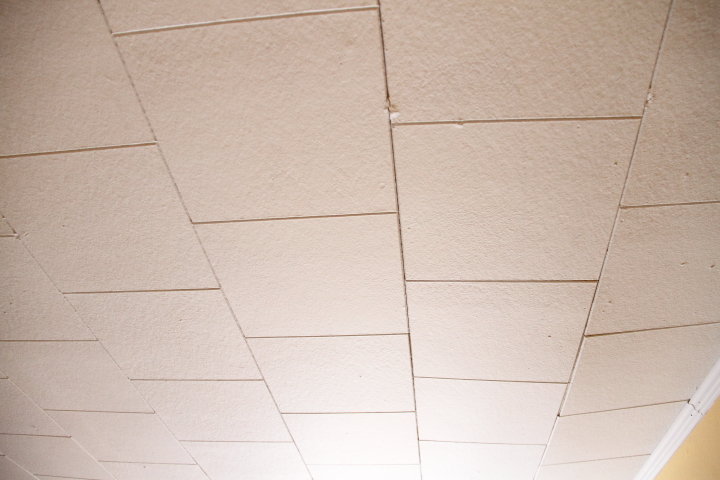
So I did what any girl who is bored on a Sunday afternoon would do, I started gutting the ceiling myself. I have plenty of experience with these ceiling tiles since they were everywhere on the first floor of my house. The tiles are interlocking and were stapled into furring strips. I started at a spot where the tiles were sagging and started pulling them down.
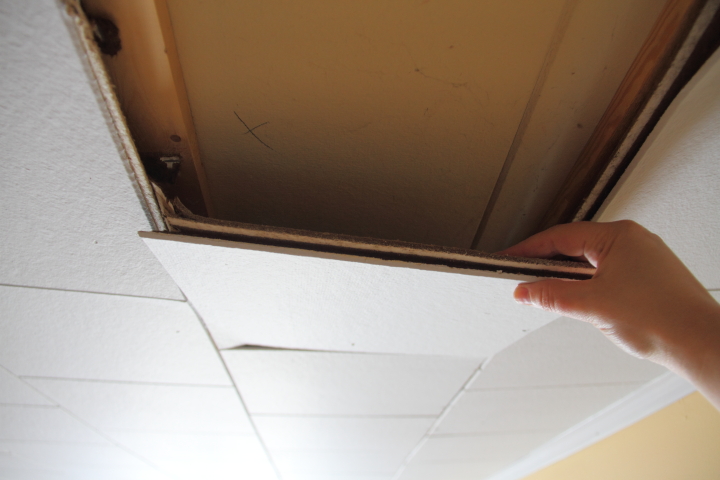
It was actually pretty quick work since the installation had been shoddy and I could sometimes pull down several tiles at once.

The surprise (there always is one with my house) was that there was another drop ceiling above the first one. Here's where things stood after the first ceiling was down.
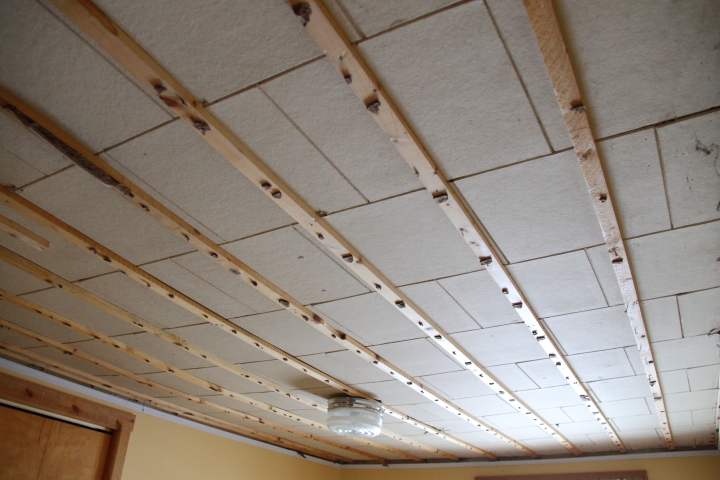
Of course I had to keep going so I busted out my pry bar and pulled down all of the furring strips. At this point it looked like I hadn't made any progress since the second ceiling looked remarkably like what I had just taken down.

I kept going and pulled down the second layer of tiles revealing the original lath and plaster ceiling beneath it.
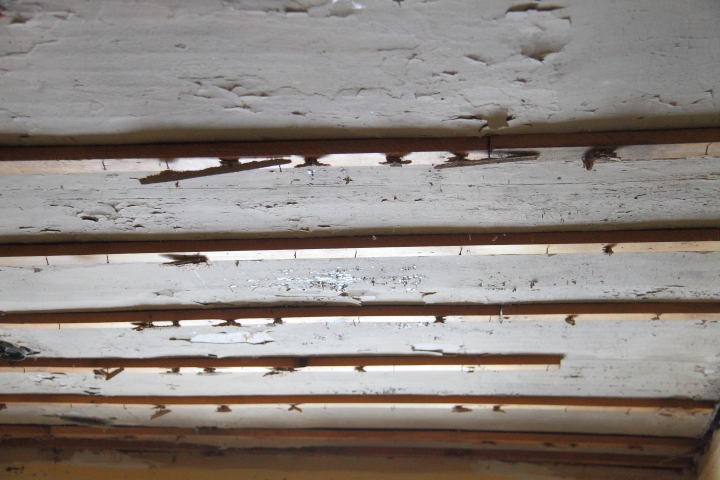
At this point I decided to stop. The plaster of the ceiling was in bad shape so I didn't want to remove the second set of furring strips right now since they are helping stabilizing the crumbling plaster.
I've thought about it for a little while and I am going to leave the lath and plaster up, remove the furring strips and sheath the ceiling with 1/2" plywood. The plywood will keep my plaster stabilized and act as a substrate for the nail up tin ceiling.
I'm doing this for two reasons. First, if you have ever removed lath and plaster you know that it is a hot mess. It is super messy and super time consuming. My idea of purgatory is pulling out lath nails from studs and ceiling joists. I had to gut other rooms in the house down to the studs in order to add electrical, add ductwork, add insulation and evict the racoons who had taken up residence in my walls, but if I have a choice (and I do here) I'd rather not have to deal with it.
Second, I called the Ann Arbor building department and confirmed that if I leave the plaster ceiling in place then I do not need to pull a permit since I didn't open up the ceiling. I'm already getting 2" of headspace from removing the two drop ceilings so the additional inch that would come from removing the lath and plaster really doesn't seem worth it.
Anyway, with a few hours of work and 7 contractor bags full of debris my ceiling went from this...
...to this.

It doesn't look like progress, but things always look worse before they get better. Now that I've started I am excited to get the plywood up and start on the tin ceiling. I've got some samples of tin tiles coming in the mail this week and I can't wait!